Atlona AT HDAIR User Manual
Page 10
www.atlona.com | toll free:
1-877-536-3976
For International: 1-
408-962-0515
10
3.2. Connect the A/V Adapter
1. Attach the A/V Adapter to the remote display device (TV/Projector/Monitor), and ensure the PC
(with PC Adapter attached) is within 3 meter distance from the A/V Adapter for the initial connection.
Ensure the two adapters have clear line-of-sight. Connect the provided power supply to the A/V Base
power receptacle.
Note: The PC Adapter and Device Adapter in this set are already paired and do not require performing a pairing pro-
cedure. If you should need to perform pairing manually for any reason (e.g. connecting to a new host PC Adapter, or
adding a Device Adapter that was not purchased in a set), please refer to Appendix B: Pairing Procedure
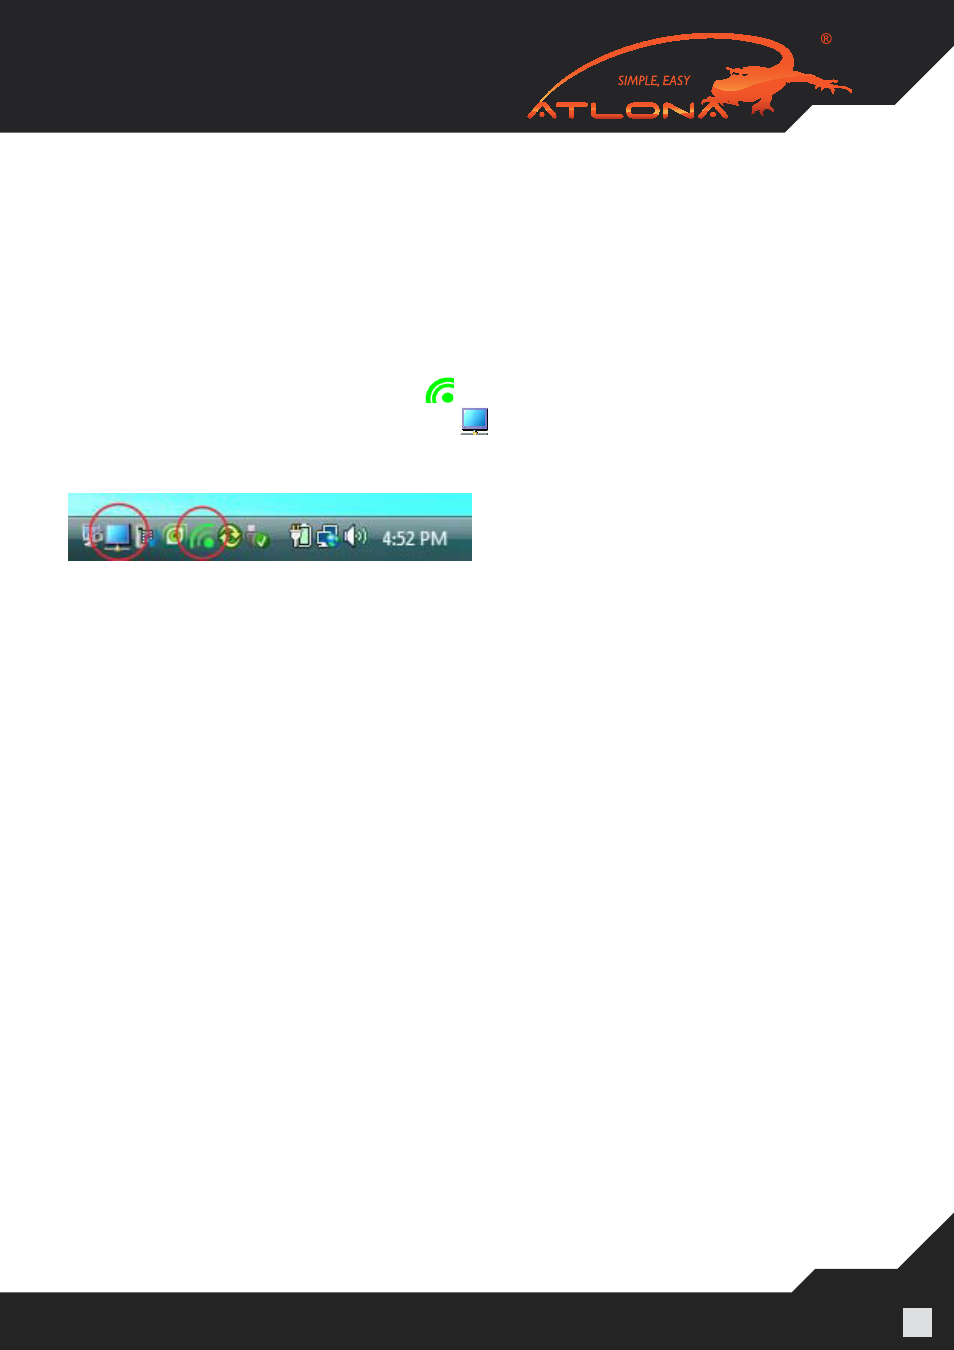
2. Wait for the System Tray icon to turn green
, indicating that a wireless connection with the A/V
Adapter has been established. The Display icon
is also displayed as soon as a connection is
established and the Display drivers are active.
Note: If you do not see the icon changing to green, or do not see the Display icon, please see Appendix A: Trouble-
shooting Help for suggestions.
3.2.1 Connecting Audio
The following options can be used to connect an Audio Output Device to the A/V Adapter:
Using the HDMI connector. Connect the HDMI cable to the A/V Base. Both video and audio are de-
livered on the same HDMI cable. Connect the other end of the cable to the appropriate HDMI port on
the TV/Projector/Monitor.
Using the dedicated 3.5mm port. Connect an audio cable with a 3.5mm (mini-stereo) plug to the audio
jack on the A/V Base. Connect the other end of the cable to the appropriate audio input jack on the
audio device.
Note: The audio output is activated automatically. If you need to set the audio output device manually,
see 5.5 Setting Audio Output Device.