Nexen BD 933507 User Manual
Page 19
19
FORM NO. L-20063-AD-0314
11. Press the damaged Bearings (Item 14) out of the Main
Frame (Item 1) (See Figure 17).
12. Press new Bearings (Item 14) into the Main Frame
(Item 1) (See Figure 17).
Note
The tops of the Bearings must be flush with the top of the
Main Frame (Item 1).
13. Press the damaged Bearings (Item 15) out of the Shoes
(Item 3) (See Figure 17).
14. Press new Bearings (Item 15) into Shoes (Item 3)
(Figure 17).
15. Slide the Arms (Item 2) back into the Main Frame
(Item 1) (See Figure 17).
16. Ream the new Bearings (Items 14 and 15) to fit the
Pivot Pins (Item 7) (See Figure 17).
17. Reinstall the Pivot Pins (Item 7) (See Figure 17).
18. Reinstall the Pivot Pin Retainer Plate (Item 6) (See
Figure 17).
19. Reinstall the four Cap Screws (Item 24) to secure Pivot
Pin Retainer Plate (Item 6) (See Figure 17).
20. Tighten the four Cap Screws (Item 24) to 0.762 mm
[5-7 ft-lb] torque.
21. Slide the Friction Facings (Item 4) and Shoes (Item 3)
onto the Arms (Item 2) (See Figure 17).
22. Reinstall the Shoe Pins (Item 16) (See Figure 17).
23. Reinstall the Spring Retainers (Item 5) and Return
Springs (Item 17) onto the Arms (Item 2) (See Figure
17).
24. Screw the Actuator (Item 11) back onto the Arm (Item
2) (See Figure 17).
25. Screw the Adjustment Screw (Item 8) and the Spanner
Nut (Item 12) onto the other Arm (Item 2) (See Figure
17).
Note
On spring engaged BD Caliper Brakes, apply hold-off air
pressure and:
o
BSolete
t
hree
-P
ort
a
ctuator
o
nly
Using a 9/16 inch socket, turn the top bolt clockwise until it
bottoms out (approximately 40 turns), then torque the Tap Bolt
to 13.5-20.2 Nm [10-15 ft-lb].
t
wo
-P
ort
a
ctuator
o
nly
Using a 3/4 inch socket, turn the tap bolt clockwise to fully uncage
(decompress the spring. The spring is fully decompressed when
the hex bolt head is flush against the actuator.
60 PSI Actuator Only
Using a 15/16 inch socket, turn the manual release bolt 12 turns
counterclockwise to fully uncage (decompress) the spring.
Remove hold-off air pressure.
26. Perform Friction Facing adjustment (See FRICTION
FACING CLEARANCE ADJUSTMENT).
DIAPHRAM REPLACEMENT
The diaphragm, part #1555, is the air seal in the service
chamber of the Spring/Air actuator and the Air Actuator.
(See Figure 18).
Air/Spring Actuator:
1. Make sure the Air/Spring Actuator is manually
released as outlined on page 16, MANUAL RELEASE,
Disengagement. Note: Three-port or two-port
instructions.
2. Use a spanner wrench to loosen the spanner nut and
unscrew the Spring/Air Actuator from the brake arm.
3. Using a 9/16” wrench to remove the nut on the clamp
ring. Hold the spring actuator securely in place, remove
the clamp ring and remove the spring actuator from the
service chamber.
4. Discard the old diaphragm and install a new diaphragm
in the bottom recess of the Air/Spring Actuator.
5. Position the Air/Spring Actuator onto the housing/tube
assembly and re-install clamp band.
6. Firmly tap the clamp band around its circumference
while tightening the clamp band nut to ensure proper
seating. Tighten nut to 20-25 ft.-lbs. torque.
7. Screw the actuator back into the arm and tighten the
spanner nut to 10-14 ft.-lbs.
8. Apply air pressure to the service chamber and check
for air leakage.
Refer to page 16, MANUAL RELEASE, Re-engagement
instructions.
Refer to page 8, “FRICTION FACING CLEARANCE
ADJUSTMENT” for Air/Spring Actuator re-engagement
and facing clearance adjustments.
Air Actuator:
1. Use a spanner wrench to loosen the spanner nut and
unscrew the Air Actuator from the brake arm.
2. Using a 9/16” wrench to remove the nut on the clamp
ring. Remove the clamp ring and remove the Air Actuator
pressure cap.
3. Discard the old diaphragm and install a new diaphragm
in the pressure cap.
4. Position the pressure cap onto the housing/tube
assembly and reinstall the clamp bolt and nut.
5. Firmly tap around the circumference of the clamp ring
with a hammer to assure full seating and tighten the
nut to 25-30 ft.-lbs. torque.
6. Screw the actuator back into the arm and tighten the
spanner nut to 10-14 ft.-lbs.
7. Apply air pressure to the service chamber and check
for air leakage.
Refer to page 8, “FRICTION FACING CLEARANCE
ADJUSTMENT” for Air/Spring Actuator re-engagement
and facing clearance adjustments.
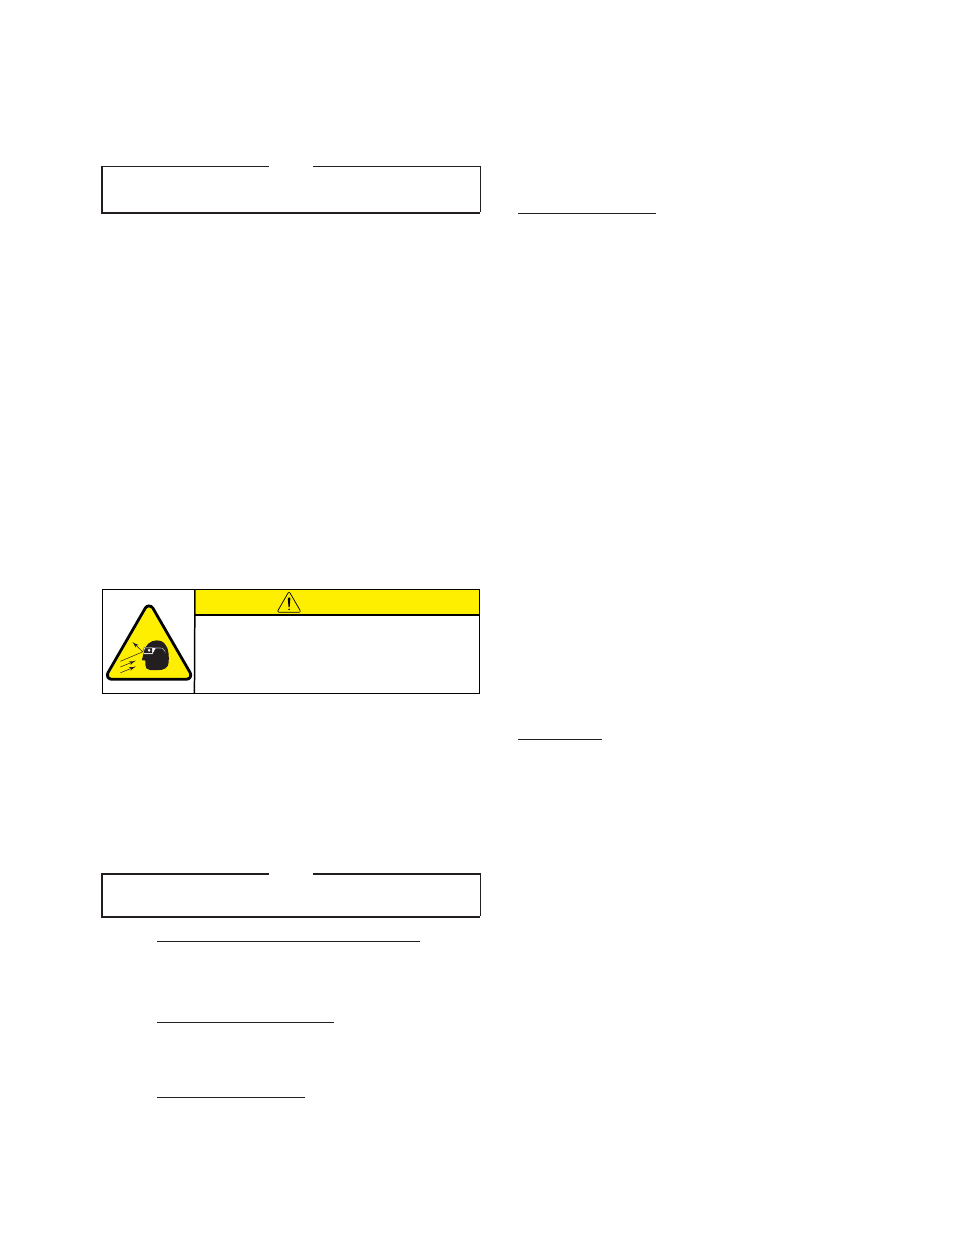
CAUTION
Working with spring loaded or tension
loaded fasteners and devices can cause
injury. Wear safety glasses and take the
appropriate safety precautions.
PARTS REPLACEMENT (continued)