Hardware installation – Vortech Cog Drive Upgrade for 2010-2011 Camaro User Manual
Page 13
DP/N: 007123v1.0
© 2010 Vortech Engineering, LLC
All Rights Reserved, Intl. Copr. Secured.
11FEB2010 50MM COG UPGRADE
5
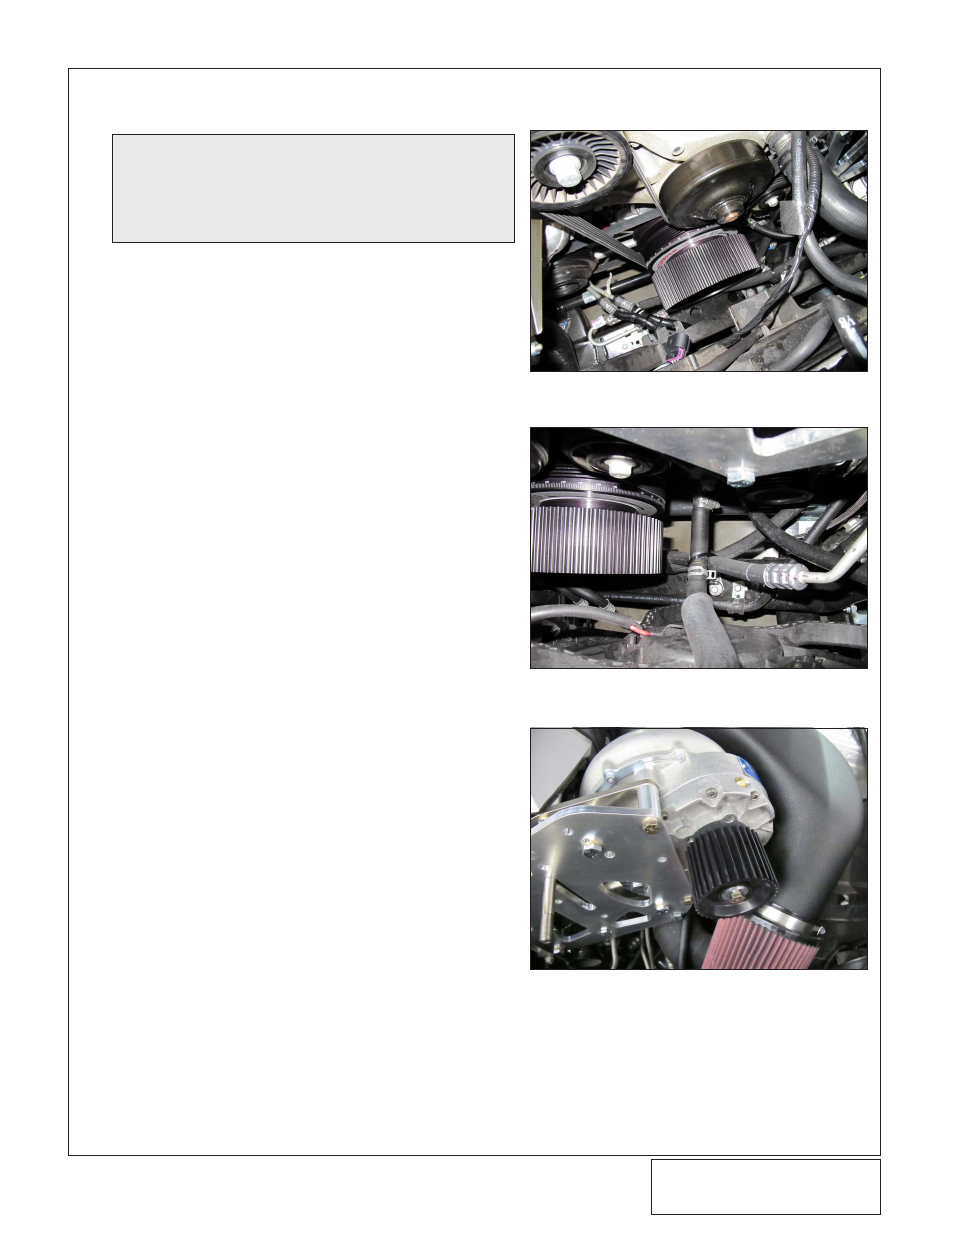
A.
Re-using the crank spacer and six previously
removed bolts with washers, install the newly sup-
plied 75 tooth cog crank pulley using a drop of
blue loctite thread locker on each fastener.
Tighten all hardware evenly, using a progressive,
criss-cross pattern. Torque to 35 ft/lbs.
B.
Adjust any factory hoses or lines to ensure ade-
quate clearance around the new drive pulley for
trouble free operation.
C.
Install the supplied 50 mm cog supercharger pul-
ley onto the supercharger input shaft with the long
hub facing the supercharger. Make sure to align
and install the square key way. Secure pulley
using the supplied retainer along with a drop of
blue loctite on the 3/8-24x2" bolt and washer.
See FIG 2-c
2.
HARDWARE INSTALLATION
Fig. 2-a
Fig. 2-b
Fig. 2-c
NOTE:
Do NOT hammer, press, or pry etc. on either
of the pulleys when installing or removing
them. Lightly heat the pulley with a propane
torch until the pulley slides onto the input
shaft/crank pulley spacer pilot.