Hanna Instruments HI 23 User Manual
Page 19
37
36
Calibration procedure may be interrupted by pressing CAL
again at any time. If the calibration procedure is stopped
this way, or if the controller is switched off before the last
step, no calibration data is stored in nonvolatile memory (EE-
PROM).
ANALOG INPUT CALIBRATION
The analog input is already factory calibrated. However, the
user may also perform a 2-point calibration at 4 and 20 mA.
It is sufficient to perform the calibration on one range only.
• Connect a mA simulator (e.g. HI931002) to the analog
input of the controller (#5 at page 7)
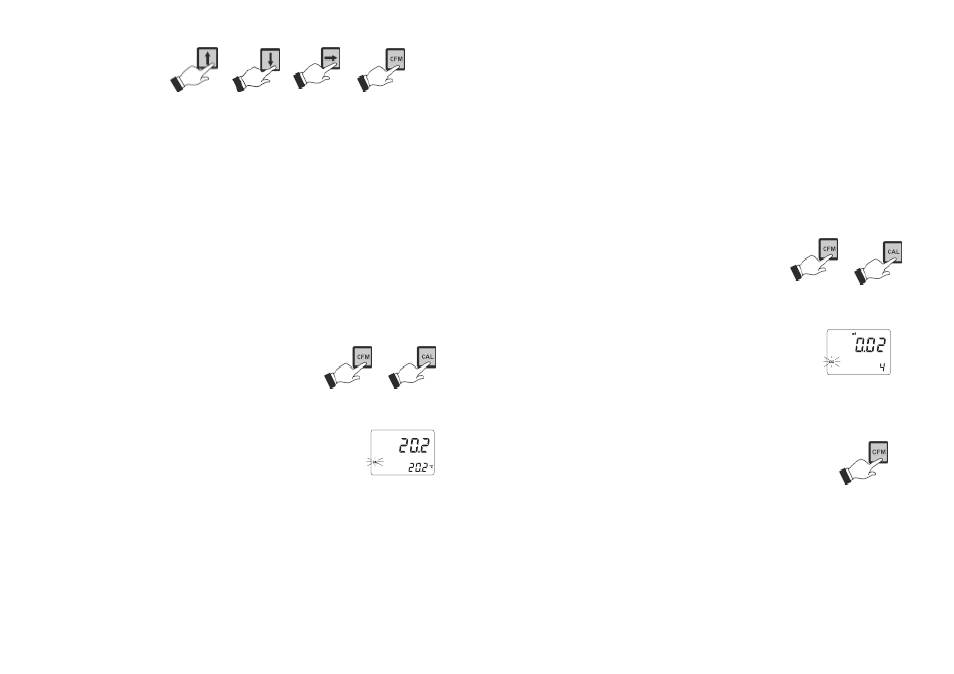
• Press and hold first CFM and then CAL to enter the analog
input calibration mode.
• Execute the password proce-
dure.
• Select code 0 via the arrow
keys for analog input calibra-
tion and confirm with CFM. CAL will blink on the LCD.
• The secondary LCD will display “4” for the first calibration
point. The primary LCD will display the
conductivity reading.
• Set the mA simulator to 4 mA and wait
for the reading to stabilize, CAL will stop
blinking and an intermittent CFM will prompt the user to
confirm the calibration.
• If the reading stabilizes at a reading significantly variant
from the first calibration point, an inter-
mittent ERROR will prompt the user to
check the input.
• If everything is satisfactory the secondary
LCD will display “20” for the second cali-
bration point.
• Set the mA simulator to 20 mA and wait for the reading to
stabilize, CAL will stop blinking and an intermittent CFM
will prompt the user to confirm the calibration.
Note
Press SETUP before CFM to exit without changes.
Note
It is suggested to calibrate the offset before entering the cali-
bration buffer direct selection.
TEMPERATURE CALIBRATION
The controller is factory calibrated for temperature. However,
the user may also perform a one point temperature calibra-
tion. This procedure is to calibrate the offset only; the slope
will remain as factory calibrated.
• Prepare a beaker containing a solution at a given tem-
perature inside the range of the meter.
• Use a Checktemp or a calibrated thermometer with a
resolution of 0.1° as a reference thermometer.
• Immerse the temperature probe in the beaker as close to
the Checktemp as possible.
• Press and hold first CFM and
then CAL to enter the tem-
perature calibration mode.
• Execute the password proce-
dure.
• Select code 1 via the arrow keys for temperature calibra-
tion and confirm with CFM.
• CAL will blink on the LCD. The measured
temperature will be displayed on both the
primary and secondary LCD.
• Use the arrow keys to set on the secondary LCD the tem-
perature read by the reference thermometer.
• When the reading has stabilized at a value near the cali-
bration point, CAL will stop blinking and an intermittent
CFM will prompt the user to confirm the calibration.
• If the reading stabilizes at a reading significantly variant
from the first setpoint, an intermittent ERROR will prompt
the user to check the beaker or bath.