Hanna Instruments HI 98713 User Manual
Page 19
36
37
For field measurements,
HI 98713 is powered by 4 AA batteries.
The battery life is enough for 3500 normal measurements.
When the instrument is started, the remaining battery life is
estimated and reported in percents.
To preserve the battery it is better to use normal instead of
averaged measurements.
Continuous measurements keep the LED on and should be used
with caution if the battery life is an issue.
To further save the battery life, the instrument will turn off
after 15 minutes of non-use. The backlight will be turn off
after 25 seconds since the last key was pressed.
The battery life is measured each time the LED is turned on
and if the remaining battery life is less than 10%, the battery
tag will be displayed blinking on the LCD to warn the user that
the batteries need to be replaced.
When the batteries are completely discharged, “0% bAtt” message
will be displayed for one second and the instrument will turn off.
In order to use the instrument again, replace the batteries with
new ones or use an AC adapter.
B A T T E R I E S M A N A G E M E N T
B A T T E R I E S M A N A G E M E N T
B A T T E R I E S M A N A G E M E N T
B A T T E R I E S M A N A G E M E N T
B A T T E R I E S M A N A G E M E N T
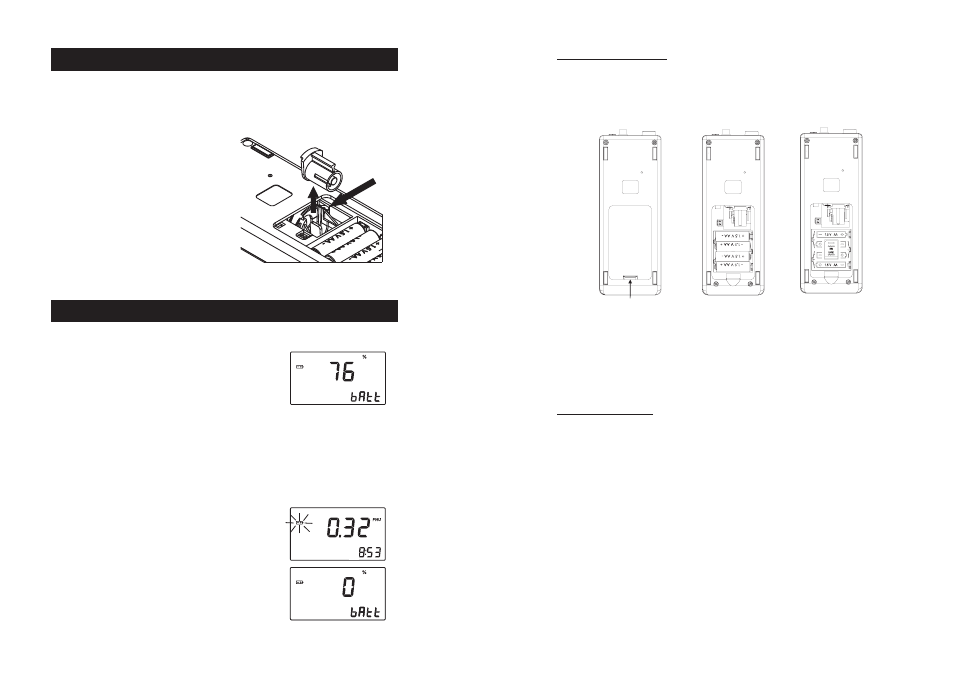
BATTERIES REPLACEMENT
To replace the batteries follow the next steps:
• Press ON/OFF to turn OFF the instrument.
• Open the batteries cover by pressing the locking clip.
• Take out the used batteries and insert 4 new 1.5 AA size batteries, while paying attention to the
correct polarity as indicated on the battery compartment.
• Replace the cover and press it until it locks.
• Turn the instrument ON.
Warning: Replace batteries only in a non-hazardous area.
USING AN AC ADAPTER
The
HI 98713 can be powered from the AC adapter when used in laboratory. See the Accessories
section to select the correct AC adapter.
To power the instrument, simply connect the AC adapter to the instrument (see Connectors Description,
page 9).
It is not necessary to turn the instrument off when connecting the external adapter.
Note: The connection to the external adapter will not recharge the batteries.
L E D R E P L A C E M E N T
L E D R E P L A C E M E N T
L E D R E P L A C E M E N T
L E D R E P L A C E M E N T
L E D R E P L A C E M E N T
In case of LED failure, the defective LED can be easily replaced. When the LED is broken, the
instrument displays “no L” error message.
To replace the LED follow the next steps:
• Remove the battery lid.
• Unscrew the LED connection using a screwdriver.
• Unlock the LED and extract it by pulling it out
from the LED holder handler.
• Place the new LED in the right position and
push it until is securely locked.
• Insert the LED leads into the connector and
tighten them using a screwdriver.
Warning: After LED replacement the meter needs
to be recalibrated.