Т³гж 12, Rr r r – Q-See DVR User Manual
Page 12
Q-See Q25DVR4ES User's Manual
Q-See Q25DVR4ES User's Manual
Chapter 6: Recording - 6.1 Start Recording
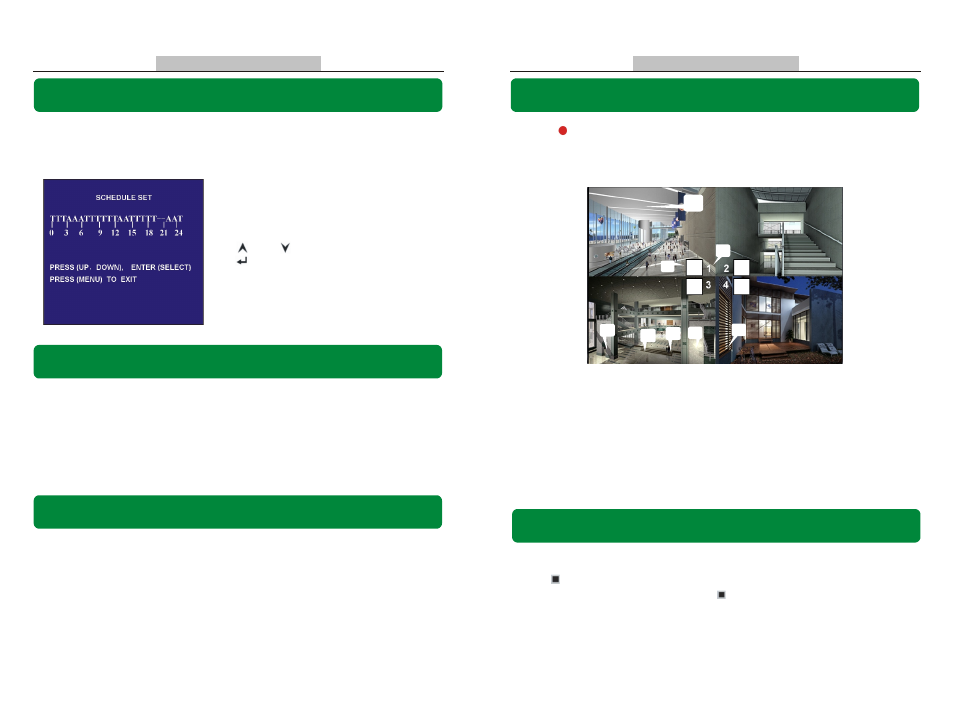
Press [ Record ] to start recording (As set in 5.7 Schedule Set).
System will display information on Screen.
NOTE: Only EACH Mode can enlarge single channel to full screen display.
1. Hard Drive Usage (Displayed as a percentage)
2. Recording Symbol (channel is currently recording)
3. Channel Name
4. Mode (QUAD or EACH)
5. Status (REC, Play, FF1, FF2, FF3, REW, PAUSE)
6. HD Info. ([M] Master Hard disk)
7. Schedule settings: (T) Continuous (A) Motion (-) No Recording
8. The time and date on the DVR
10%
1
QUAD REC [M] (T) 2008/07/01 16:22:30
R
R
R
R
3
2
4
5
6
7
8
Page 11
Page 16
Chapter 5: DVR Setup - 5.7 Schedule Set
User can setup video recording method by Time, Motion Triggered and Continuous
Recording.
"-" No Recording.
"T" Continuous (System Default).
"A" Motion Triggered.
[ ] Up / [ ]Down: To move the prompt.
[ ] Select: To select Method.
Numbers along bottom are hours of the day.
Chapter 5: DVR Setup - 5.8 Sub Menu-Auto Record
Chapter 5: DVR Setup - 5.9 Sub Menu- Password Enable
Chapter 6: Recording - 6.2 Stop Recording
When the function is set to be "ON", DVR will be awaked to record automatically
by schedule if DVR is without any manual operations in five minutes.
When you choose "OFF", DVR will not record until you press the [RECORD]
button.
When this option is set to be "ON", you will be required to enter the password if
you want to stop recording or enter menus.
Press [ Stop] and system will prompt you to input password if you have already activated
the password. If password option is disabled [ Stop] will not stop recording.