Operation, Speed selection – Black & Decker 9400 User Manual
Page 8
Attention! The text in this document has been recognized automatically. To view the original document, you can use the "Original mode".
Speed Selection
The five speeds of which your drill press is capable will handle almost any
drilling project you may encounter. Generally speaking, you should use lower
speeds for drilling in metals and higher speeds for drilling in wood and wood
compositions^^Use the Speed Selection Chart as a guide in determining the
best drilling speed for your application. Always experiment in scrap material if
possible.
As a general rule you should drill pilot holes for metal drilling (except
when using hole saws). Also use cutting oil with most metals except case iron
and brass which should be drilled dry.
When using a twist bit for drilling wood or wood compositions, it will be
necessary to pull the bit from the hole frequently to clean chips from the flutes.
Care should be exercised when drilling plastics to avoid melting them.
ALWAYS CLAMP THE WORKPIECE.
ALWAYS WEAR EYE PROTECTION.
Material
Being Drilled
Type of
Drill Bit
Speed Setting
#9400
Comments
Metal: Ferrous
& Non-Ferrous
High speed
Steel Twist Bit
620 or 1100
RPM
Generally the low speeds
are best for drilling metal.
Metal: Ferrous
& Non-Ferrous
Hole Saw
620 or 1100
RPM
Generally lower speeds are
best. Hole saws are noisy.
Ceramics,
Masonry, Glass
Carbide Bit
620 RPM
Use very low speeds and
light pressure.
Plastics &
Laminates
High Speed
Steel Twist Bit
620 or 1100
RPM
Use care to avoid melting.
Plastics &
Laminates
Hole Saw
620 or 1100
RPM
Use care to avoid melting.
Wood & Wood
Compositions
High Speed
Steel Twist Bit
1720, 2340 or
3100 RPM
Remove bits from hole
often to remove chips.
Wood & Wood
Compositions
All Other Bits
(Spade, Auger,
Hole Saw)
1720, 2340 or
3100 RPM
SPINDLE RPM
CHUCK
MOTOR
3100 Muni
2340
■■■■1 ■■■■■■■■
1720 HBHIHII BBHHHHI
1100
■■■■■■■■■ ■■■■I
620
—
Operation
ALWAYS WEAR EYE PRO
TECTION. TURN OFF AND
UNPLUG DRILL PRESS WHEN
MAKING ANY ADJUSTMENTS.
These four steps constitute the
actual drilling of a hole. Before you
start step 1, select the proper speed,
set the drilling depth control, position
the work table so that the desired
drilling depth can be attained (not
too low), and centerpunch the
position of the hole to be drilled.
Drill in the center of the Work
Table so that the drill bit will pass
harmlessly through the clearance
hole.
1. Clamp Work — Always clamp
the workpiece to the Work Table
or other supporting surface. Use
“C” clamps, bar clamps, cinch
clamps or any other device you
can find to solidly anchor the
workpiece.
2. Insert the desired drill bit into
the chuck as far as it will go and
then pull it back out about 1/16".
Tighten the chuck with the key
in all three holes. (It is important
to tighten in all three holes.)
3. Make sure that the switch is
OFF and plug the tool in. Turn
the drill ON.
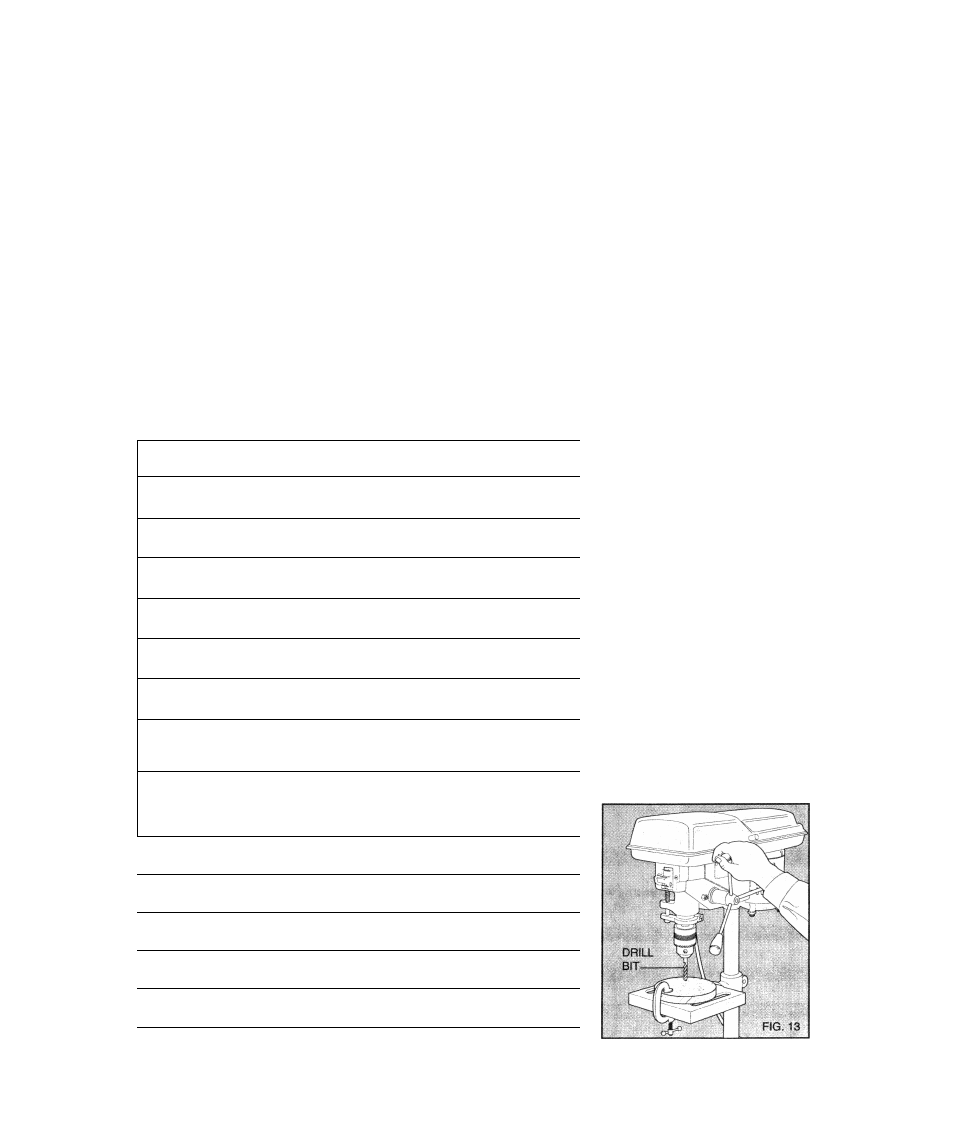
4. Using one of the three handles,
lower the drill bit into the
workpiece, as shown in Figure
13.