To transport log splitter, Adjustments – MTD 556 User Manual
Page 11
Attention! The text in this document has been recognized automatically. To view the original document, you can use the "Original mode".
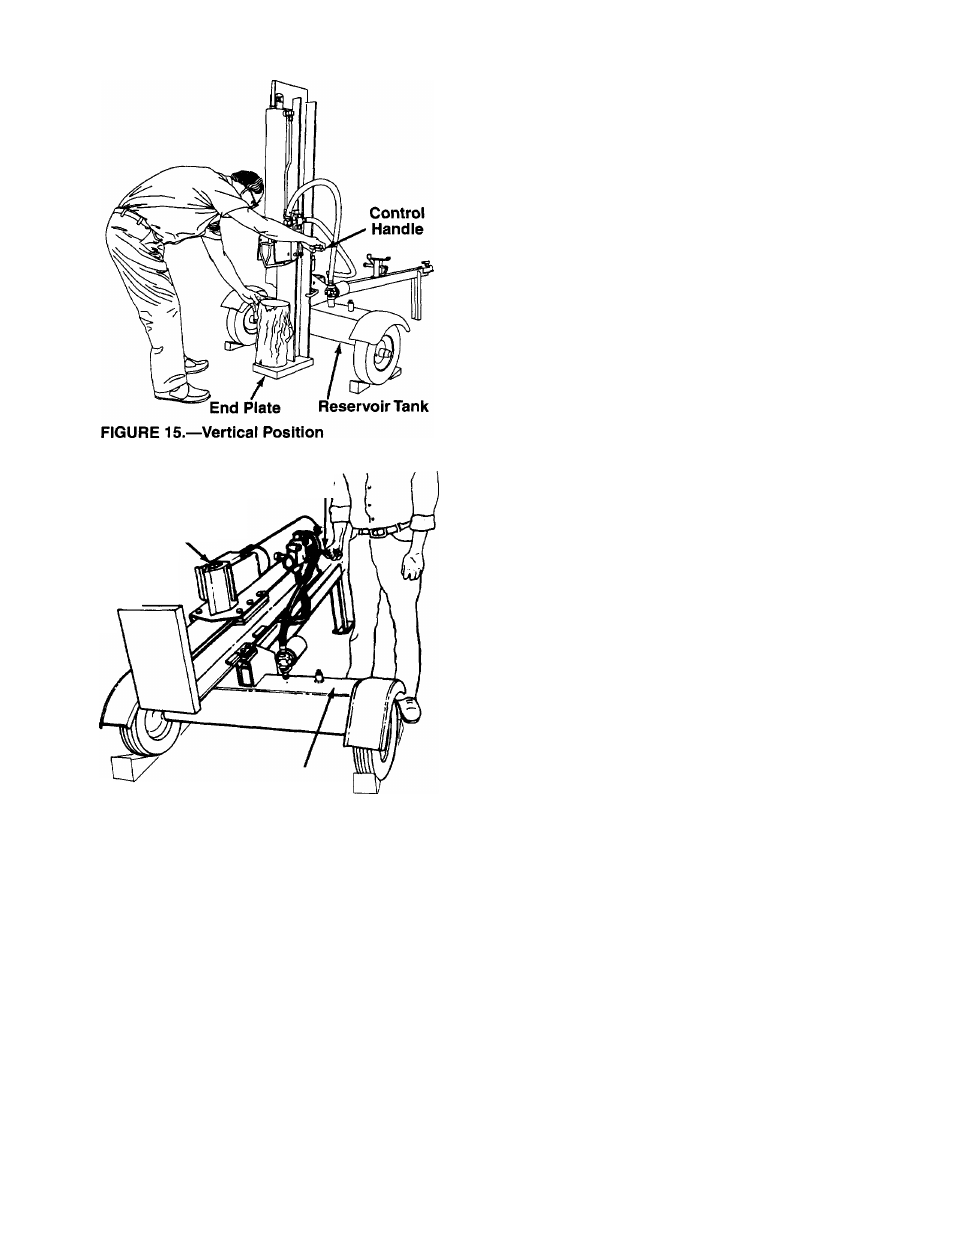
Control!
Handle!
Splitting
Wedge
End Plate
A
Reservoir Tank
FIGURE 16.—Horizontal Position
TO OPERATE LOG SPLITTER:
A
WARNING: Wear leather work gloves,
safety shoes and safety glasses when
operating log splitter. Ensure safe footing.
1. Place the log splitter on level dry solid ground.
2. Place the beam in either the horizontal or vertical
position and lock in place with the appropriate
locking rod. See figure 7 or 13.
3. Place a chock (block) in front and back of both
wheels.
4. Set the engine throttle at maximum speed.
5. Place the log against the end plate. Only split
wood in the direction of the grain.
6. When necessary to stabilize the log, place your
hand only on sides of log, NEVER on the end
between the log and splitting wedge.
7. ONLY ONE ADULT SHOULD STABILIZE THE
LOG AND OPERATE THE CONTROL HANDLE
so the operator has full control over stabilizing the
log and movement of the splitting wedge.
8. Operating Positions:
• Vertical—Stand in front of the log splitter. Oper
ate the control handle with your right hand and
stabilize the log, if necessary, with your left
hand. See figure 15.
• Horizontal—Stand behind the reservoir tank.
Operate the control handle with your right hand
and stabilize the log, if necessary, with your left
hand. See figure 16.
9. Move the control handle into the FORWARD (split
ting) position.
10. Relese the control handle to stop the wedge
movement.
11. Move the control handle to the REVERSE position
to return the wedge.
A
WARNING: If the fluid becomes exces
sively hot at any time during operation,
stop the unit and aiiow the fiuid to cooi
down. Maximum performance wiil not be
obtained from your log splitter if the fluid
is too hot. Use extreme caution as con
tacting hot fluid could result in serious
personal injury.
TO TRANSPORT LOG SPLITTER
1. Lower the beam to its horizontal position. Make
certain the beam is latched securely with the lock
ing rod.
2. Remove the quick release pin which secures the
jack stand. Support the tongue, and pivot the jack
stand up against the tongue. Secure with the
quick release pin.
3. Attach the hitch to a towing vehicle, making
certain to latch securely. Attach the safety chains
to the towing vehicle.
ADJUSTMENTS
A
WARNING: Always stop the engine and
disconnect the spark plug wire before
performing any adjustments.
11