Troy-Bilt 31/2 HP User Manual
Page 33
Attention! The text in this document has been recognized automatically. To view the original document, you can use the "Original mode".
MAINTENANCE
2. Place the wire-form belt guide over the cutter bar
belt as shown in Photo 5-30. Secure the wire-form
belt guide in place with the previously removed bolts.
EQUAL DISTANCE WHEN
J’USHiNG IDLER,.oULLEY
d-O RIGHT -
Photo 5-30: Reinstalling the wire-form belt guide.
3. Push the idler pulley to the right so that it applies
tension to the cutter bar drive belt. Check the wire-
form belt guide to make sure that there is an equal
gap on both sides of the belt between the “legs” of
the wire-form belt guide and the outer surfaces of the
cutter bar drive belt. See Photo 5-30. If the gaps are
not equal, check the wire-form belt guide for damage.
Replace It with a new one if necessary.
4. Reinstall the forward belt guide pin.
5. Remove the wooden blocks from beneath the
mower’s wheels.
6
. Clean any dirt or old grease off the flywheel and
the back channel of the drive arm. Apply fresh auto
motive-type grease to the inside surfaces of the back
channel.
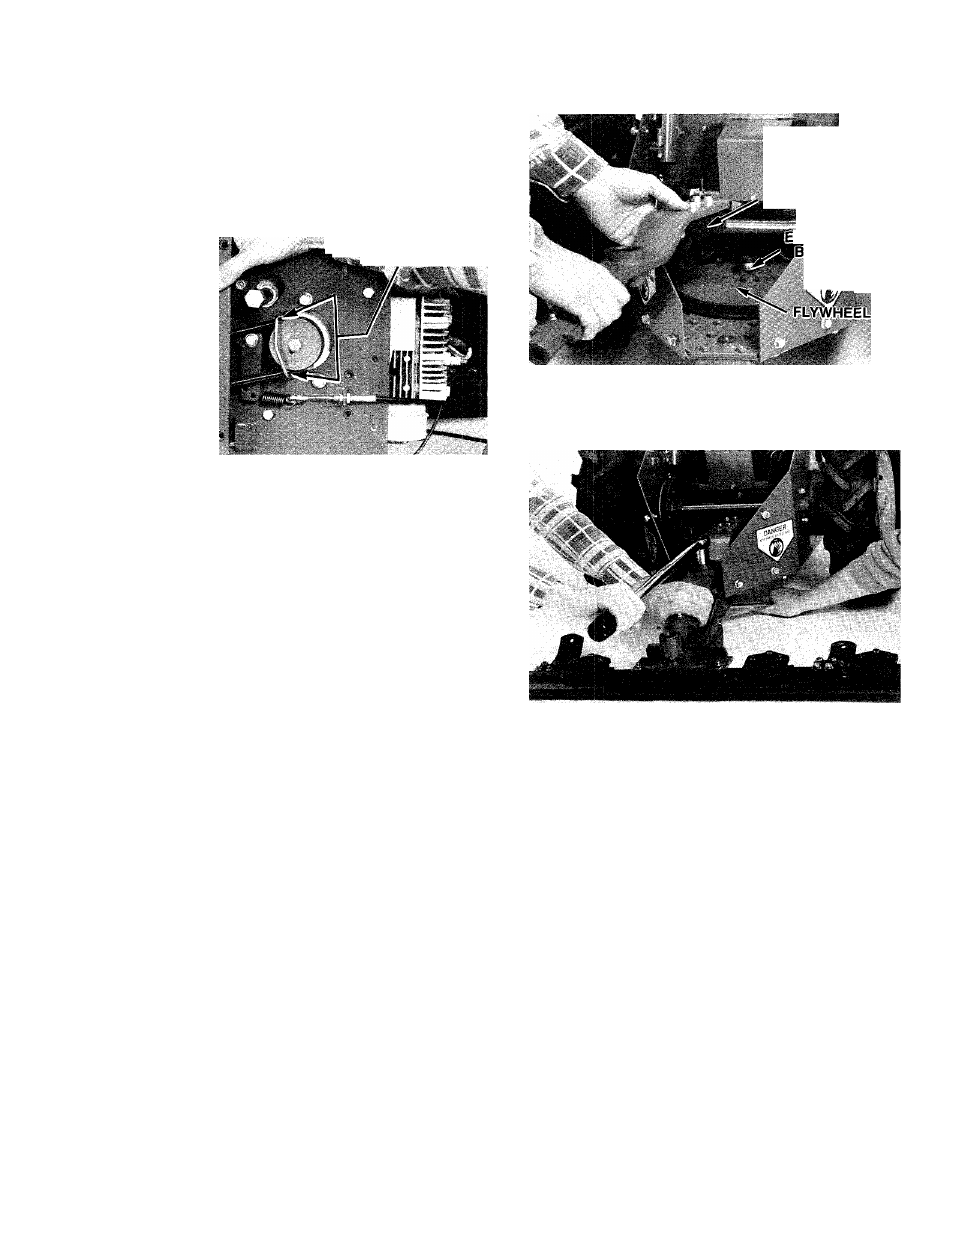
7. Make sure that the drive socket is in place in the
forward end of the drive arm. Place the drive arm onto
the drive arm pivot bolt, making sure that:
a. The drive socket on the front of the drive arm
goes onto the cutter bar drive pin.
b. The back channel on the drive arm goes over
the eccentric bearing on the top of the flywheel. If
necessary, rotate the flywheel by hand to line up
the eccentric bearing with the back channel.
8
. Place the washer onto the drive arm pivot bolt.
Then screw the nut onto the drive arm pivot bolt until
it’s finger tight.
9. Place the 1 -inch box end wrench on the head of
the drive arm pivot bolt. Put the 15/16-inch socket on
a
100
foot-pound torque wrench and tighten the nut
on the drive arm pivot bolt to
100
foot-pounds.
KmTi
CHANNEL'
6CENTRIC
EARING».
13*^
Photo 5-31: Reinstalling the drive arm.
Photo 5-31 A: Torqueing the nut on the drive arm pivot bolt.
NOTE
It is easier if you have an assistant to help when
you torque this nut. If you don’t have an assis
tant, brace the right-hand end of the cutter bar
against a solid object to prevent the mower from
moving when you tighten the nut.
10. Adjust the cutter bar drive system. Refer to
“Cutter Bar Drive Adjustment (Generai)”.
11. Install the cutter bar belt cover in place beneath
the engine deck. Use the V
2
-inch wrench to evenly
tighten all nine bolts that secure it in place. Note that
the single, Va-inch long bolt goes into the middle hole
at the rear of the cover.
12. Reinstall the hood to the side frame plates and
rear hood. Use the Va-inch wrench to evenly tighten
the six bolts that secure the hood in place.
13. After several hours of operation, you may have to
repeat the cutter bar drive adjustment procedure due
to the new belt’s having become seated in the grooves
in the engine driven pulley and flywheel.
31