Section, A caution – Troy-Bilt 12065 User Manual
Page 22
Attention! The text in this document has been recognized automatically. To view the original document, you can use the "Original mode".
Section
]
Carefully read this Section on en
gine and tiller maintenance and
service.
Performing the required mainte
nance according to schedule will
ensure the proper performance
and long life of your machine.
A CAUTION
Before inspecting, cleaning or
servicing the machine, shut off
engine, make sure that ail mov
ing parts have come to a com
plete
stop,
then
disconnect
spark plug wire and move wire
away from spark plug.
Failure to follow these instruc
tions can result in personal in
jury or property damage.
NOTE:
All references to left, right,
front and rear of the machine are
determined by standing behind the
handlebars and facing the direction
of forward travel.
Subjects covered in this Section include:
Regular Maintenance
Tiller Lubrication
Checking and Adding Engine Oil
Changing Engine Oil
Checking Transmission Gear Oil
Changing Transmission Gear Oil
Checking for Oil Leaks
Air Cleaner Maintenance
Engine Cooling System Maintenance
Engine Ignition System Maintenance
Tightening Tiller Hardware
Removing and Installing Tine Assemblies
Removing and Installing Single Tines
Checking and Adjusting Belt Tension
Belt Removal and Replacement
Forward Clutcb Bail Adjustment
Tiller Storage
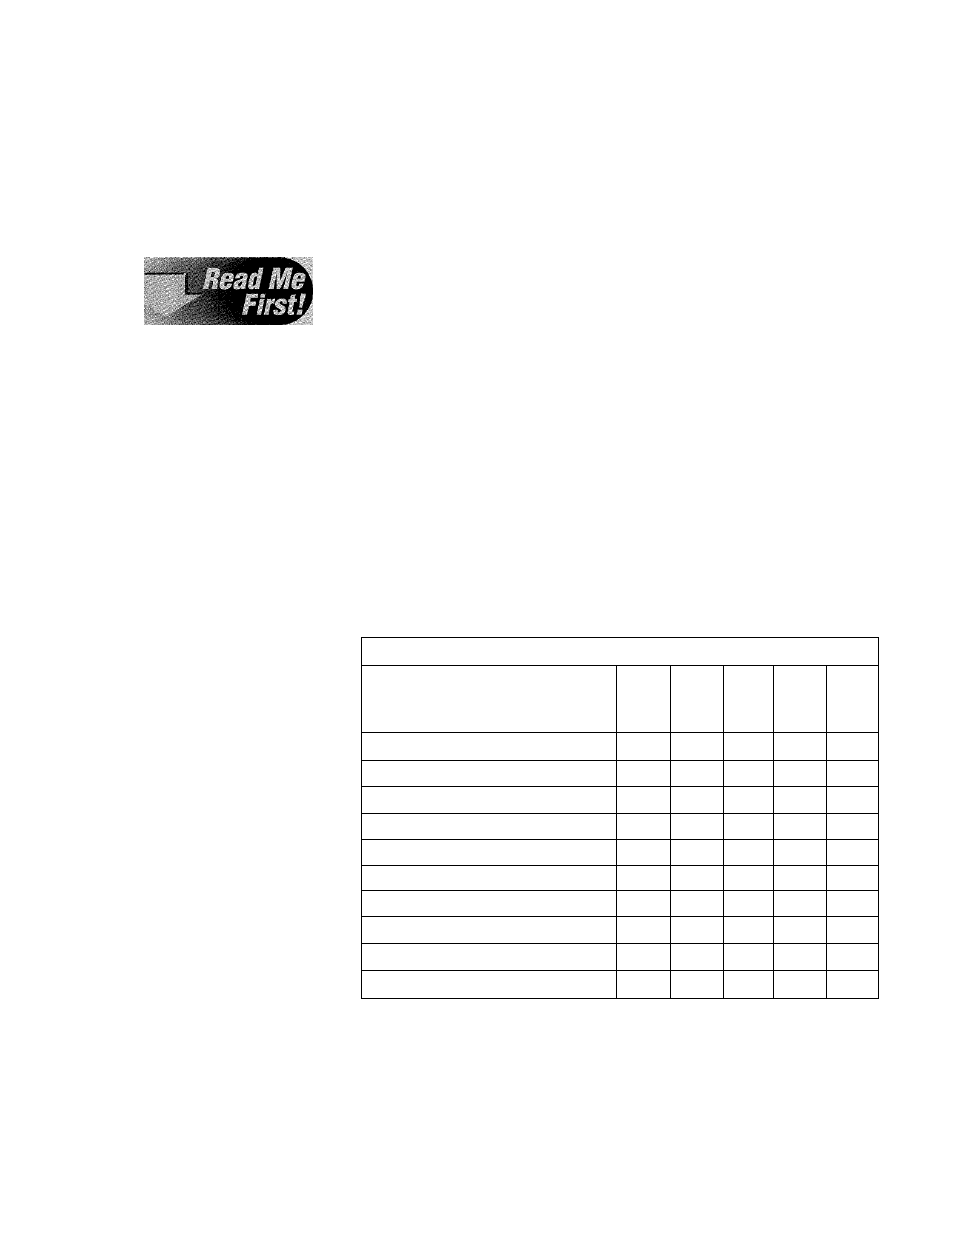
REQUIRED MAINTENANCE SCHEDULE
Before
Every
Every
Every
As
REQUIRED MAINTENANCE
Each
10
30
50
Noted
Use
Hours
Hours
Hours
Check Engine Oil Level
•
1
Clean Engine Cooling Fins
•
Check Bolts and Nuts
•
3
Change Engine Oil
•
2
Check Tension on Drive Belt
•
3
Lubricate Tiller
•
Check Transmission Gear Oil Level
•
4
Check Tines for Wear
•
Inspect Spark Plug
o
Replace Paper Air Filter Cartridge
«
5
NOTE 1 - Check frequently during first 2 hours of new operation; thereafter every 5 hours.
NOTE 2 - Change after 2 initial operating hours; thereafter every 10 hours.
NOTE 3 - Check after 2 initial operating hours; thereafter every 10 hours.
NOTE 4 - Check after 2 initial operating hours; thereafter every 30 hours.
NOTE 5 - Replace more often if used in extremely dusty or dirty conditions
22