Turning the tider around, Tilling in the garden, Avoid making footprints – Troy-Bilt 12065 User Manual
Page 18: Turning the tiller around
Attention! The text in this document has been recognized automatically. To view the original document, you can use the "Original mode".
Turning the Tider Around
Practice turning your tiller in an
open, level area until you feel
comfortable with the procedure.
1.
As you near the end of a row,
lift the handlebars so the tines clear
the ground. Refer to Photo 4-4.
2. As you come out of a row,
swing the handlebars to the side,
pivoting the tiller 180°, so you can
line up with the next row. See
Photo 4-5.
3. As the tiller enters the next row,
lower the handlebars slowly until
the tines start to till.
Tilling in the Garden
The following pages provide
many ideas about using the tiller in
the garden. You can often design
your garden layout to obtain the
most beneficial use from your
tiller.
‘J'.-v;.
Photo 4-4: Exiting a row in the garden.
Photo 4-5: Lining up the tiller to enter the next row.
Seedbed Preparation
Prior to planting, be sure the soil
is as loose and finely textured as
possible due to proper tilling.
About two or three weeks before
planting, till the garden two or
three times. Then, till once more
before planting. This final tilling
helps plants get a head start on fu
ture weed growth.
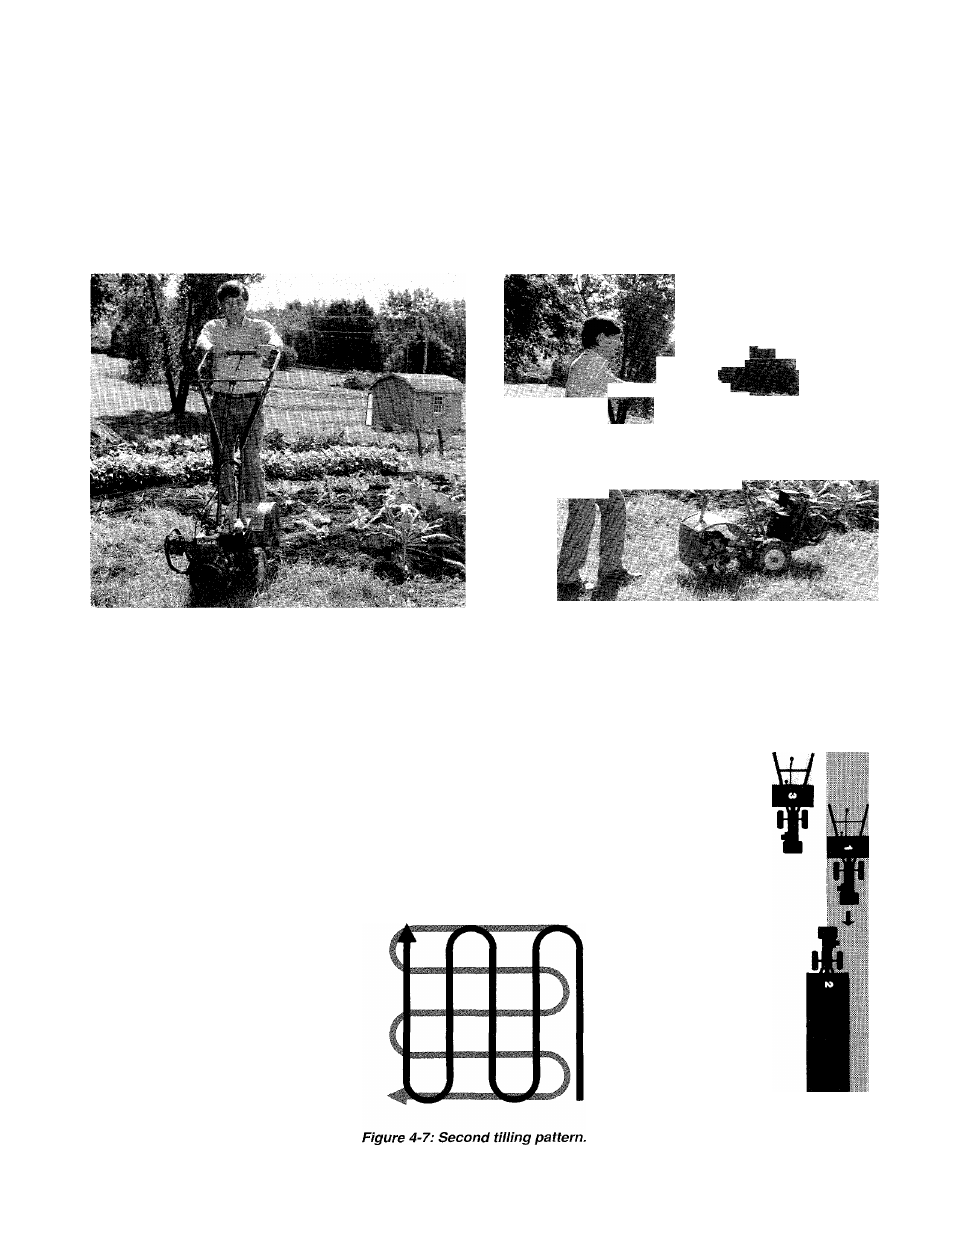
When preparing the soil, go
over the same path twice in the
first row. Then overlap one-half
the tilling width on each succeed
ing pass. See Figure 4-6. After
going up and down the rows in one
direction, make a second pass at a
right angle across your earlier
rows. See Figure 4-7. Again,
overlap each pass to really pulver
ize the soil. (In very hard ground,
three or four passes may be
needed.)
If your garden isn’t long enough
to till lengthwise and then cross
wise, first overlap each pass by
c
Figure 4-6: Initial tilling pattern.
one-half a tilling width, followed
by successive passes of one-quar
ter a tilling width. See Figure 4-8.
Don't till when the soil is too wet.
This produces
large clumps
which later dry
out and become
hard. If the soil
compresses eas
ily into a ball, it
is still too wet to
be tilled.
Avoid Making
Footprints
When tilling, al
ways try to walk
alongside the
tiller on the side
that is yet to be
tilled. This pre
vents replanting
weed seeds and
leaves a nice ap
pearance.
Figure 4-8:
Tilling narrow
strips.
18