Button sewing – SINGER W311 User Manual
Page 21
Attention! The text in this document has been recognized automatically. To view the original document, you can use the "Original mode".
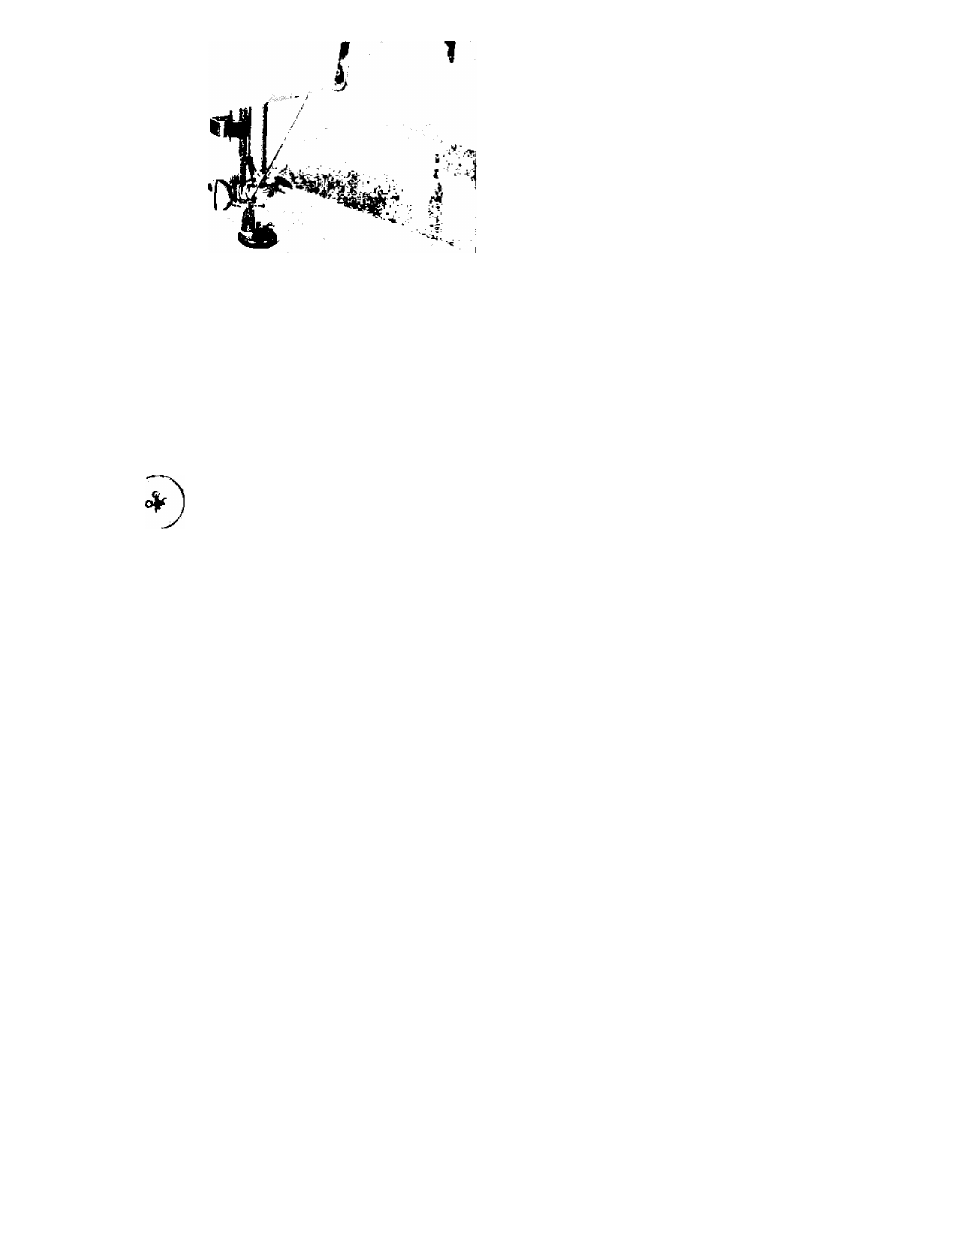
BUTTON SEWING
Turn balance wheel toward you to get needle to its highei
position. Raise presser bar and replace regular presser foot wit
button sewing foot. Drop the feed dog as required for darnin
and embroidering. Upper and lower thread tensions remain th
same as for ordinary sewing.
Place material or garment together with button under tfc
presser foot so that holes in button line up with oblong ho'
in presser foot.
Adjust width of zigzag stitch to permit needle to pass throug
center of holes in button. Then lock zigzag width position.
Before sewing with power, turn the balance wheel by han
toward you to make sure that needle will stitch in the cent(
of the holes in button. If the needle hits the button it will brea^
Then sew five to six stitches to attach button.
When attaching four-hole buttons, first sew one set of tw
holes. Then stitch into second set of two holes. Release zigzr
width lock and lock thread with two or three plain stitches i
last hole.