Ii) wind the bobbin – SINGER W1305 User Manual
Page 5
Attention! The text in this document has been recognized automatically. To view the original document, you can use the "Original mode".
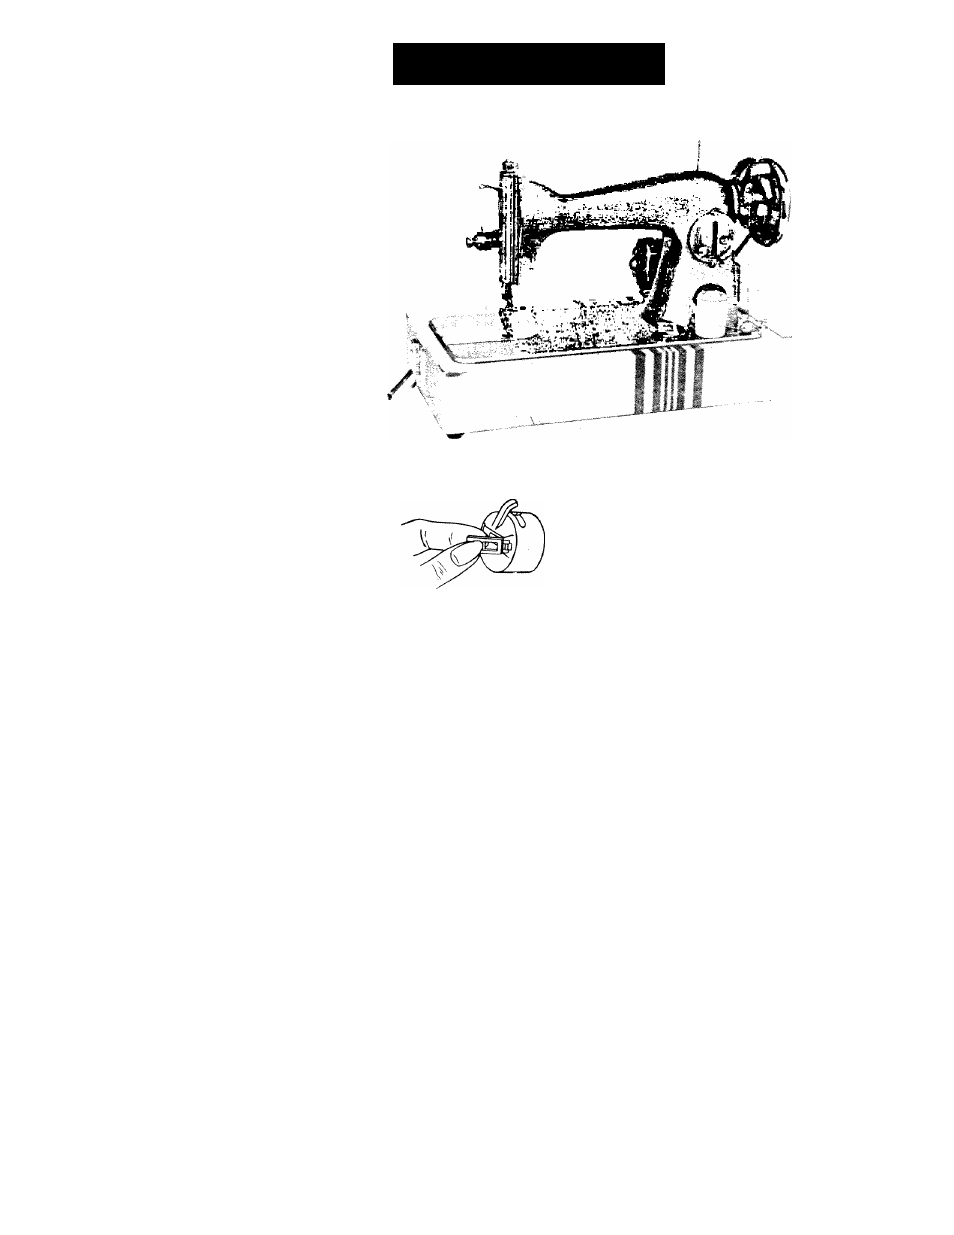
ii) Wind the Bobbin
m
First
remove
the
bobbin
case
as
Follows;
Turn
the
balance
wheel
toward
you
until
the
needle
bar is at its highest point. Hove the slide plate to
the
left,
and
with
two
fingers
grasp
the
hinged-
latch on the bobbin case and remove the case.
The bobbin will remain in the case as long as
you
hold
on
to
the
hinged-latch.
CloSe
the
latch
and the bobbin will fall out.
Loosen the balance wheel (as explained on Page 4.)
Place
a
spool
of
thread
on
the
spool
pin
(A).
Pass
the thread through
the
tension
disc
(B)
at
right
corner
of
ti,e
base
of
the
machine.
Wind
the
end
of
the
thread
around
an
empty
bobbin
six
or
seven
times
and
place
the
threaded
Dobbin
on
the
spindle
iC)
of
the
bobbin
winder.
Press
the
bobbin
onto
the
spindle
making
sure
that the PIN on the spindle fits into the SLOT in the bobbin winder. Push the bobbin
winder
lever
(D)
down
until
the
small.rubber
wheel
presses
against
the
hub
of
the
balance
wheeb
and
the
clasp
(E)
falls
between
the
sides
of
the
boobin,
holding
it
in
position.
Turn
the
balance
wheel
toward
you,
and
press
the
knee
control
or
Foot
control
(as
in sewing) to wind the bobbin completely. Run the machine slowly to wind the bobbin
evenly.
When the bobbin is full it will release automatically and come to a stop. Break off
the thread and remove the bobbin and reset the balance wheel for sewing.
Should
the
thread
wind
unevenly
on
the
bobbin,
adjust
the
tension
discs
(B)
at
the
bottom by loosening the screw and sliding the tension right or left as needed to chance
the tension.
Screw
up
the
adjusting
thumb
screw
(F)
until
the
rubber
ring
gently
touches
the
balance wheeL
Note;—this machine uses standard 15 class bobbins—available at all sewing stores.