SINGER 99-13 User Manual
Page 19
Attention! The text in this document has been recognized automatically. To view the original document, you can use the "Original mode".
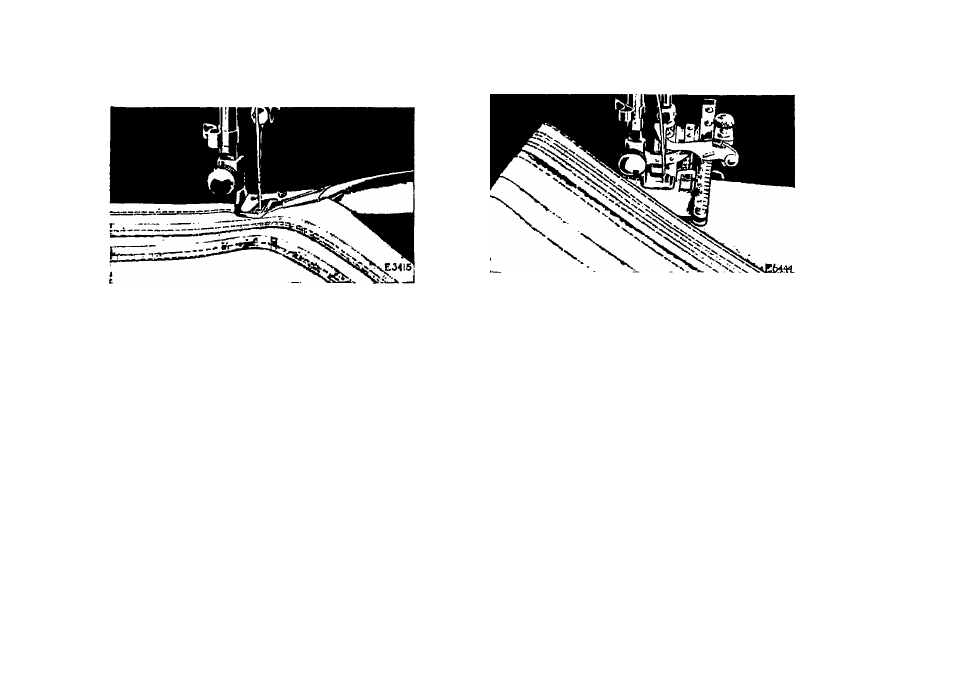
iilslcuil i)f oM tliu (st:e l’’ig. AfUir loosfiiiiig
thè biiuler set sci'iiW iiiid luljusting thè hiiiikT, (i e
ilo
kiu. 33
line of sl.itehiiig eoa he brought nearor the centre,
this being
lume
elTcclive when making 1''rendi fiiMs.
TUCKER
Keaiove
the
presser
foot
and
attadi
the
tucker
ia its place. 'I'he width of tlie tuck is detcraiiacd
by the .scale of figures
acaicst the
needle, which
shows ia eighths and sixteeatlis of aa inch the dis
tance of the edge of the fold from the line of stitching.
'I’lie crea.se or mark for the second and following
tucks is determined by the .scale nearest the operatin'
and this is set by the line in front of the needle hole
in the presser foot. l'‘or blind tucks without spaces
set both .scales at the same figure; to make spaces
bciw.'ea the tucks, move the front scale farther to
the. left until the ilcsired space is obtained.
Having ailjiisted the scales for tuck and space as
desired, fold the material anil crease by hand; iiass
37
Fiu. 31
the folded edge between the spring and spur near
you,
then
between
the
two
blades
of
the
second
scale, and back under the presser foot; draw to the
right against the guide, lower the presser bar; see
that the lever for the nceille clamp to strike is in its
backward position so as to form a crease for the
ne.\t tuck, then i>roceed with the liist tuck.
For the second tuck, fohl carefully at the crease
made by l.he spur and place the edge of the lir.st tuck
inulerneatli
.mil
against
the
spur
at
the
left,
'fhe
spur will serve as a guide and will also make a
distinct crease for the next tuck. .Always place the
last tuck against the spur to ensure perfect woi k.
When making the last tuck, the lever upon which
the
needle
clamp
strikes
while
tucking
.should
be
raised to its highest point; while the lever is m this
po.silion no crease for a succeeding tuck is made
upon the goods.