SINGER 99-13 User Manual
Page 13
Attention! The text in this document has been recognized automatically. To view the original document, you can use the "Original mode".
24
I'lo. R
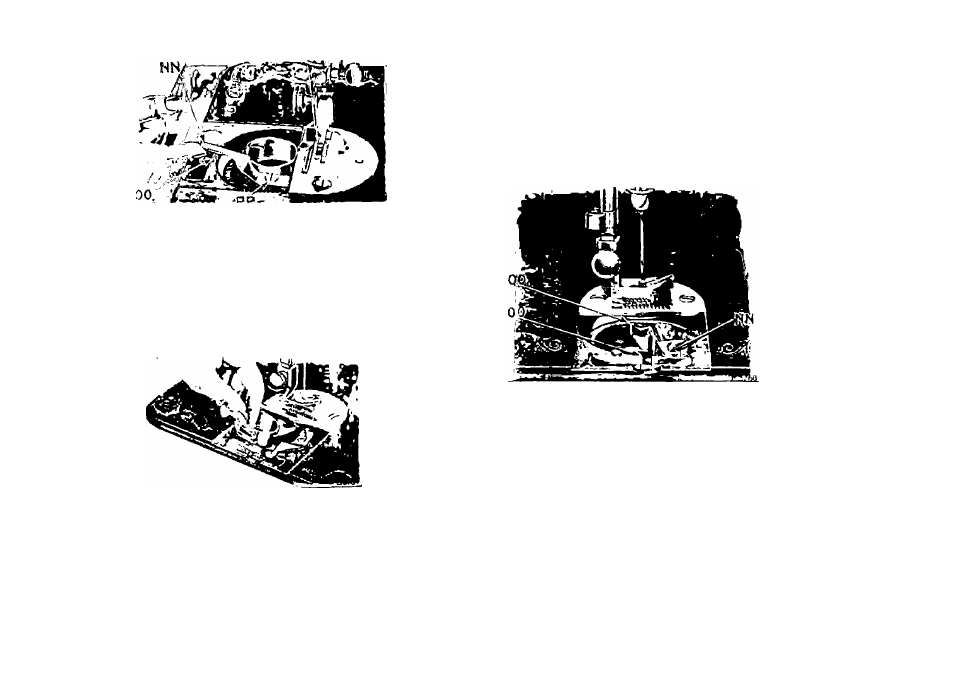
aisinu
tub
L
atch
Insei't the nail of the forefiiiger of tlie left- liaiul
imdcr llic latch (.NN, Fig. laiso the lalch just
high ciumgh to cliau' the edge at (00, Fig. 211)
and then move it toward you.
Under
no
circumstances
must
the
screw
(PP,
Fig. 23) be loosened. 'I'ho loosening of this screw
will change the clearance for the thread between the
bobbin case and bobbin case position bracket.
I'lu.
21
. R
bmovisg
tuu
B
oubin
C
ase
:
Hold the bobbin ca.se between the forefinger and
the thumb of the left hand as shown in Fig. 21. Tilt
the bobbin case to the left and at the same time
slighlly
turn
the
right
or
forked
end
toward
you
so
that
it
is
moved
out
of
engagement
with
the
sewing
hook.
Then
tilt
the
bobbin
case
toward
the right and remove it (See Fig. 21).
To Replace the Bobbin Case
(OesuATOu
BeiNC
at
tub
F
uont
or
the
M
achine
)
See that the neeille is raised to its highest point
and that the latch (N N, I' ig. 25) is raised from the
slot (UO, J'’ig. 25) and moved toward yon.
Fio.
25
. SaowiNO
the
B
obbin
C
ase
P
osition
B
backet
Hold the bobbin ca.se between the forefinger and
thumb of (he left hand, a.s shown in Fig. 21. Insert
the forked end of the bobbin case under the throat
[dale
so
that
the
fork
straddles
the
end
of
the
bobbin
case
iiosition
bracket
((¿(¿,
Fig.
25).
Then
with a slight twisting motion
of the
bobbin case
to the left and to the back, lightly press it down-
wanlly until the edge of the sewing hook engages
in the groove under the rim of the bobbin case.