Making buttonholes – SINGER W711 User Manual
Page 16
Attention! The text in this document has been recognized automatically. To view the original document, you can use the "Original mode".
16
MAKING BUTTONHOLES
mark the beqinning and end of the buttonhole on fabric
with r b.“ng Le o?“.ao?s chalk. Make o„.
“»P f
(following directions below) to be sure machine adjustments ar
""T^Replace presser foot
with
buttonhole foot (Item
which is grooved deeply underneath to prevent piling up of
2
.
3.
4.
5.
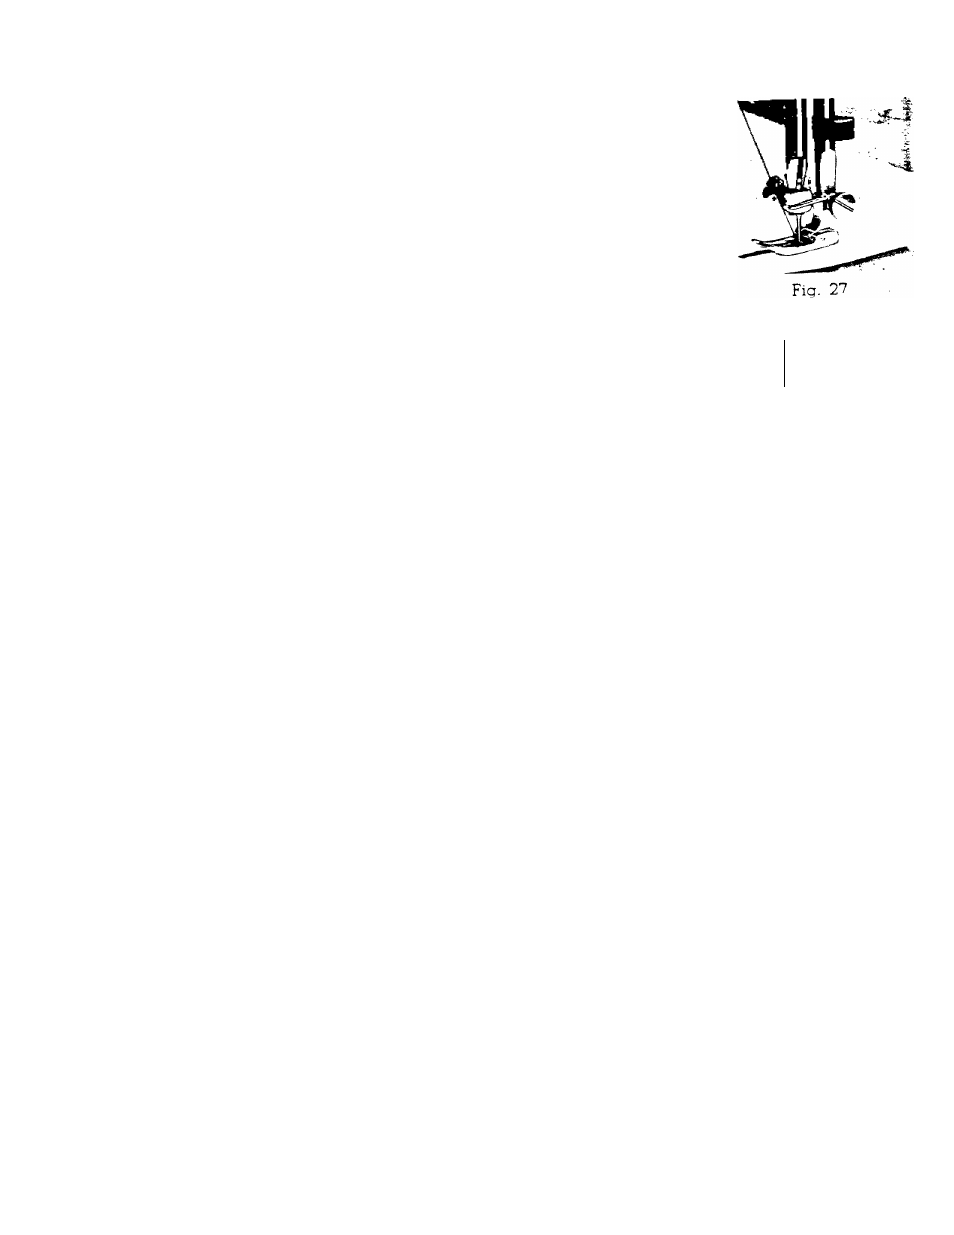
tlir©3.ci. (S©©
2i7).
1
T u
r\
Set stitch width at SVs and stitch length
Lower needle carefully into the mark on fabric ^dicating th
beginning of buttonhole. Stitch to the
J^V in
buttonhole, step 1, Fig. 28, stopping machine with needle in
fabric at right side of stitching.
T-,ivnt
Lift the presser foot and using the needle as a pi ,
^
turn the fabric end for end.
,
,
, ■ .
lo
I-
Lower presser foot and turn hand wheel ]ust enough
raise needle out of fabric.
6
.
7.
8
.
9.
10
.
s
%
S
T
g:
E
-S
T
E
$
T-
P g
P
2
3
Fiq. 28
S 5 5
T ^ ^
§
p • / .
P P L
L 5 I
E U
raise neeaie oui ui lauxiu.
.
Push drop feed button all the
way
down and
^
zag stitch width knob as far to the right as P°^e
^
and hold. Take five or six stitches to form bar tack ^
^
Se^eSle^out of fabric, allow stitch width knob to
spring back to stop and return feed
1
°_^P P°sifi°^^-
Stitch second side of buttonhole, step 3.
Stitch bar tack by repeating 5 and
6
above (step
^
fasten bar threads and prevent
Return stitch width to 0 and take two or three
*° "Siig careful not to cut the
ravelling. Cut the buttonhole opening with the seam ripper, o y
stitching.
V, rar .toft- material place tarlatan or paper, under
If you plan to make buttonholes on sheer or soft materia , p
fabric which can be torn away after stitching.