Straight stitching – SINGER W711 User Manual
Page 13
Attention! The text in this document has been recognized automatically. To view the original document, you can use the "Original mode".
eeding
.
You
:essary
of the
ntrol.
STRAIGHT STITCHING
eluded in your accessory box. Both
Needle Plate:
Changing the Presser Foot an
C l )
Presser Foot
(A)
Loosen thumb screw
v
remove zigzag presser oo^
(B)
Replace with straight stitch presser foot
(Fig. 22A).
(2) Needle Plate
^
Slide cover plate (lo, iig-
^
far as possible.
„
^
„ -Ur^ldina needle plate (,
1
b,
Remove screws hoiaing
Fig. 1) to bed plate.
Remove zigzag needle plate.
Replace with straight stitch needle plate
(Fig. 22B).
Be suce to set the -o.-t. -.idtl, and buttonhole
(A)
(B)
(C)
(D)
Be sure
to
set
1
x
1
»=^ °
------- -—-— ---------- ^
^
control knob at
0
or the needle will break in striking
the foot or plate.
,
-c--
001
and nress
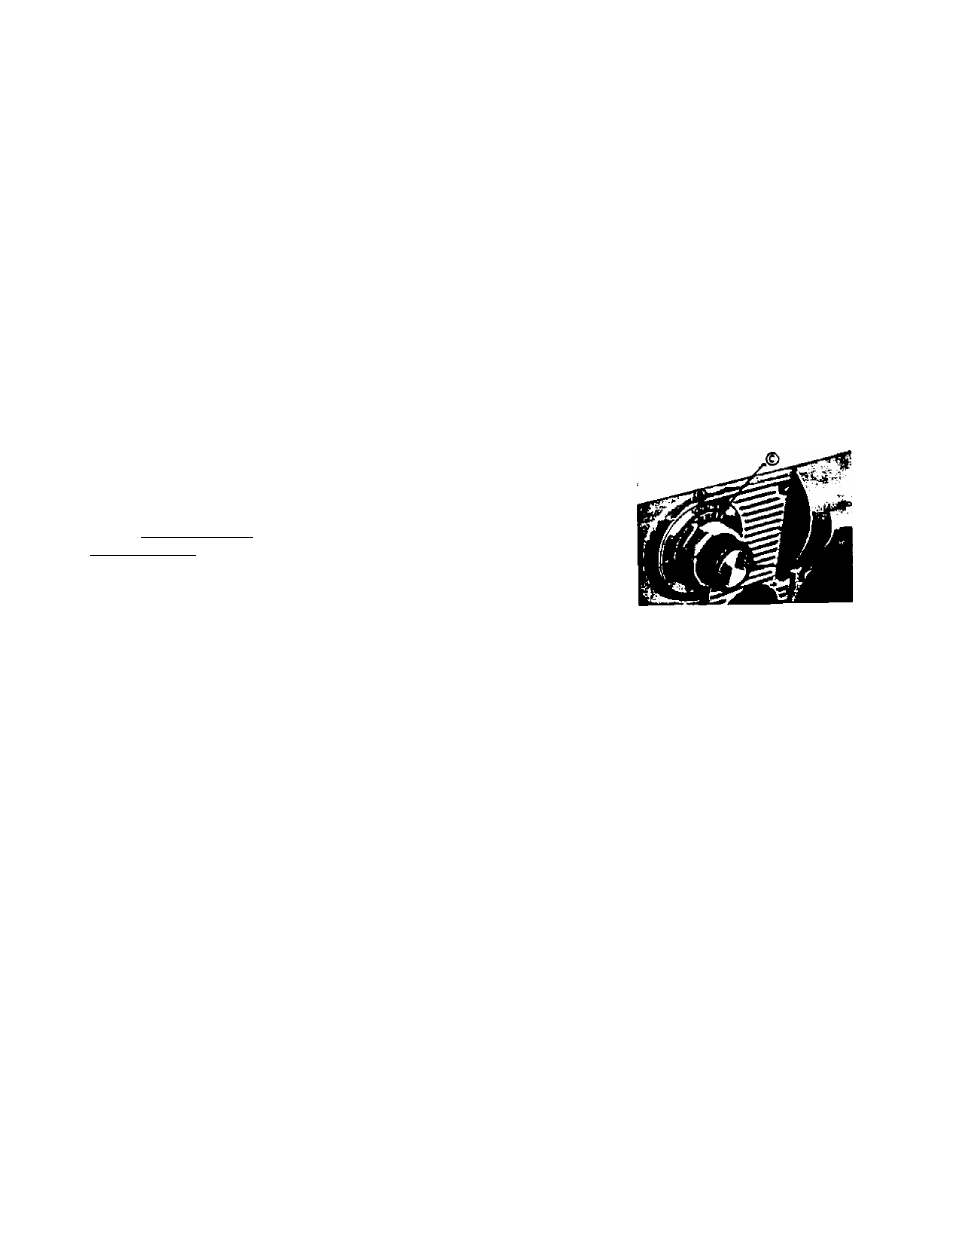
Grasp outer rim of zigzag dial (A, Fig. 23) and press
down on lock B. Turn dial as far to the left as possible.
Pointer will then be on the zero mark.
o
V
G
Fig. 22-A
O
Fig. 22-B
Fig. 23