Setting the stitch length, Sewing in reverse, Adjusting the tensions – SINGER W1762 User Manual
Page 13: Sewing in reverse adjusting the tensions
Attention! The text in this document has been recognized automatically. To view the original document, you can use the "Original mode".
1 1
SETTING THE STITCH LENGTH
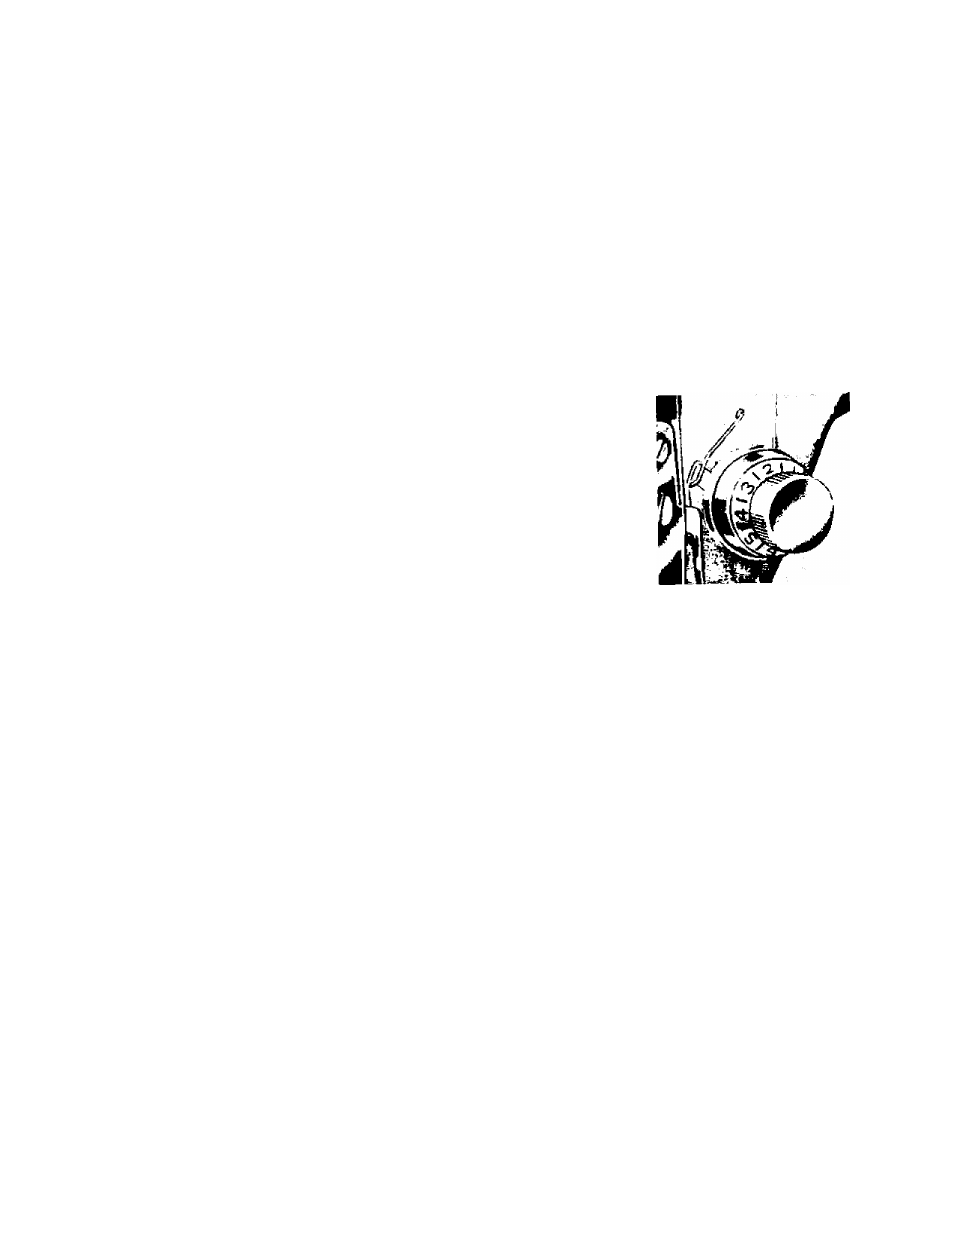
The lengh of the stitch is regulated by the dial, F, shown m Fig 12-B.
° ^
stitch and 9 is the longest, but the dial may be set at any spot between markings to variety
lengths
T^r^the dial ^to the right to lengthen and to the left to shorten the stiteh. The number
of the stitch length you choose should appear below the dot on the control pla .
STITCH LENGTH CHART ^Approximate)
Figures on indicator
Number of stitches per inch
0
1
2
3
4
5
6
No Feeding
60 40
20
16
12
10
SEWING IN REVERSE
1
8
8
7
9
6
When you wish to sew in reverse to tie the threads at the
nning or end
of a seam, press
in the buttL G, Fig. 12-B, as far as it will go. The machine will sew backward as long as
button is held in. Only about 4 or 5 stitches are needed to tie a seam.
ADJUSTING THE TENSIONS
Always adjust the upper tension with the presser foot do^,
as the tension is automatically released when it is raised. o
increase the tension on the upper thread, turn dial )Fig. ^9) to
the right, or clockwise. To decrease, turn to the left. The higher
the number on the dial the tighter the tension. Before adjusting
lower tension be sure that the machine is threaded proper y.
When necessary to change the bobbin tension, turn small
screw (Fig. 14; on side of the bobbin case clockwise to tighten,
counterclockwise to loosen.
Fig. 13