SINGER W1465 User Manual
Page 18
Attention! The text in this document has been recognized automatically. To view the original document, you can use the "Original mode".
17
F. Set both stop wheels at 4, stitch length at 1V2- Do a few zigzag stitches, drop feed for 3
or
4
stitches,
then
raise
it again. By operating
the drop
feed knob rhythmically. It is not
necessary to count stitches.
G.
Drop feed, lock stitch width at 4, take 3 or 4 stitches, leave needle in fabric left of stitches.
Pivot
fabric
on
needle
to
make
next
daisy
petal.
Continue
until
flower
design
is
complete.
Lock threads by setting stitch width at 0 and taking 3 or 4 stitches in center of design.
AUTOMATIC EMBROIDERY SEWING
Be sure zigzag presser foot and zigzag needle plate are in place.
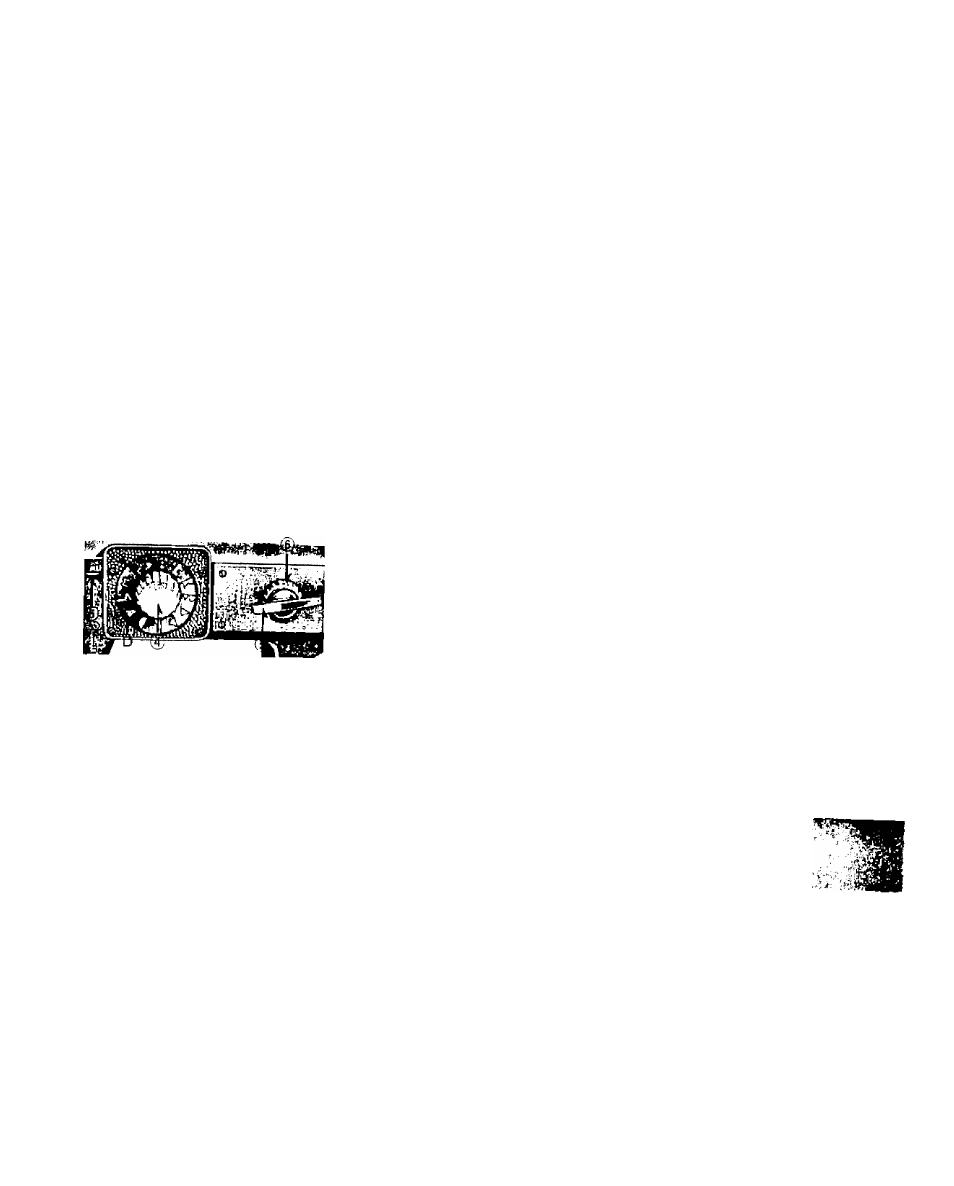
(ll Any one of the stitch designs illustrated on the decorative
stitch
dial
D,
Fig.
26,
can
be
made
automatically.
The
pattern located in the red area is the one produced.
(2)
To select a pattern, hold release lever 3, Fig. 26, down
as lor as possible — then turn pattern knob 4 in either
direction to obtain design desired.
(3) All designs can be sewn in any needle position.
(4) For best results, set zigzag stitch width control knob 5 at 0, position and stitch
length control near 0 as possible without stopping the feeding cation.
Fig. 26