R needle_position – SINGER W1563 User Manual
Page 4
Attention! The text in this document has been recognized automatically. To view the original document, you can use the "Original mode".
To
Saw Fancy Stitch Pattarns AUTOMATICALLY Use the Cams
Look over your large assortment of molded plastic cams. Their color or
colors do not affect function. ■ A basic design sucb as diamond, half-moon,
triangle, (as examples), is embossed on top flat side of each. The cam used
automatically guides needle to repeatedly reproduce its jjattem.
-
To Place A Replaceable Cam In Machine
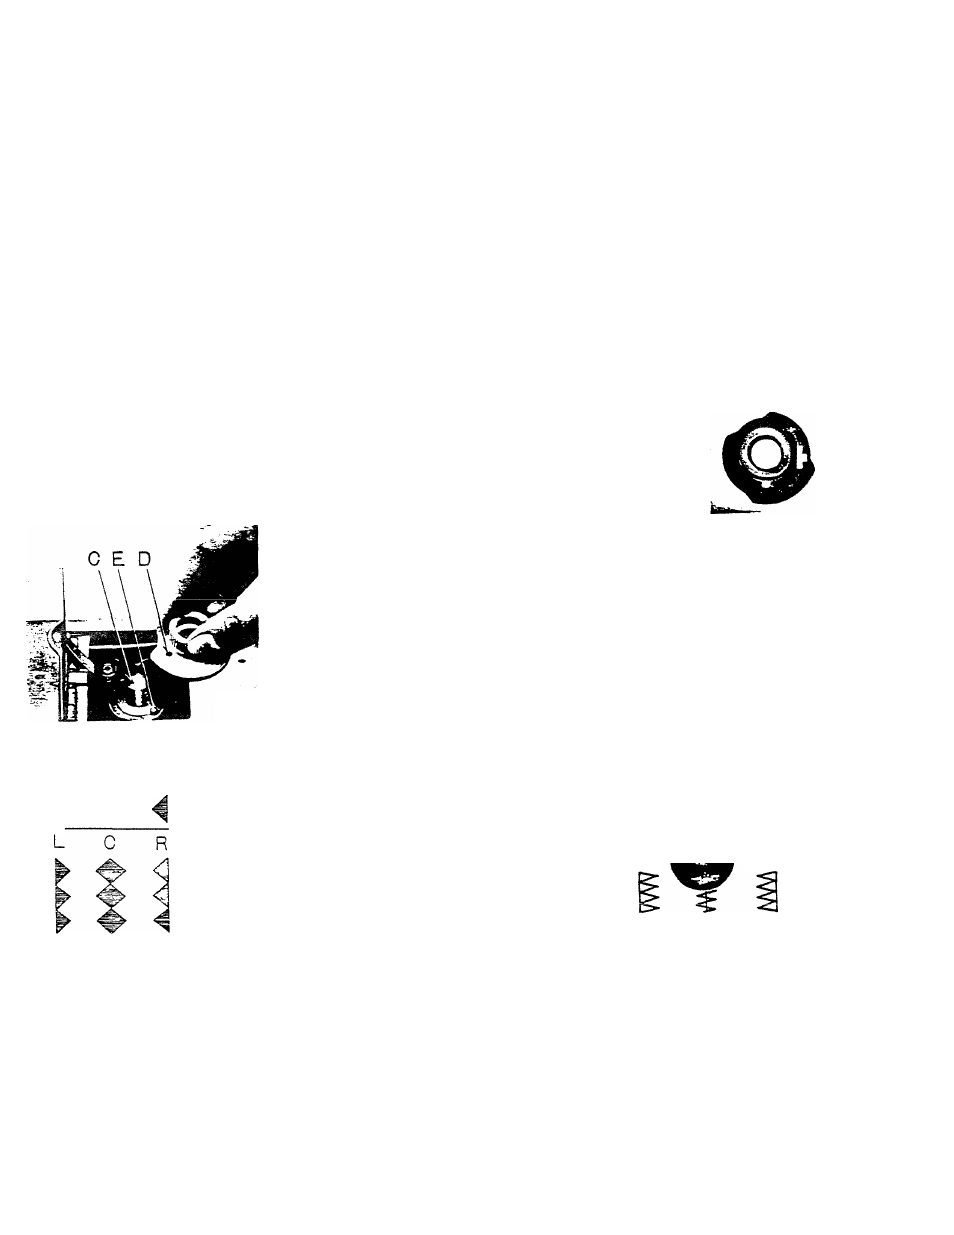
Do two things before selecting a cam. (1) Look directly below
needle. Be sure presser foot and needle plate are those pictured
at TOP LEFT next page. (2) turn controls BOTTOM RIGHT-next
page tintil hanging lever can be sewing from 0 to 5 on dial. Now
lift open small cam chamber cover on top of machine. While hold
ing ZZ Width Lever (next page) at extreme left (5), drop selected
cam on spindle C. While still holding 22 Width Lever, revolve
cam, pressing down lightly, until hole a its bottom surface slides
over pin E. Close cam chamber lid. Run machine slowly while
• you adjust Stitch Length Dial at MIDDLE LEFT next page. Most
cam patterns appear best on Stitch Length Dial setting between
and
1
-V
2
-
Changing Path of Needle Multiplies Variety of Designs —
Lever NP can be set at Left, Center or
Right. Each different position alters basic
stitching line and therefore the appea
rance of most all zigzag stitch designs.
Set lever NP at LEFT for straight stitch
ing. Pull lever NP toward you and it
clicks when sliding into the three posi
tion notches. Pushed in, lever NP avoids
the notches, moving freely for hand con
trolled
creative
embroidery
explained
page 5; without a cam in machine.
IF CAM IS
DESIGNED
r NEEDLE_POSITION
e
im
t0
y
y
c
e
e
e
e
e
e
c
c
r