Zig-zag, Stitching, Stitch pattern selector – SINGER 7025 User Manual
Page 44: Adjusting stitch length, Zig-zag stitching
Attention! The text in this document has been recognized automatically. To view the original document, you can use the "Original mode".
Zig-zag
stitching
Stitch pattern selector
Raise the needle to its highest position.
• Set the stitch width selector to the straight
position ( ; ). (This allows the pattern
selector to be moved easily).
• Slide the pattern selector to the centre of
the desired pattern group.
10 stitches
f
puntos
f
points
8 stitches
i
puntos / points
6 stitches / puntos / points
1 2 3 4 S 6 7
6 9
1 0 1 1
I in
I III
I U
IM
■c
I ''!
u
Machine
Pattern
only for machine
1 to 7
with 6 stitches
only tor machine
1 to 9
with 8 stitches
only for machine
1 to 11
with 10 stitches
11 I
<
r;-
0
5 stitches / puntos / points
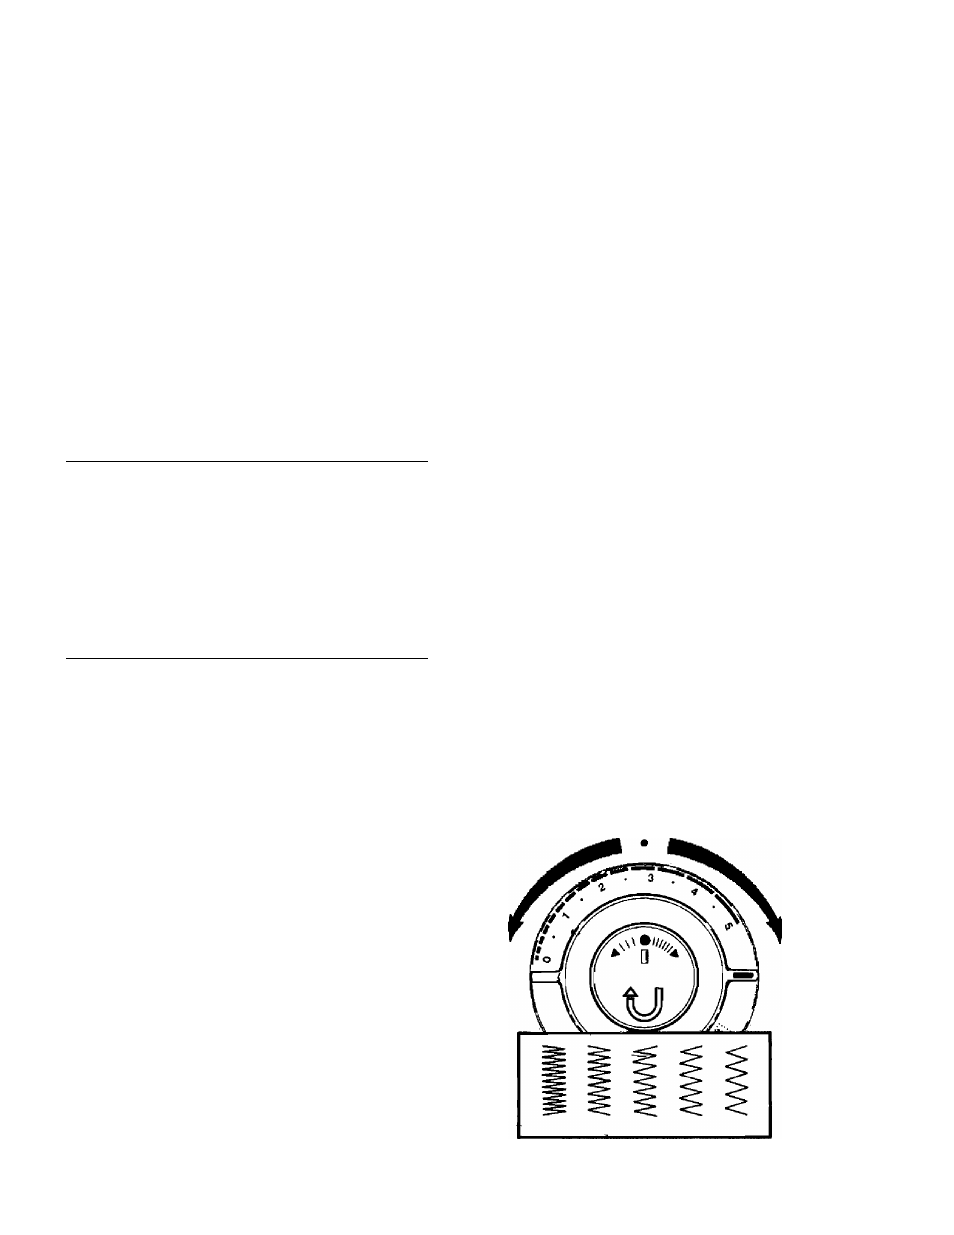
Adjusting stitch
length
Any stitch length setting from 1 to 5 will
give you an open zig-zag stitch.
The higher the number, the more open, or
further apart your stitches will be.
The area between 0 and 1 on the dial is
used for satin stitching, a series of closely
spaced plain zig-zag stitches that form a
smooth satin-like surface.
42