To service engine, To start engine – Sears 247 886510 User Manual
Page 11
Attention! The text in this document has been recognized automatically. To view the original document, you can use the "Original mode".
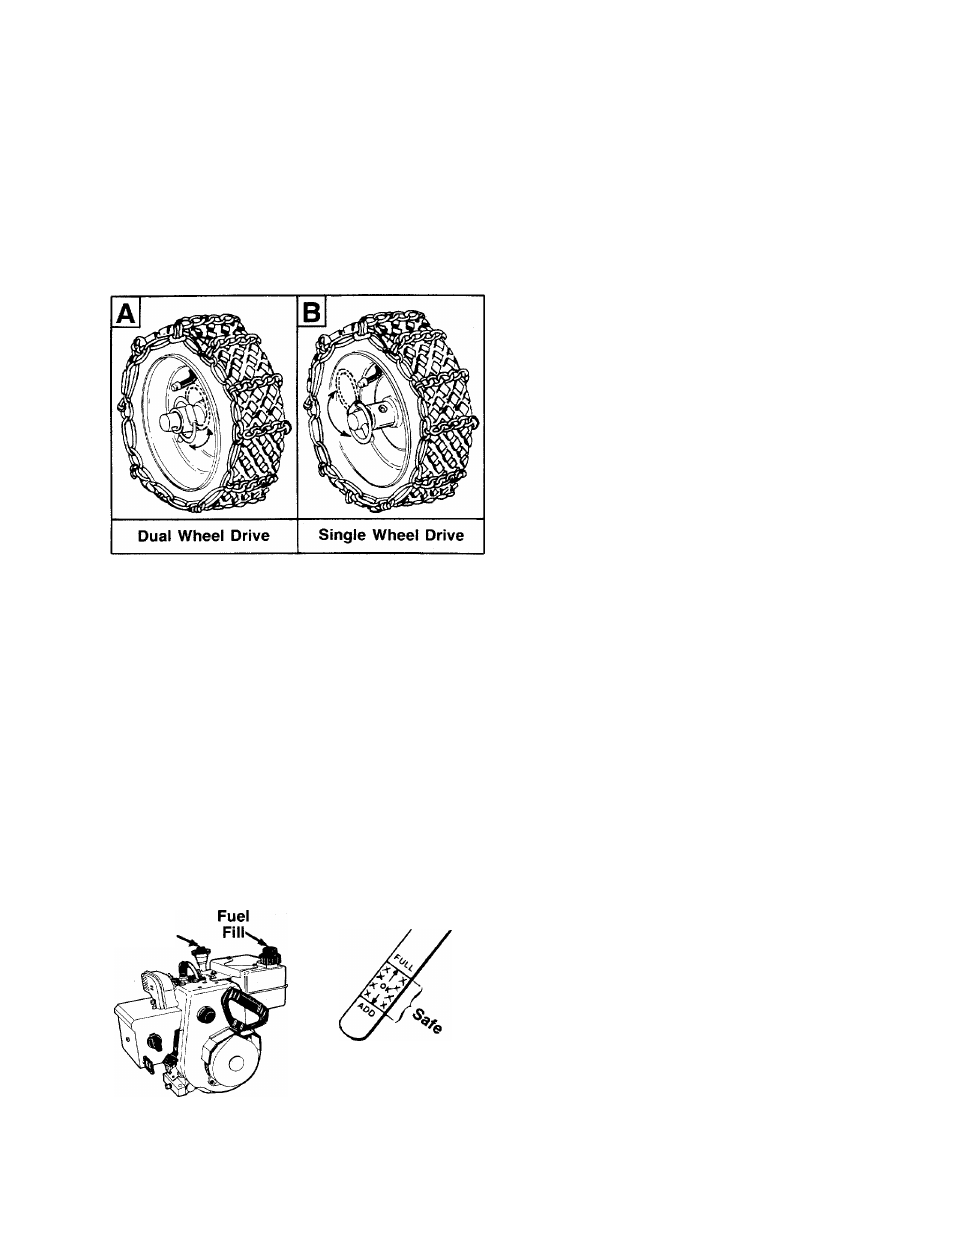
1. Dual Wheel Drive—For heavy snow, insert the kwik
pins into the wheel hubs for power drive to both
wheels. See figure 20A.
2. Single Wheel Drive—Remove the kwik pin from the
wheel hub on one side of the unit, and place in the
outside hole in the axle. See figure 20B. This posi
tion allows power drive to one wheel only, making
the unit easier to maneuver during transport. If
traction while throwing snow becomes a problem,
place kwik pin in Dual Wheel Drive position.
FIGURE 20.
TO SERVICE ENGINE
The engine on this snow thrower was shipped
without
oil
in the crankcase.
Oil must be added before engine
is started.
1. Position snow thrower so engine is level. Remove
oil fill cap and dipstick. See figure 21. Fill
crankcase to FULL mark on dipstick (about 1-1/2
pints) with SAE 10W30 motor oil or equivalent.
Do
not overfill.
Tighten fill cap and dipstick securely
each time you check oil level. If temperature is con
sistently 20°F. or lower, SAE 5W30 motor oil may
be substituted.
2. Fill fuel tank with clean,
automotive gasoline.
Oil Cap/
Dipstick
fresh, lead-free grade
NOTE: Oil level
must be between
full and add mark
Caution: Experience indicates that alcohol blended
fuels (called gasohot or using ethanol or methanol) can
attract moisture which leads to separation and forma
tion of acids during storage. Acidic gas can damage
the fuel system of an engine while in storage. To avoid
engine problems, the fuel system should be emptied
before storage for 30 days or longer. Drain the gas tank,
start the engine and let it run until the fuel lines and
carburetor are empty. Use fresh fuel next season. See
Storage section of this manual for additional infor
mation.
Never use engine or carburetor cleaner products in the
fuel tank or permanent damage may occur.
A
J WARN^ \
FIGURE 21.
Never fill fuel tank indoors, when engine
is running or while engine is still hot.
Never fill fuel tank completely. Fill
tank to within 1/4 to 1/2 inch from the
top to provide space for expansion of
fuel. Wipe up any spilled fuel before
starting engine. Store gasoline in a
clean, approved container.
Make certain the spark plug is tightened securely
into engine, and spark plug wire is attached to
spark plug. If torque wrench is available, torque
plug to between 18 and 23 foot pounds.
TO START ENGINE
1. Make certain the auger and traction drive clutch
levers are in the
disengaged
(released) position.
2. Move throttle control up to FAST postion. Insert ig
nition key into slot. See figure 22. Be certain it
snaps into place.
Do not turn key.
3. Rotate choke knob to FULL choke position (cold
engine start).
If engine is warm, place choke in OFF position in
stead of FULL.
4. Push primer button two or three times. See figure
22. If engine is warm, push primer button once
only.
■^NOTE
Always cover vent hole in primer button
with finger while pushing. Additional
priming may be necessary for the first
start if temperature is below 15°F.
5. Grasp starter handle (see figure 22) and pull rope
out slowly, until it pulls slightly harder. Let rope re
wind slowly.
11