Window installation steps, Tools you will need for installation, Window installation – Carrier 51QC/QG User Manual
Page 10
Attention! The text in this document has been recognized automatically. To view the original document, you can use the "Original mode".
WINDOW INSTALLATION
STEPS
TOOLS YOU WILL NEED FOR
INSTALLATION
Screwdrivers—Both Phillips and regular head types
Power drill (1.8" dia. drill bit)
Pencil
Measuring Tape
Scissors or a razor-edged knife
Remove air conditioner from box by breaking
away sides of box (Cutting box couid result in
damage to unit).*1
Place unit on stable surface for remainder of
steps.
Remove two shipping screws at bottom of
cabinet’s rear panel.
Notes
PRIOR to installation, plug in unit and verify operation. Refer
to Owner’s Manual section for operating instructions. Some
clicking and gurgling sounds are normal during unit opera
tion. If you received a damaged or non-functioning unit,
contact your dealer.
If storm window is present, see Step # 10 before starting.
8y inserting wood strip, you will create a level surface for unit
insolation.
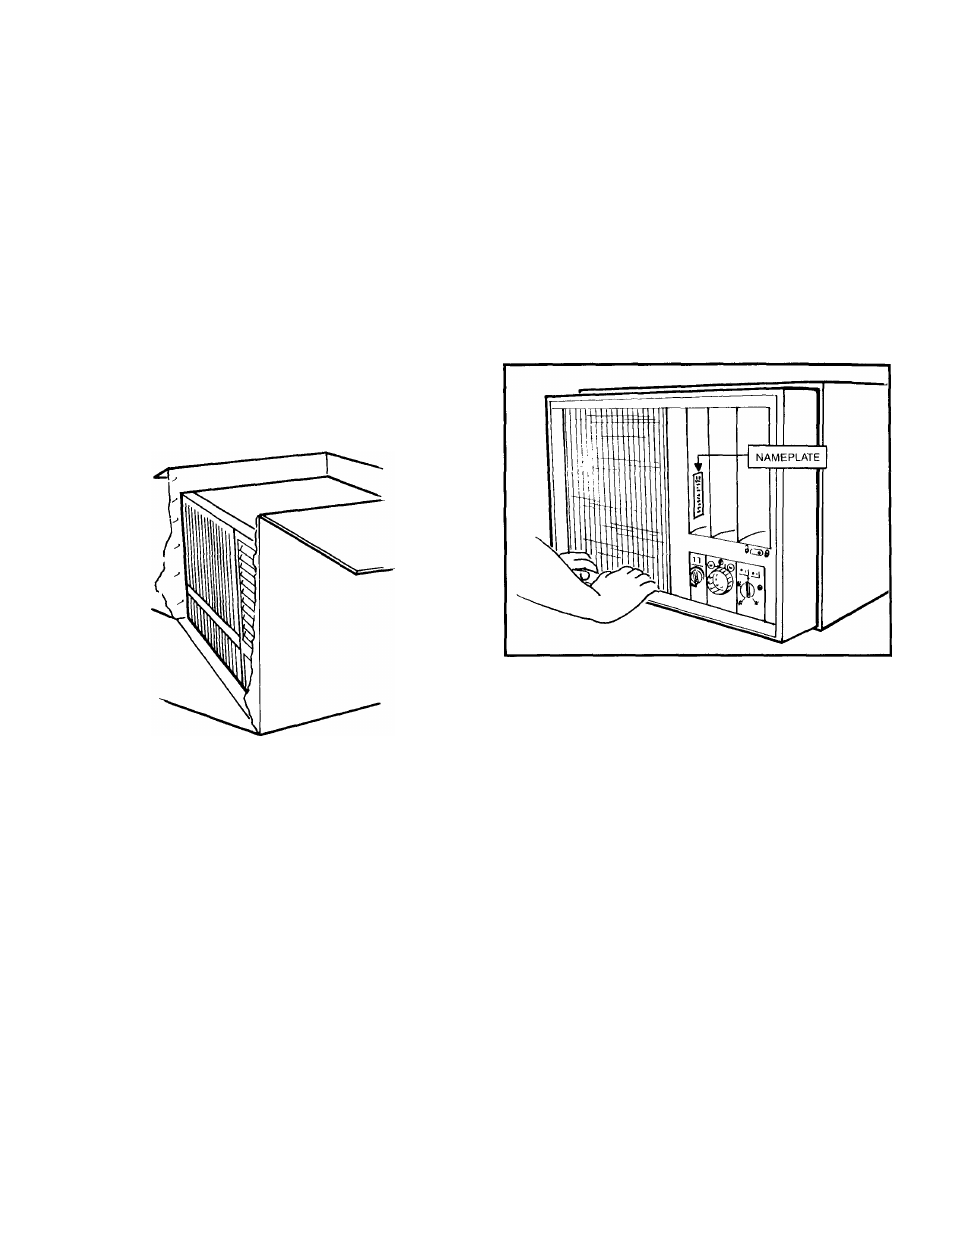
\ Remove front grille with filter
Remove securing screw and lift grille frame off
chassis and away from cabinet.
Loosen chassis security screw, located above
control panel, and slide to unlocked position.*2
I While one person holds back of cabinet,
second person slides chassis out from casing.
NOTE: coil fins on chassis are sharp and chassis is
heavy.
Place cabinet casing and chassis aside while
preparing window for installation.
Remove bottom track from unit mounting
accessory kit.
*2 Unit has slide-out chassis design with easy access for ser
vice or maintenance needs. A specO locking screw secures
the slide-out chassis to prevent unit from being forced out
through the casing to the house, thus allowing an intruder to
gain entry from the outside.
Two people recommended for installation.