Assembling the connecting hoses – VACUUBRAND MV 10 User Manual
Page 43
page 43 of 51
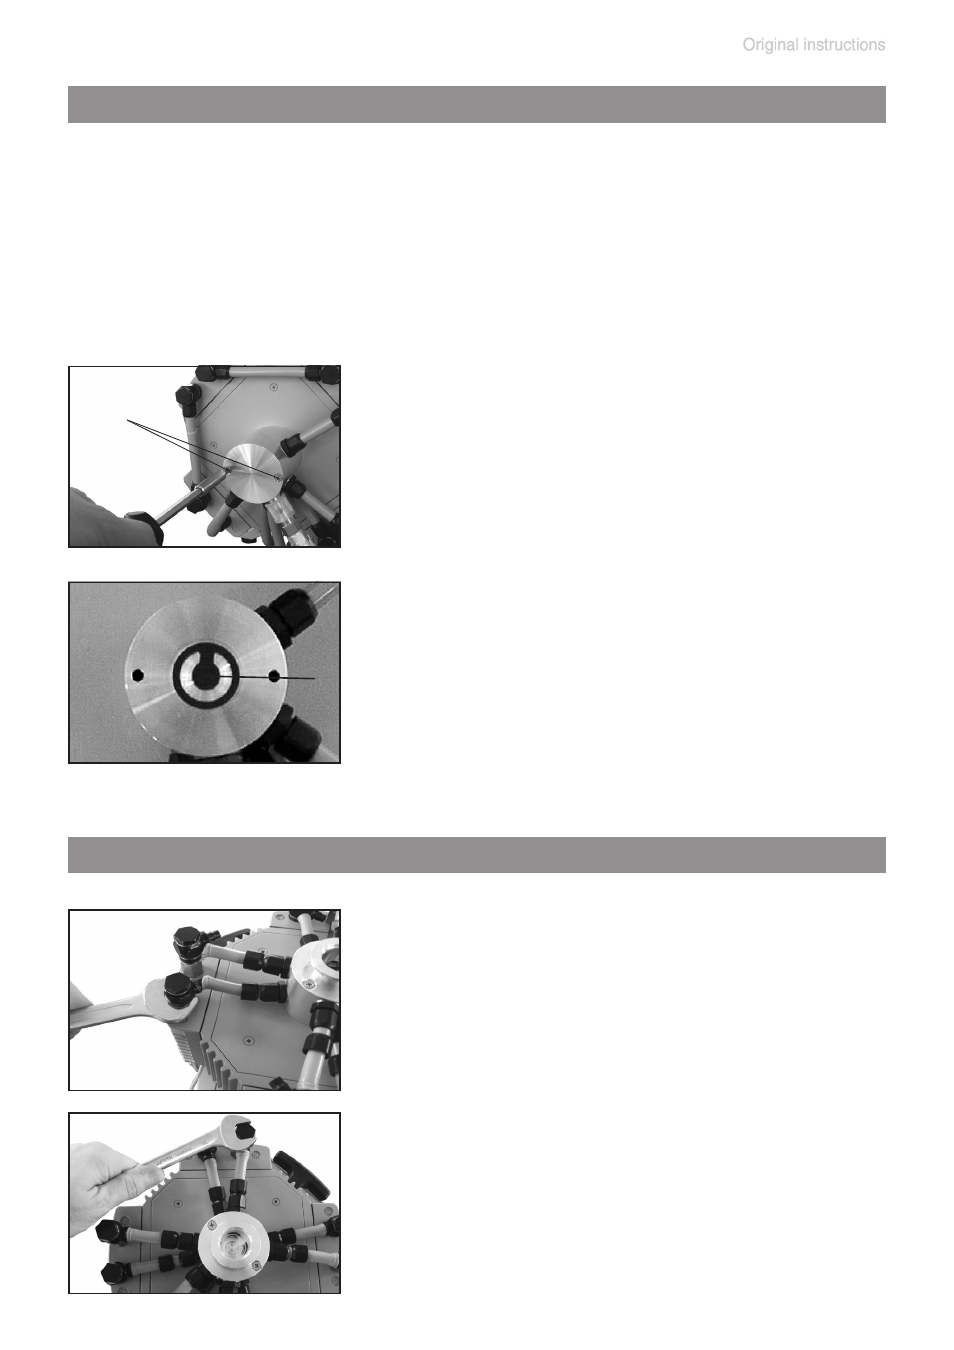
Replacing the valve at the distributor (outlet side)
➨
Unscrew the two countersunk head screws
(M) at the cover plate (L) with an Phillips
screw driver. Remove cover plate.
+
Only MD 12 / MV 10
➨
Loosen the union nut of the curved connecting hose (R) running di-
rectly to the cover plate (L) of the distributor (P) with an open-ended
wrench (w/f) 15. Loosen only the union nut at the pump head, not the
one at the distributor.
+
Pull off the curved connecting hose at the pump head.
M
➨
Note the position and orientation of the valve
(B) and remove.
+
Check valve for damage and replace if nec-
essary. Make sure that the valve is correctly
seated.
➨
Reassemble cover plate (L) and secure with
countersunk screws (M).
B
Assembling the connecting hoses
➨
Slip the connecting hoses (O) onto the hose
connectors by turning the fittings (Q) with
an open-ended wrench w/f 20.
+
Mount the one curved connecting hose (R)
at the outlet side of the pump (only MD 12 /
MV 10) directly at the pump head.
➨
Tighten the fittings (Q) at the pump heads
with an open-ended wrench w/f 17.