Casio XJ-A135 User Manual
Page 41
41
4.
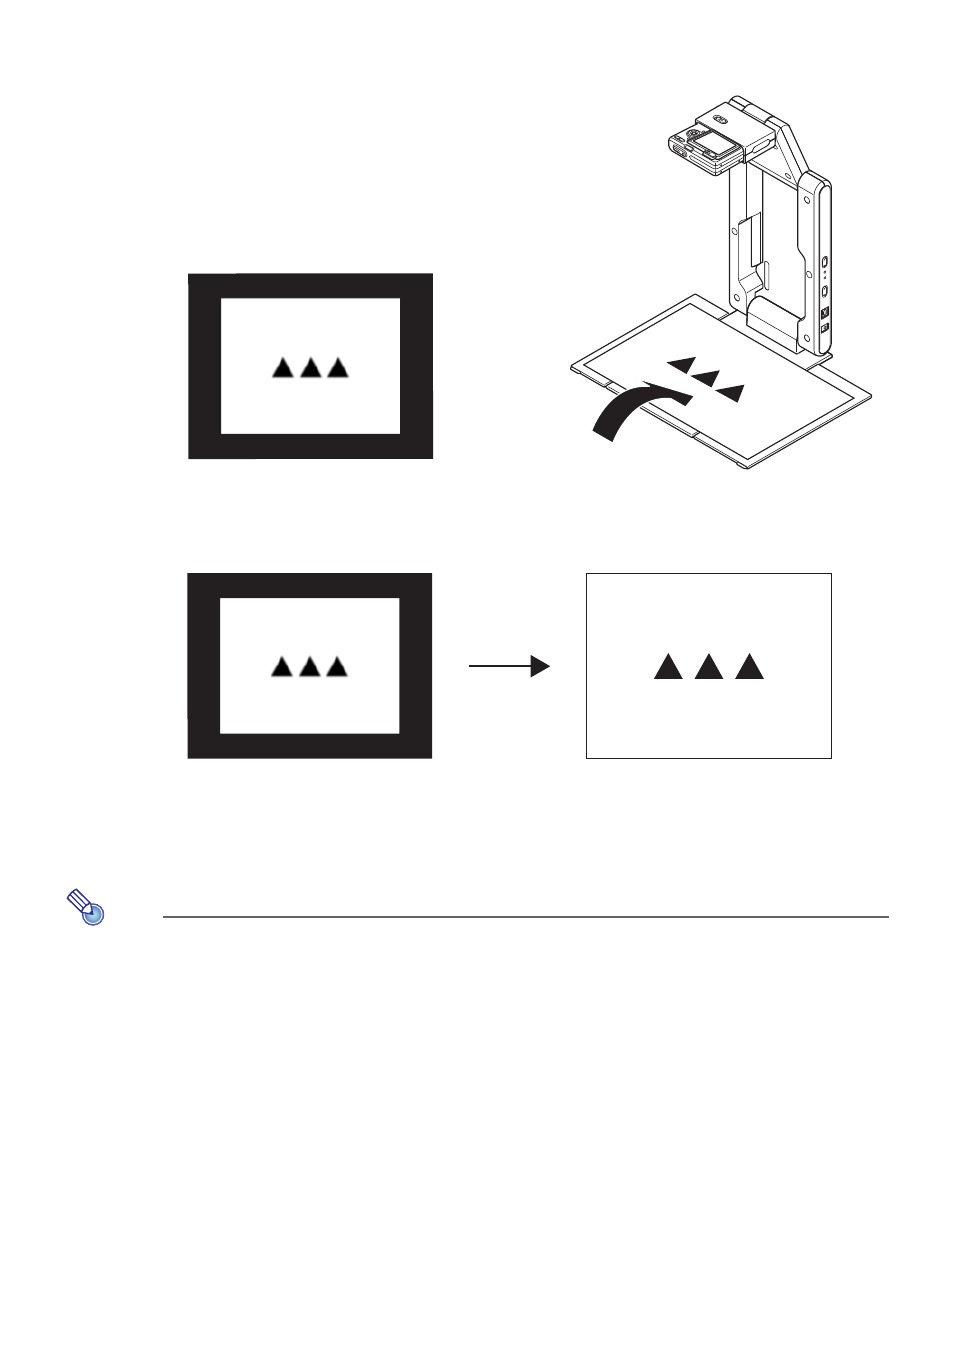
Place the document whose image you want to project onto the document
camera’s document stage.
Be sure to place the document in the center of the
stage, and do not let any part of the document
extend off the edges of the stage.
When placing a landscape orientation document
onto the document stage, the top of the page
should face towards the camera stand.
Initially the monitor image will be projected, and so
the image will appear a bit fuzzy.
When the document camera senses that the document on the stage is not being moved, it will
record its image and switch from the fuzzy monitor image to a high-resolution image (recorded
image) automatically.
5.
Now you can replace the document currently on the stage with another one.
This will switch to the recorded image of the next document automatically.
Note
Step 5 above is what happens while the Data Projector’s YC Camera application is configured
with its initial default settings. The recorded image will not switch automatically if you have
changed the “Operation Mode” setting of the YC Camera application to “Manual Capture”. For
more information, see “YC Camera Application Setup Menu Contents” on page 48.
Rough (Monitor) Image
Recorded Image
- XJ-H1650 USB Function Guide XJ-H1750 USB Function Guide XJ-ST145 USB Function Guide XJ-ST155 USB Function Guide XJ-H1650 XJ-H2650 XJ-M245 XJ-A256 XJ-M145 (B9***A) USB Function Guide XJ-M155 (B9***A) USB Function Guide XJ-M245 (B9***A) USB Function Guide XJ-M255 (B9***A) USB Function Guide XJ-A145V USB Function Guide XJ-A155V USB Function Guide XJ-A245V USB Function Guide XJ-A255V USB Function Guide