Projecting an image file, Projecting an image file” (pag – Casio XJ-A135 User Manual
Page 25
25
Projecting an Image File
Use the Viewer Slide Mode to project image files. You can also group image files and project them in a
specific sequence as a slideshow.
To project an image file
1.
Connect the memory device where the image file you want to project is stored to
the Data Projector.
This will project the main Viewer window. If the main Viewer window does not appear, press
the [INPUT] key and select “USB” as the input source.
2.
Use the cursor keys to move the highlighting to “Slides” and then press the
[ENTER] key.
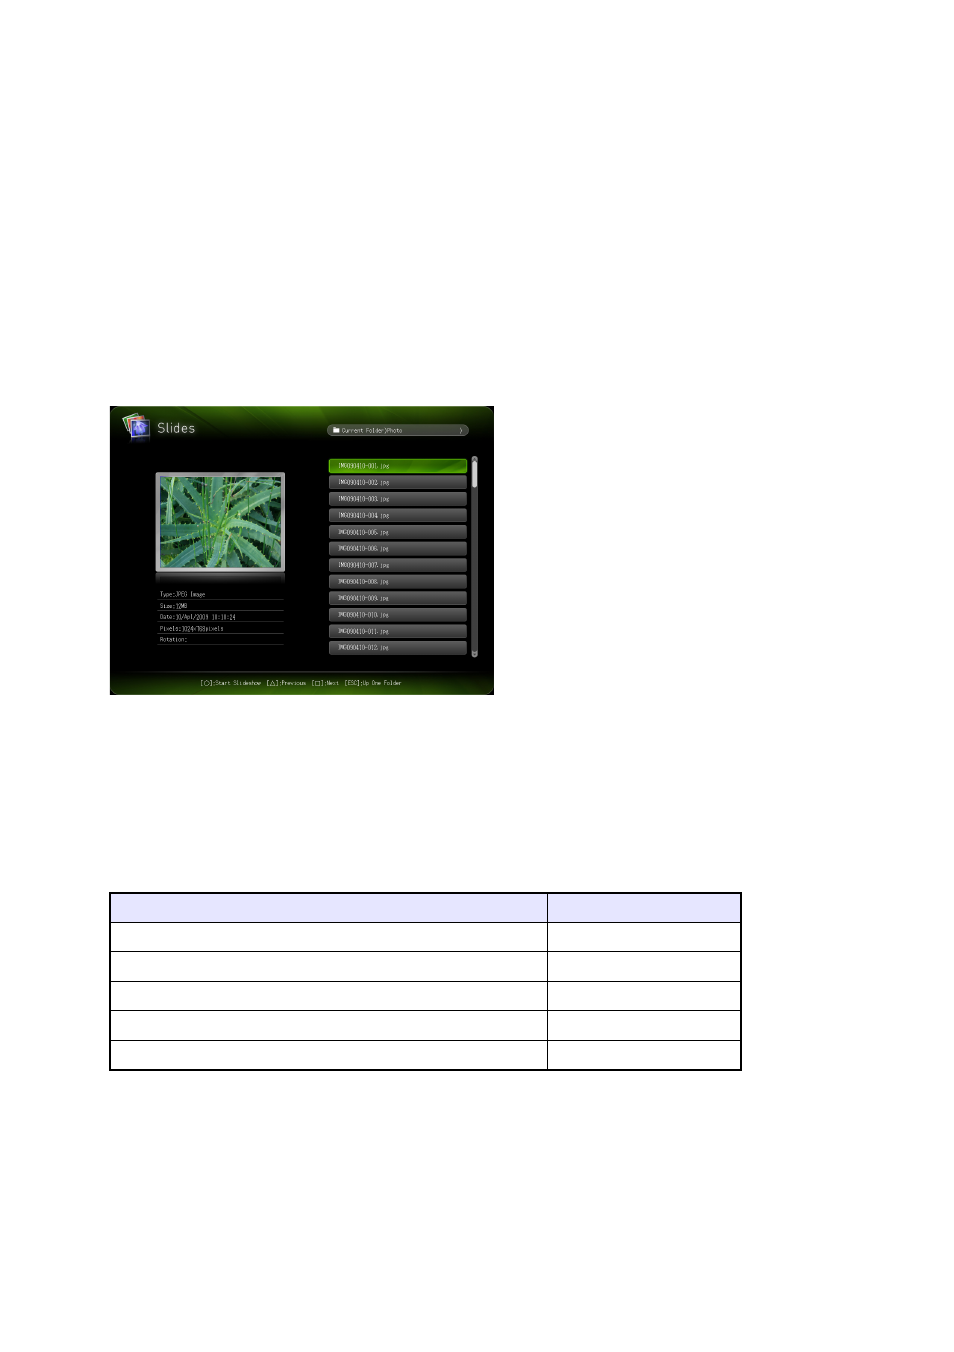
This will project a file menu like the one shown below.
If the image file you want to project is located in a particular folder, use the cursor keys to
move the highlighting to that folder and then press the [ENTER] key.
3.
Use the cursor keys to move the highlighting to the image file you want to
project and then press the [ENTER] key.
This will project the selected image file.
4.
Perform the operations described below as required.
5.
To stop image projection and return to the file menu, press the [ESC] key.
To do this:
Press this key:
Scroll back to the previous image
[]
Scroll forward to the next image
[]
Rotate the image right 90 degrees
[f]
Rotate the image left 90 degrees
[Z]
Start a slideshow from the image file
[O]
- XJ-H1650 USB Function Guide XJ-H1750 USB Function Guide XJ-ST145 USB Function Guide XJ-ST155 USB Function Guide XJ-H1650 XJ-H2650 XJ-M245 XJ-A256 XJ-M145 (B9***A) USB Function Guide XJ-M155 (B9***A) USB Function Guide XJ-M245 (B9***A) USB Function Guide XJ-M255 (B9***A) USB Function Guide XJ-A145V USB Function Guide XJ-A155V USB Function Guide XJ-A245V USB Function Guide XJ-A255V USB Function Guide