Using museplayer, A - selecting sounds, C - museplayer: parameters – Muse Research MusePlayer manual v1.0 User Manual
Page 6: English 6
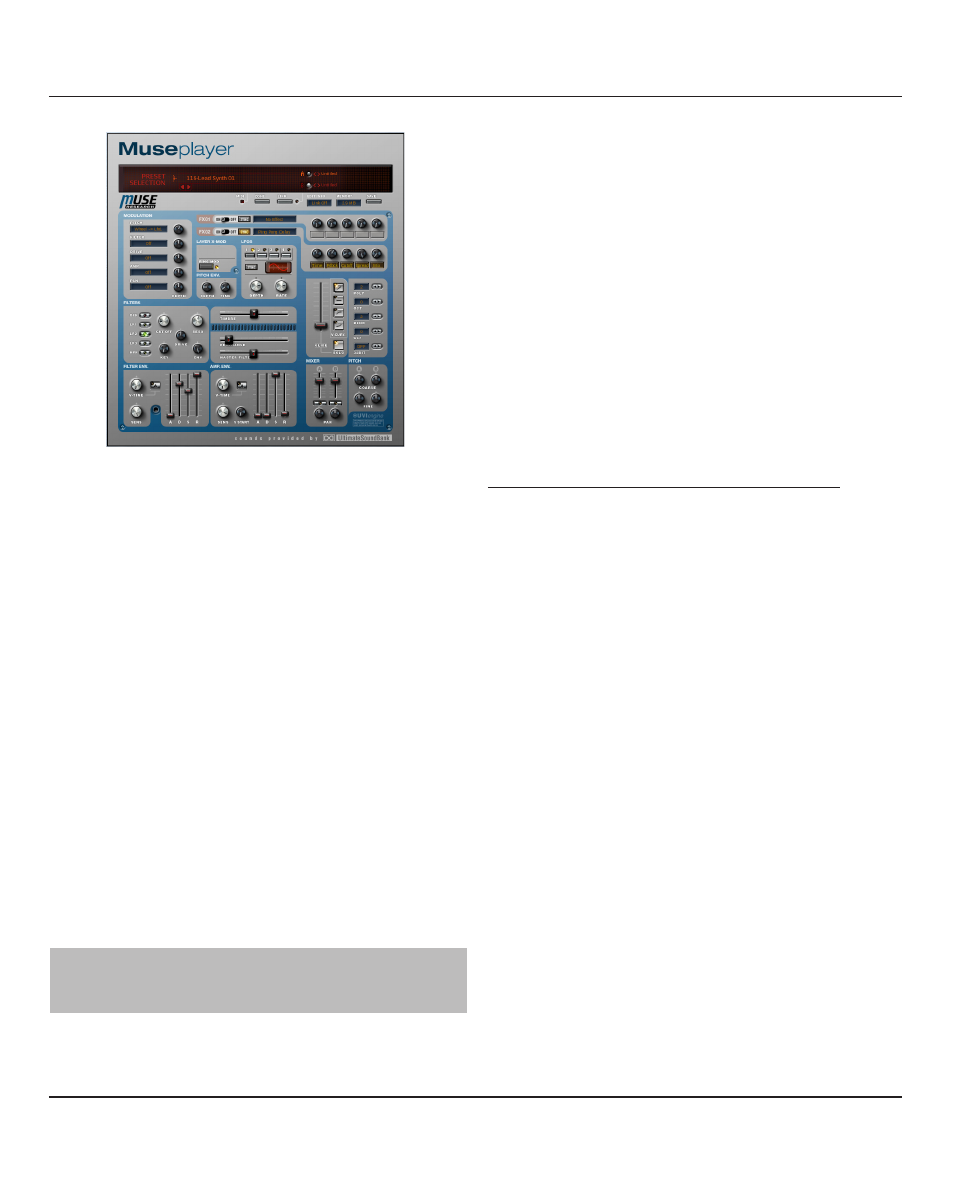
Using MusePlayer
A - Selecting Sounds
Selecting sounds is very easy : click on the Preset name dis-
play and a pop-up directory will appear with the full listing of
MusePlayer ’s sounds organized by category and sub cate-
gory. Click on the preset name to load the sound.
You can also use the left and right arrow buttons to select
sounds incrementally, moving up and down in the directory
list. This is useful when you are already in the desired sub-
directory and want to listen to the next available preset.
The two smaller displays to the right of the preset name dis-
play are the Program (or layer) displays. Clicking these dis-
plays opens the same directory as the presets, but also shows
the individual layer names that make up each preset, allowing
you to quickly select and build your own presets.
You’ll also find left and right arrows buttons there to select
programs incrementally.
Please take a look at the Sounds listing
for an in-depth look at the presets.
B - Dual Layer Architecture
One of the major features of MusePlayer is the dual layer
architecture. Instead of playing and controlling only one mul-
tisampled preset, you have access to two “layers” that you can
control either individually or grouped. We’ve called the layers
“programs” because in each layer you may load what sounds
like a full-featured instrument. The large A and B buttons
switch the interface panel to control each program (layer)
independently. For each program you may set the filters,
modulations and other parameters independently. You can
also use the “link” switch to allow editing of two programs at
once, which saves time when editing layered sounds.
C - MusePlayer: Parameters
Some Parameters are independent in each layer, while some
other are common to both. To simplify things the background
shade of gray is slightly different for the common parame-
ters. This will be visible on your computer screen.
A- Parameters that can be independent in each layer:
• Each layer has its own Level, Pan, Pitch coarse and Pitch
Fine knob. This allows you to re-balance the sound, try varia-
tions in the mix and the sound.
• Filters : you can apply one filter to each layer selecting it
from three LPF (Low pass Filter) and one HPF (High Pass
Filter)
• LFO : four LFOs (Low Frequency Oscillators) can be used as
modulation sources for four destinations : Pitch, Filter,
Amplifier, Drive and Pan. Two are specific to each layer and
two are common, although the settings can be different.
• Two ADSR envelopes :
1. Amplifier Envelope: Controls the nature of the volume
of the sound (Attack, Decay, Sustain, Release).
2. Filter Envelope: Controls the nature of the tone of the
sound by changing how the filter acts on the sound through
time. .
Both envelopes feature a "V-time" knob (applicable to Attack
or Decay) and a "SENS" knob, the Amplifier envelope adds
"START" time knob that changes when the sound starts
playing in the sample itself.
• Pitch envelope with two parameters : DEPTH and TIME.
English 6