Selecting individual synth presets – Muse Research Musebox manual v1.0 User Manual
Page 29
29
Selecting Individual Synth Presets
PLAY mode lets you instantly select factory presets using SoundFinder, making MuseBox incredibly
simple to use. But what if you want to layer two sounds together, or make your own custom preset
consisting of different effects on different inputs? Well you can make your own preset easily based
on the presets that are in MuseBox. You can either start by modifying an existing PLAY preset, or
start from scratch and build your own.
To modify an existing PLAY preset, simply press the SNTH 1, SNTH2, AUD1 or AUD2 buttons to
select the channel you want to modify, then change the Preset for that particular channel. This type
of modification is particularly useful when you have a PLAY preset that has both a keyboard sound
and a vocal effect working simultaneously, and you want to change one sound or effect without
changing the other.
We can also create a new preset, starting from scratch:
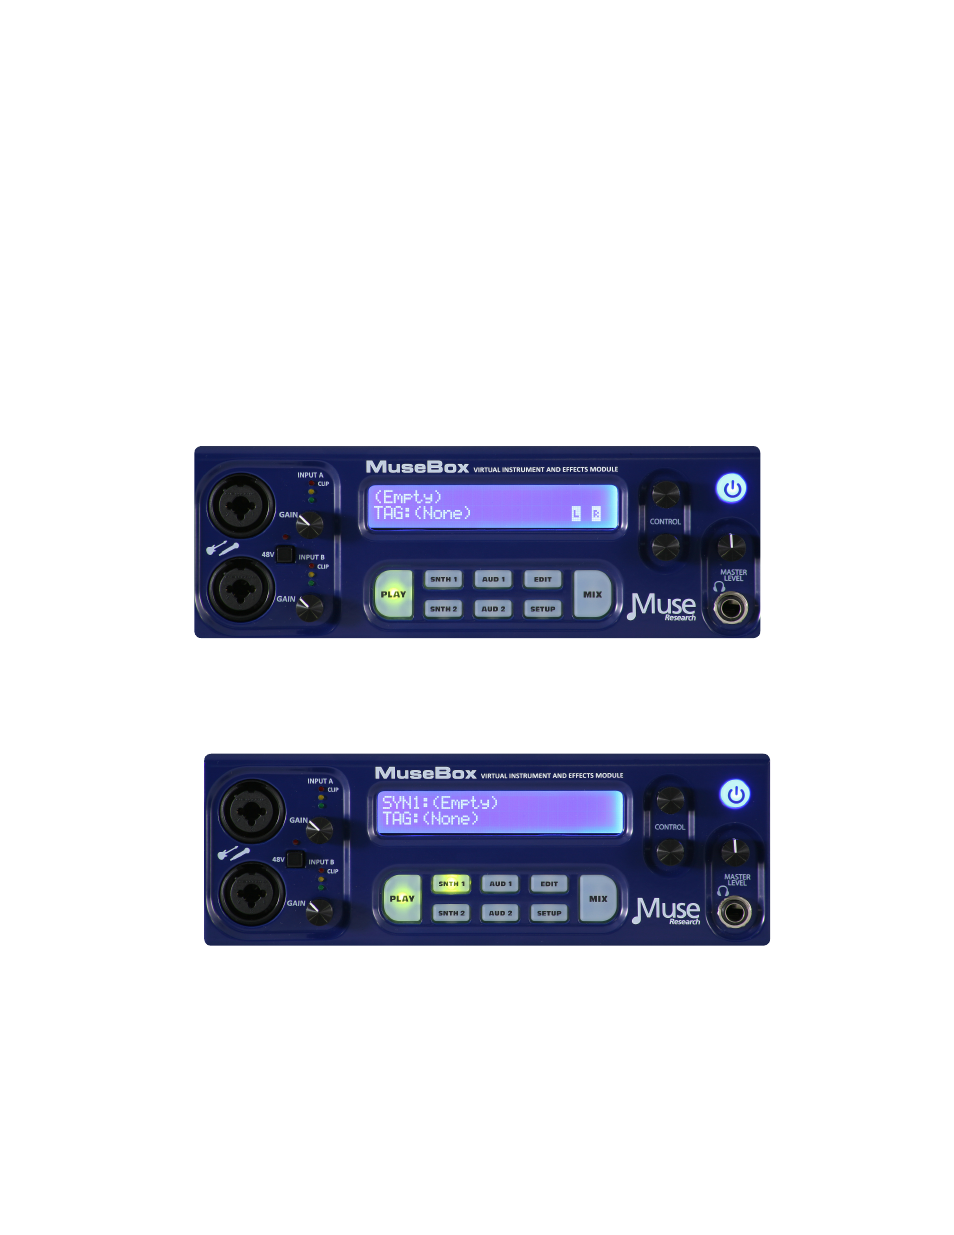
1. First, we want to clear out the system of any presets that are already loaded. To do this, turn
the bottom knob counter-clockwise until you see Tag: (none) and (New Empty Preset) as the preset
name. Press the encoder button to load this empty preset. The display will show this:
2. Now let's select a Synth preset into one of the two Synth channels. With the PLAY mode lit, we
press the SNTH 1 button. You'll notice it too says (Empty) and Tag: (none).
Turn the bottom knob to find the sound you want. For example, let's choose "Electric Piano 1" from
the "TAG: Electric Pianos." Press the knob to load it.