Cross-bar and upright installation – Jaypro Sports FBGP-720 User Manual
Page 3
T:\Aftermarket\Football\Drawings\FGBP-720\DOCUMENTATION\FBGP-720 Installs.doc
REV D 4/10
2
SLEEVE AND GOOSENECK INSTALLATION
1) Excavate the footing hole to the appropriate dimensions shown. See Figure 1 and
2 for locating the footing and height of the gooseneck. Use Figure 3 for
dimensions required for permanent installations. Use Figure 4 for semi-
permanent installations with a standard ground sleeve (FBSLV6) and Figure 5 for
semi-permanent installations with sleeve and height adjuster option (FBGPGS-6).
2) Once hole is excavated re-check depths to assure the correct crossbar height (10’
0”) will be achieved. Note: Due to the weight of the crossbar and uprights the
gooseneck will deflect downward approximately 1” to 1-1/2”.
3) Create a 6” base by using a concrete block or pouring a level pad 6” in the bottom
of the hole. Allow 48 hours to cure. Once the 6” pad has cured, center your
lower upright (gooseneck) in the hole; making sure the upright is perpendicular
and square to the playing field. Adequately support the gooseneck to prevent any
movement and allow to cure for a full 48 hrs.
Cross-bar and Upright Installation
Once the footing is complete and the concrete has set for 48 hours, next install the
crossbar.
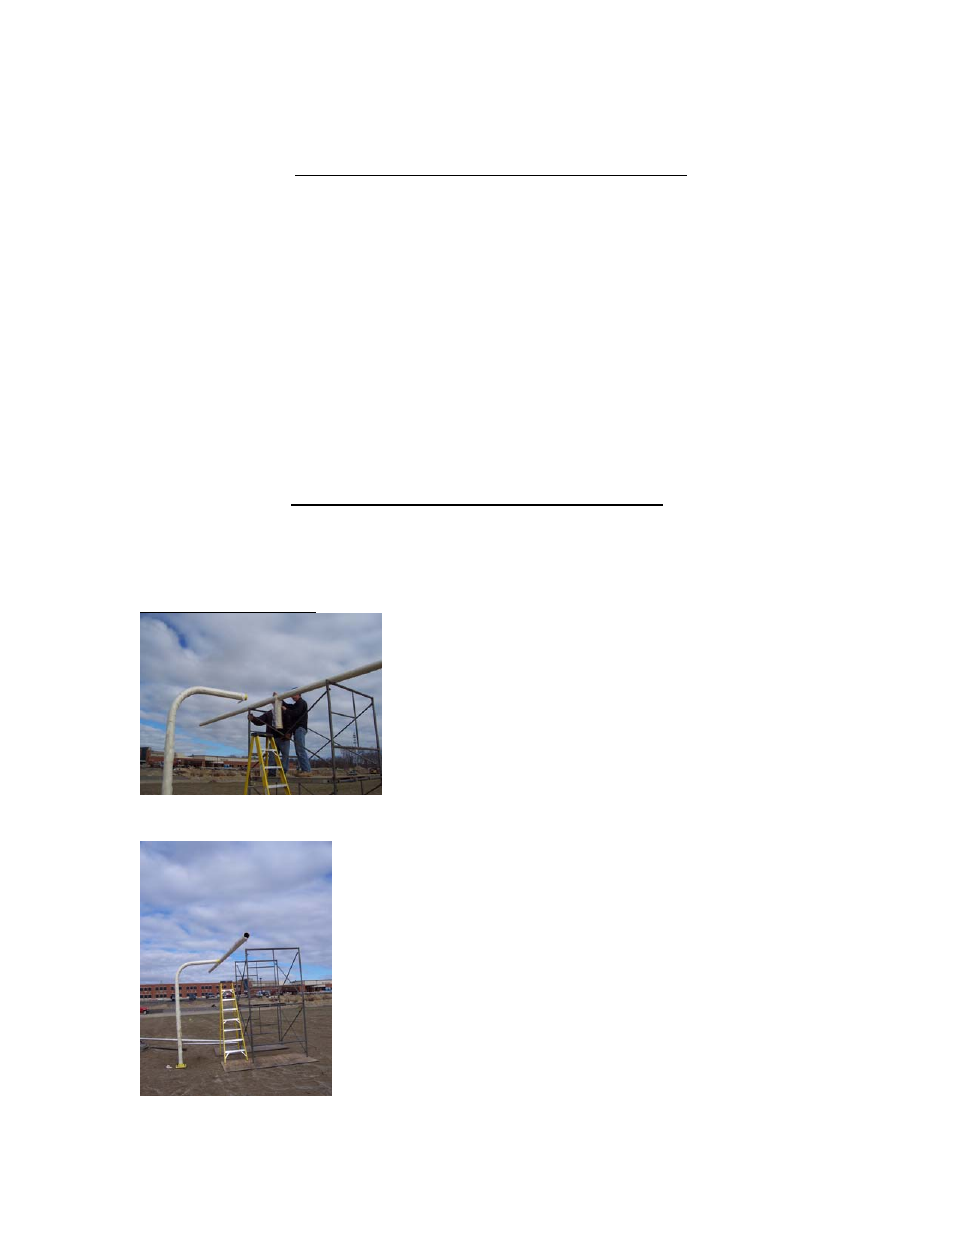
Crossbar Installation:
Use 10’ scaffolding and a ladder, have two people on
the scaffolding to lift and move the crossbar. Now with a third person on the ladder
guide the insert into the gooseneck.
Insert crossbar into gooseneck. Set crossbar depth so the front
edge of the crossbar is inline with the inside edge (field side) of the end line. Once the