Wing assembly – Great Planes Super Decathlon 40 Kit - GPMA0185 User Manual
Page 9
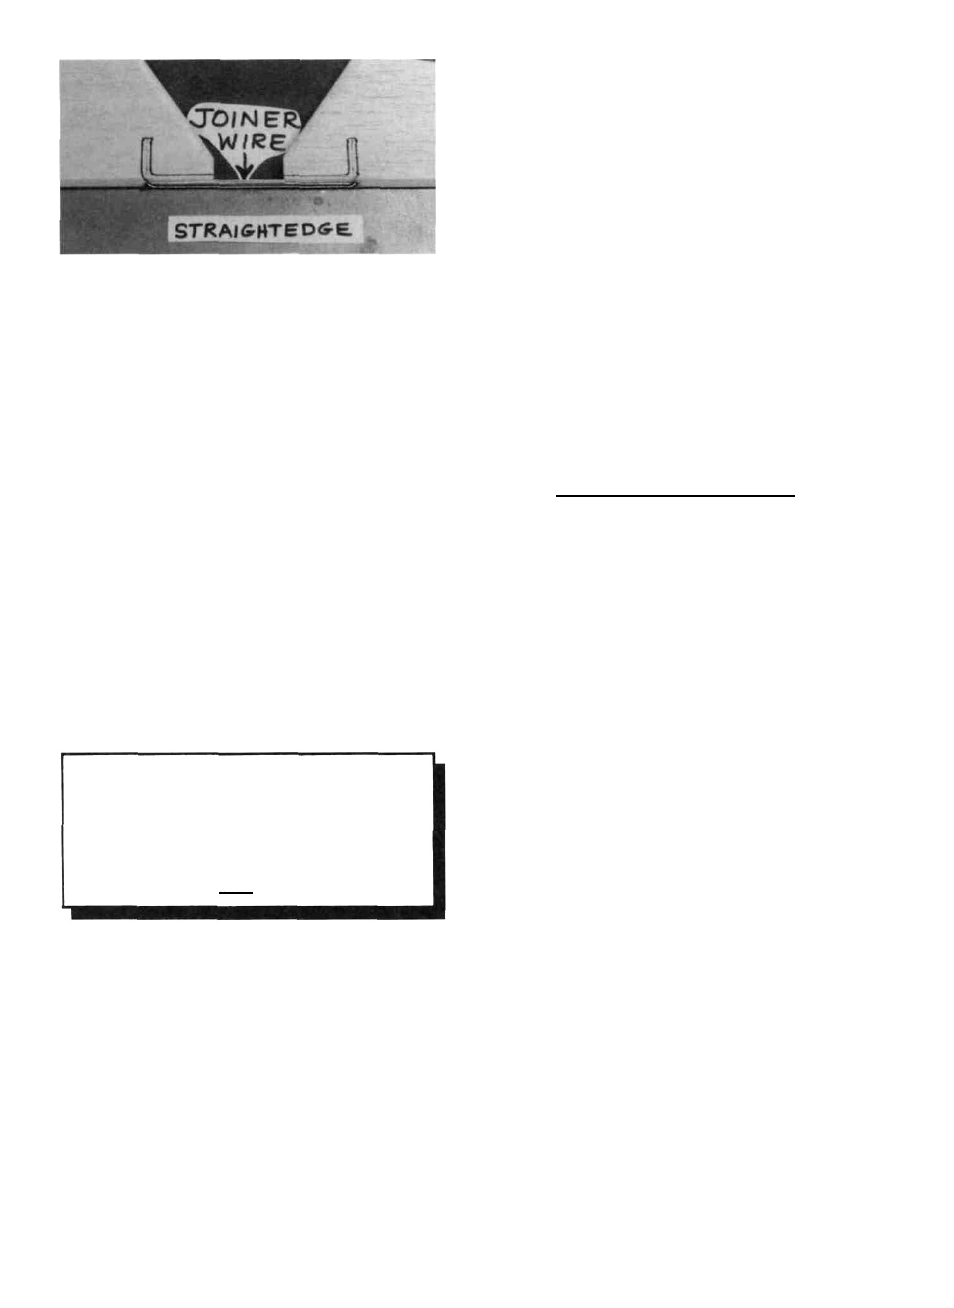
D 10. Trial fit the joiner wire into the elevators, then glue
it in using 5-minute or 30-minute epoxy. When gluing, lay
the elevators on a flat surface, with the leading edges along a
straightedge to insure perfect alignment
B. Make three or four more cuts in the same line,
going slightly deeper each time. As you make these
additional cuts, work on going straight into the wood.
Continue this process while "wiggling" the knife
handle back and forth until the blade has reached the
proper depth for the hinge.
C. Trial fit the hinge into the slot. If the hinge is
difficult to push in, re-insert the knife and move it back
and forth in the slot a few times to enlarge the slot
D 3. IMPORTANT! Condition or "break-in" the
hinges by folding them back and forth several times.
D 4. Insert the hinges into the slots and trial fit the rudder
and elevators in place on the fin and stab. Do not glue the
hinges until after you have covered the model.
INSTALL THE HINGES (Do not glue)
NOTE: One-piece molded polypropylene hinges are
supplied in this kit. If you choose to use these hinges or
the' 'pinned' '-type hinges, you may cut the hinge slots at
this time. However, if you choose to use the one-piece
hinges that are paper covered for CA glue installation,
you may wait until after covering before cutting the hinge
slots, because this will be easier than trying to find the
slot locations under the covering.
D 1. Lay the rudder and elevators on the plan and mark
the hinge locations. Place the rudder against the fin TE and
transfer the marks over to the fin. Place the elevators against
the stab TE and transfer the marks over to the stab.
CAUTION!!!: You must use extreme care when
cutting hinge slots with an Xacto knife, to avoid
cutting yourself! If the balsa part breaks while you
are pushing on the knife, the blade could go into your
hand before you know it! A good precaution is to
wear leather gloves while performing the following
steps, and always cut awav from yourself.
D 2. Cut the hinge slots on the accurate centerlines
which you previously drew, using an Xacto knife or a
slotting fork and slotting hook. (The recommended hinge
slotting technique is listed below).
A. Begin by carefully cutting a very shallow slit at
the hinge location. This first cut is to establish your cut
in the right place, so concentrate on staying on the
centerline and don't cut too deep!
WING ASSEMBLY
BUILD THE WING PANELS
NOTE: The following instructions explain how to build
the wing directly on the plans. An alternate method is to
use a Great Planes Wing Jig (available from your local
hobby dealer). Many expert modelers prefer to use a
wing jig for high performance airplanes, as it helps to
insure a straight, warp-free wing, especially if you do not
have a workbench or building board that is perfectly flat.
If you choose to use the Wing Jig, please read the
instructions that are included with the jig before
beginning.
NOTE: It will be helpful to build the wing on a piece of
"Celotex" or other semi-soft (and flat) surface, into
which you may easily stick pins to firmly hold down the
wing pans while building, to avoid warps.
D 1. Tape the plan to your flat work surface, and cover
the wing drawing with waxed paper (so you won't glue the
wing to the plan!). NOTE; If your work space is limited, you
may cut the left and right wing half drawings apart
D 2. The shaped and notched wing leading edges (LE)
and trailing edges (TE) are fastened together by thin strips of
balsa. Separate them by folding until the balsa breaks. Sand
away the excess balsa that remains along the edges after
breaking them apart, using a T-bar with 100-grit sandpaper.
9