Great Planes Super Decathlon 40 Kit - GPMA0185 User Manual
Page 12
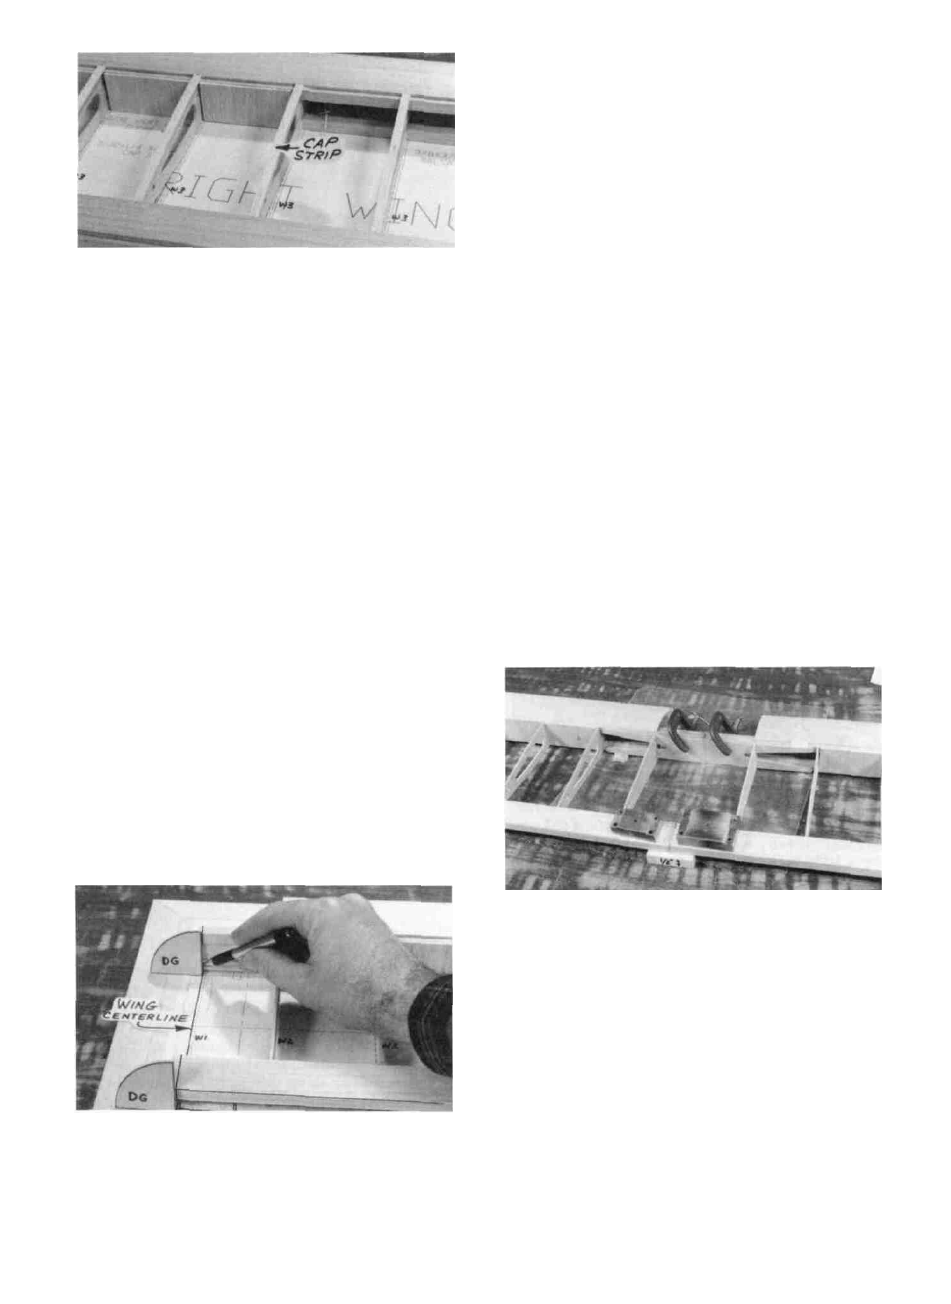
wing plan, and block up the trailing edge 1/2", using the 1/2"
x 1/2" x 2" balsa blocks. Position the die-cut 1/8" ply
dihedral gauge (DG) on the wing centerline, as shown in the
photo, and mark cut-off lines on the spars, trailing edge and
TE sheeting. Carefully cut or sand off the spars and trailing
edge at these marks.
D 3. Accurately position the left wing panel on the left
wing plan. Mark and cut off the spars and TE as in step 2.
D D 19. From the 3/32" x 1/4" x 30" balsa sticks, cut and
glue cap strips to the top of the seven outside ribs. HINT:
For easier positioning of the cap strips, first mark the location
of each rib on the LE and TE sheeting. When finished,
remove the wing from the building board and turn it over
again.
D D 20. With the wing upside down, again use the TE
jig to support the TE. Then install the bottom TE sheeting, LE
sheeting and cap strips. IMPORTANT: To insure a
straight wing, you must pin the TE securely to the TE jig
and pin the jig to the building surface while the bottom
sheeting is glued in place!
D D 21. Trim the spars and sheeting flush with the tip
rib. Cut and sand the LE sheeting and LE flush with rib
W-2. and sand the entire wing panel smooth. Sand the leading
edge to smoothly blend with the LE sheeting (see the rib
cross-section on the plan for the desired LE shape).
D 4. Lay a piece of waxed paper down at the center of the
wing, place the two wing panels together at the center, and
block up both wing tips 1/2-inch, and block up the trailing
edge 1/2-inch at the center (use the 1/2" x 1/2" x 2" balsa
blocks provided). If the spars do not mate with one another,
sand them slightly until they do.
D 5. Trial fit the die-cut 1/8" ply dihedral braces on
both sides of the spars to make sure they will readily slide
into place.
NOTE: Read steps 6 and 7, then make a "dry run'
through these steps before actually proceeding.
NOTE: 30-minute epoxy is strongly recommended
for the wing joining process.
D 22. Now go back and repeat steps 6 through 21, to build
the other wing panel. NOTE: The two wing panels are
identical, so you may build on the same plan.
JOIN THE WING PANELS
D 1. Designate one wing panel "RIGHT" and the other
"LEFT".
D 2. Accurately position the right wing panel on the right
D 6. Mix up a batch of 30-minute epoxy and smear it on
the dihedral braces, spars, spar ends, and the mating surfaces
of the trailing edge. Slide the dihedral braces in place, push
the wing panels together and immediately proceed to the
next step.
D 7. With the wing tips blocked up 1/2-inch, carefully
align the spars and TE of both wing panels. Clamp the
dihedral braces to the spars and apply a few pieces of masking
tape to hold the trailing edges in correct alignment. Wipe up
the excess epoxy with a tissue. Allow the epoxy to fully
harden before disturbing the wing.
12