Tail feathers – Great Planes Super Decathlon 40 Kit - GPMA0185 User Manual
Page 6
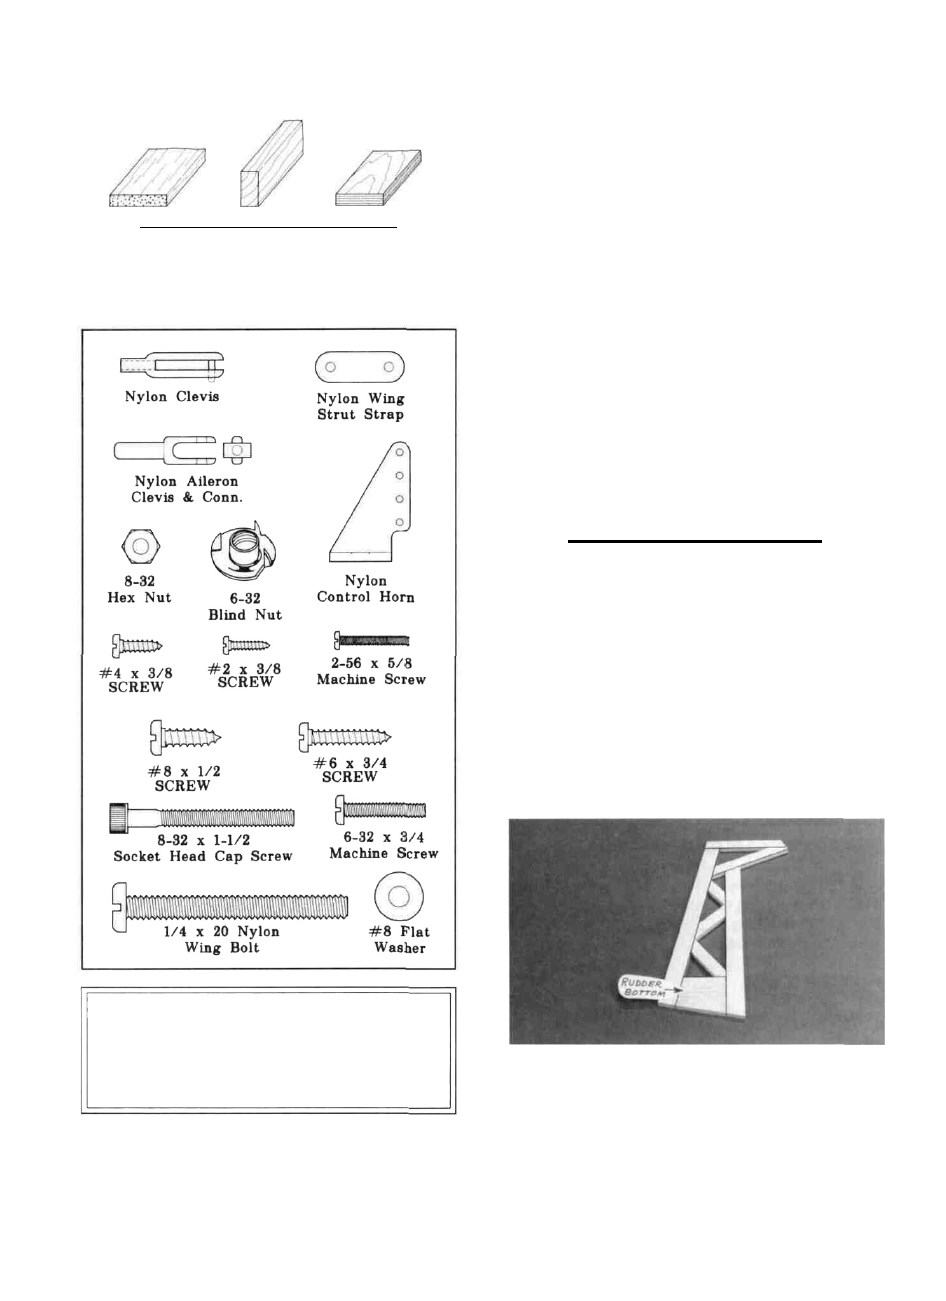
TYPES OF WOOD
GET READY TO BUILD
B A L S A B A S S W O O D P L Y W O O D
HARDWARE DRAWINGS,
NOTICE:
The screws supplied in this kit may be "slotted-
head" or "phillips-head" screws. The screw types may
differ from those shown on the plans and instructions, but
they are interchangeable.
1. Unroll the plan sheets. Re-roll the plans inside out to
make them lie flat.
2. Remove all parts from the box. As you do, figure out the
name of each part by comparing it with the plans and the parts
list at the back of this book. Using a felt tip pen, write the part
name or size on each piece to avoid confusion later. Use the
die-cut patterns on page 4 to identify the die-cut parts and
mark them before punching out. Save all scraps. If any of the
die-cut parts are difficult to punch out, do not force them!
Instead, first cut around the parts with an Xacto knife. After
punching out the die-cut parts, use your T-Bar or sanding
block to lightly sand the edges to remove any die-cutting ir-
regularities.
3. As you identify and mark the parts, separate them into
groups, such as fuse (fuselage), wing, fin and stab (stabi-
lizer), and hardware.
"TAIL FEATHERS"
BUILD THE RUDDER
To build the rudder you'll need the following:
1/4" x 3/4" x 36" balsa sticks
1/4" x 1/2" x 30" balsa sticks
1/4" shaped balsa rudder bottom
D 1. Tape the fuselage plan down to your flat work
surface. Tape a piece of waxed paper over the fin and rudder
portion of the plan.
D 2. Using a razor saw, cut pieces of 1/4" x 3/4" and 1/4"
x 1/2" balsa (from the 36" and 30" sticks) to make the rudder
framework. Working right on the plan, glue together these
pieces and the rudder bottom, using thin CA glue.
6