Set the control throws – Great Planes Profile 38 - GPMA0487 User Manual
Page 41
❏
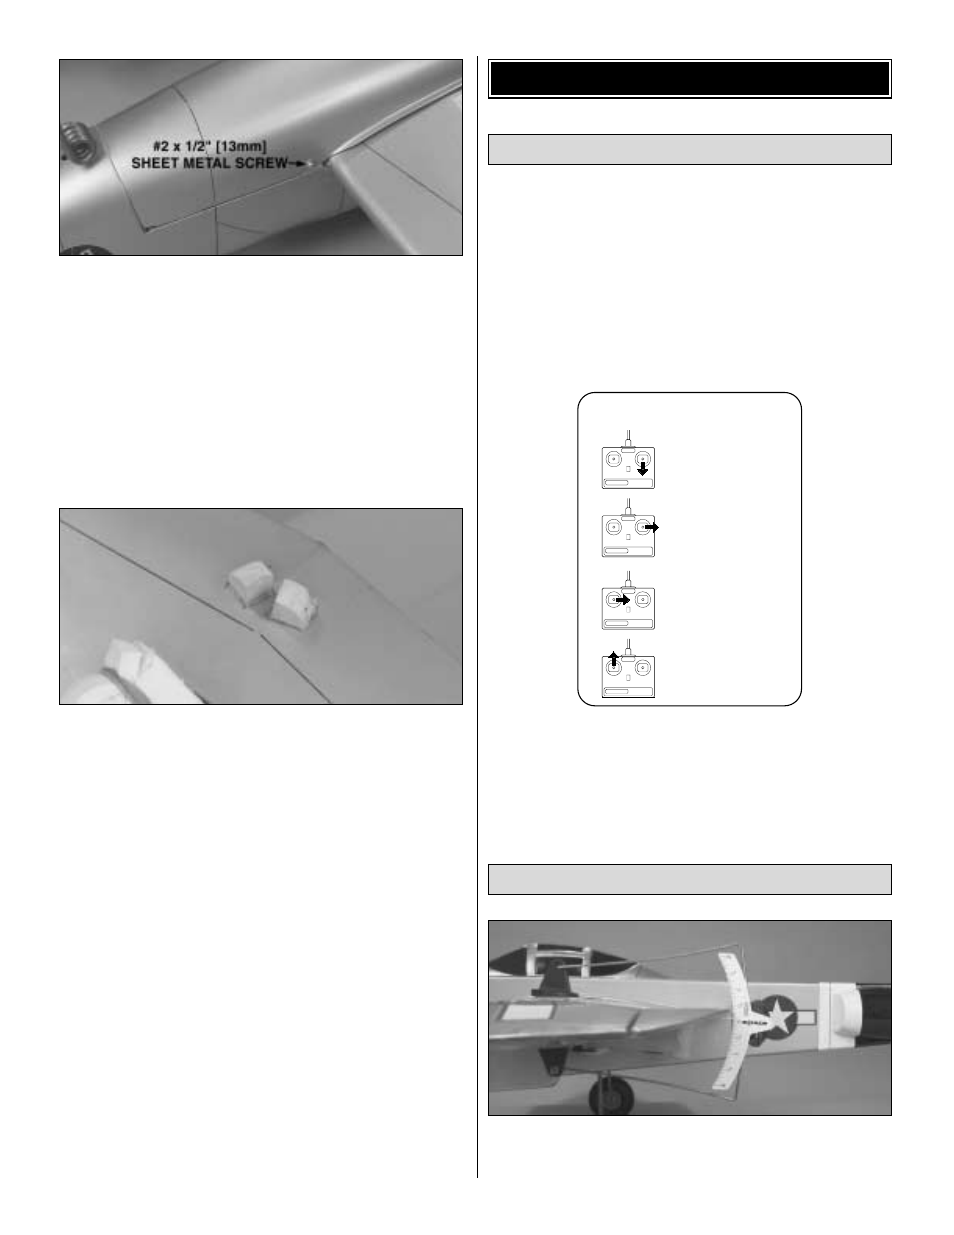
4. Position the bottom canopy on the wing. Align the front
of the bottom canopy with the previously glued top canopy.
Hold the bottom canopy against the bottom of the wing. Drill
a 1/16" [1.6mm] pilot hole through the bottom canopy, into
the canopy mounting blocks. Remove the bottom canopy
and use a 3/32" [2mm] drill bit to enlarge the mounting holes
in the bottom canopy. Secure the bottom canopy to the
mounting blocks with two #2 x 1/2" [13mm] sheet metal
screws and #2 washers.
❏
5. Mark the outline of the bottom canopy on the wing.
Position the two canopy mounting blocks approximately
1-1/2" [38mm] from the trailing edge of the wing and inset
the thickness of the bottom canopy and the lip around the
canopy. Mark the outline of the blocks and remove the
covering from under the blocks. Glue the blocks to the
bottom of the wing.
❏
6. Chamfer the top of the mounting blocks to accommodate
the rounded shape of the bottom canopy. Position the
bottom canopy on the wing and drill pilot holes through the
canopy and into the mounting blocks. Enlarge the holes in
the bottom canopy only with a 3/32" [2mm] drill bit. Attach
the canopy to the wing with #2 x 1/2" [13mm] sheet metal
screws and #2 washers.
❏
7. On our models, we routed the receiver antenna out the
back of the bottom canopy. We also put the receiver on/off
switch and charge jack in the bottom canopy.
❏
1. Turn on the transmitter and receiver and center the trims.
If necessary, remove the servo arms from the servos and
reposition them so they are centered. Reinstall the screws
that hold on the servo arms.
❏
2. With the transmitter and receiver still on, check all the
control surfaces to see if they are centered. If necessary,
adjust the clevises on the pushrods to center the control
surfaces.
❏
3. Make certain that the control surfaces and the carburetors
respond in the correct direction as shown in the diagram. If
any of the controls respond in the wrong direction, use the
servo reversing in the transmitter to reverse the servos
connected to those controls. Be certain the control surfaces
have remained centered. Adjust if necessary.
Use a Great Planes AccuThrow (or a ruler) to accurately
measure and set the control throw of each control surface
as indicated in the chart that follows. If your radio does not
Set the Control Throws
CARBURETOR WIDE OPEN
RUDDER MOVES RIGHT
LEFT AILERON MOVES DOWN
RIGHT AILERON MOVES UP
ELEVATOR MOVES UP
4-CHANNEL
TRANSMITTER
(STANDARD MODE 2)
4-CHANNEL RADIO SETUP
TRANSMITTER
4-CHANNEL
TRANSMITTER
4-CHANNEL
TRANSMITTER
4-CHANNEL
Check the Control Directions
GET THE MODEL READY TO FLY
41