Balance the propeller – Great Planes de Havilland Tiger Moth EP ARF - GPMA1134 User Manual
Page 11
11
GET THE MODEL READY TO FLY
Check the Control Throws
If the pushrods were connected to the servo arms using the
measurements provided in this manual, then the control
throws should already be correct, or very nearly correct.
However, it’s still a good idea to check the throws since
they have such a great effect on how the model fl ies.
❏
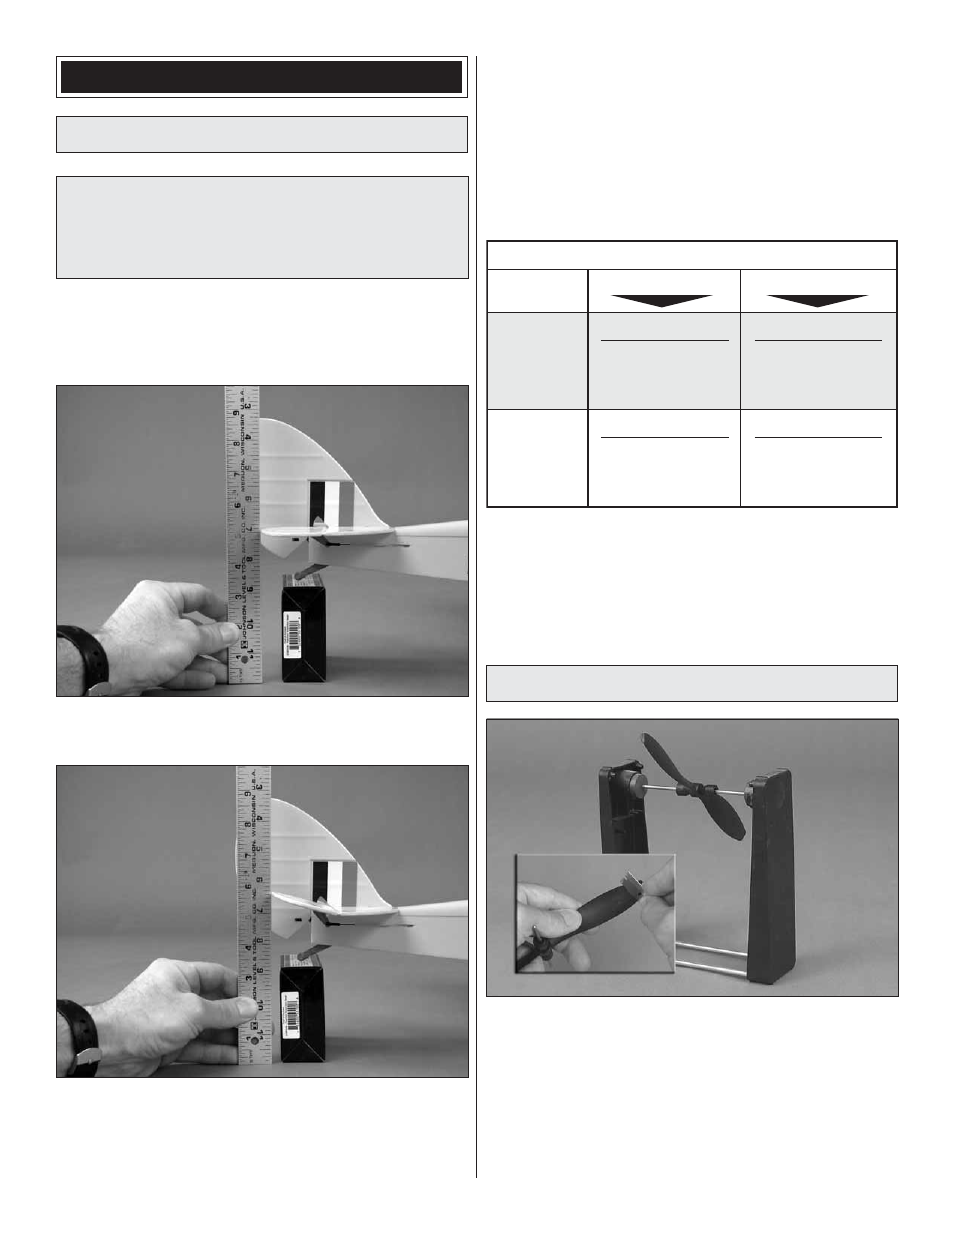
1. Prop up the rear of the fuselage on a box or
something similar so the horizontal stabilizer will be level
or very nearly level. Turn on your transmitter and connect
a battery to the ESC.
❏
2. Place a ruler next to the trailing edge of the elevator at
the widest part. Note the measurement.
❏
3. Use the transmitter to move the elevator to full “up”
and note how far the elevator moved. This is the “up”
elevator throw.
❏
4. Make sure the up elevator throw you measured is
the same as the throw specifi ed below. Measure the down
elevator throw and the right and left rudder throw the same
way. If necessary, use the ATVs in your transmitter to adjust
the throws. If your radio does not have ATVs and if your
throws are not close to the specifi cations provided, you can
change the throws by relocating the pushrods on the servo
arms. Moving the pushrods inward will provide less throw
and moving the pushrods out will increase the throw.
These are the recommended control surface throws:
ELEVATOR
HIGH RATE
LOW RATE
5/8"
[16mm]
17 deg
Up
5/8"
[16mm]
17 deg
Down
3/8"
[10mm]
10 deg
Up
3/8"
[10mm]
10 deg
Down
RUDDER
1-1/4"
[32mm]
27 deg
Right
1-1/4"
[32mm]
27 deg
Left
3/4"
[19mm]
16 deg
Right
3/4"
[19mm]
16 deg
Left
Balance the Propeller
Take a few minutes to balance your propeller and a spare
propeller before you fl y. A balanced propeller will help the
motor run smoothly and effi ciently.
If the propeller is unbalanced, use a single-edge razor blade
or a hobby knife to scrape material off the heavy blade until
you can get the propeller to balance.