Great Planes Ultra Sport 60 Kit - GPMA0420 Pages 28-48 User Manual
Page 4
3. Sand the aft edge of the 3/4" x 2-7/8" x 4" balsa rear
fairing block to an angle to match F-4, then position it on top
of the nylon bolts, centered between the fuse sides. Push
down on this block to make imprints of the nylon bolt heads
in the fairing block.
front fairing wedge to fit the top of the wing. Round the
comers of the block to match the fuselage. NOTE: It is
difficult (and not necessary) to carve this block to mate
exactly with the wing; therefore, you should just "rough it
out", then later you can fill any gaps with balsa filler.
4. Make holes in the fairing block large enough to clear
the heads of the nylon bolts.
10. With the wing in place on the fuse, hold the front
fairing in place (allow 1/32" gap between the fairing front and
the rear ofF-2A) and tack glue it to the wing. CAUTION:
Use extreme care to avoid gluing the wing to the fuselage!
5. Again hold the fairing block in position, pushing
down to imprint the location of the 1/16" ply wing hold-down
plate on the fairing block. Carve the fairing block to clear the
wing hold-down plate
6. Make a 1/2" deep saw cut down the center of the rear
fairing block (cut from the side facing the wing), which will
permit the block to bend to the shape of the wing.
7. Hold the rear fairing block in place, leaving a slight
(1/32") gap between the back of the block and the front of
F-4, and apply a couple drops of thin CA to tack it in place.
Remove the wing bolls and remove the wing from the fuse,
then glue the block securely in place.
block to the wing. Fill all gaps with balsa filler. After the
filler has dried, replace the wing on the fuse and sand all the
fairing blocks to smoothly blend the wing to the fuselage.
11. Remove the wing and securely glue the front fairing
bottom of the wing in a similar manner. You'll have to make
saw cuts in the center of the 1/2" block and the 1/4" block to
permit bending at the centerline.
8. Glue the two remaining rear fairing blocks to the
9. Carve and sand the 1" x 2-7/8" x 4-1/4" tapered balsa
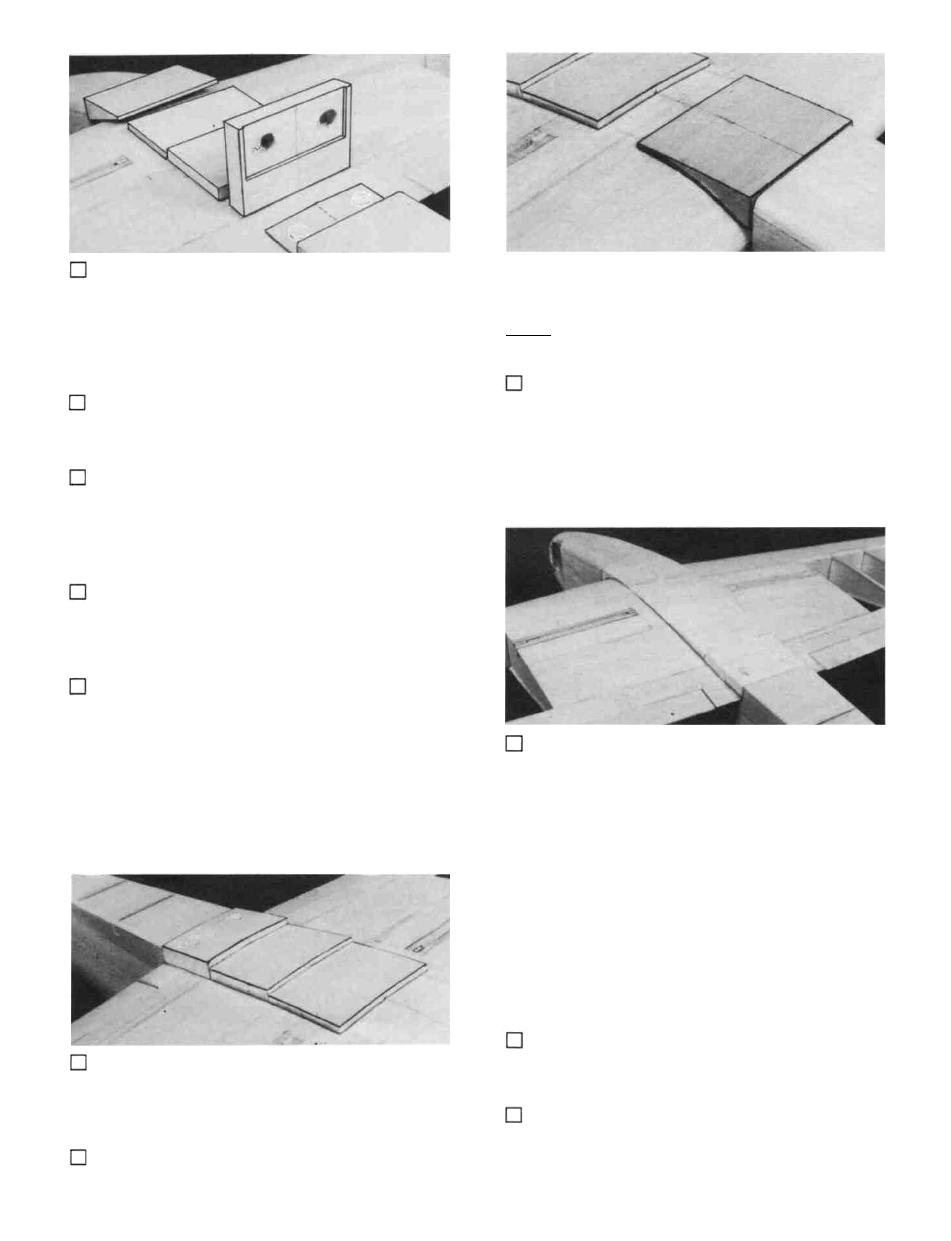
INSTALL WING FILLETS (OPTIONAL)
NOTE: The wing fillets are a nice addition to the US60.
They make it more pleasing to the eye and they do help to
reduce drag. The US60 flies just fine without them, however,
so the choice is yours whether or not to install them.
1. Tape an 8" x 15" piece of waxed paper onto the top
surface of the wing at the center, then attach the wing to the
fuse with the wing bolts.
2, Lay the die-cut 1/32" ply wing fillet bases on the
wing and glue them to the fuselage sides. NOTE: For this
procedure, we recommend that you use thick CA glue Spar-
31