Final assembly – Great Planes Ultra Sport 60 Kit - GPMA0420 Pages 28-48 User Manual
Page 3
2. In the same manner, sand the top front block to the
Also, trim the balsa as necessary to clear your muffler.
SUGGESTION: The temptation is to close up this area too
much! We recommend that you leave large enough openings
that you may easily remove the engine and mount, and so you
will have convenient access to the throttle linkage.
23. Now, with the engine and mount removed,
fuelproof the inside of the entire engine compartment with
polyester resin or epoxy thinned with alcohol.
approximate shape shown on the fuse plan side view.
3. Now sand the chin block, the top front block comers
and the nose side pieces to blend smoothly with the spinner
ring. Refer to the cross-section drawings of F-l andF-2onthe
plan to get an idea of the desired amount of rounding in the
comers. The top front block should be sanded with reference
to the dash (see the DASH detail drawing on the plan).
4. After the rough sanding has been completed, tempo-
FINAL ASSEMBLY
rarily re-mount your engine and slide on the spinner backplate.
You'll probably have to sand the edges of the spinner ring
down for a good match with the spinner backplate.
5. Sand the bottom rear comers of the fuselage to a
SAND THE FUSELAGE
NOTE: Some heavy sanding is required to properly shape
the nose area. This task can be made much easier if you use
a razor plane and a sanding block with #50-grit sandpaper for
rough shaping. The very coarse sandpaper is used to achieve
the basic shapes, then use progressively finer grades of
sandpaper for a smooth finish.
slight radius as shown on the cross-sections of F-4, F-5 and
F-6.
INSTALL WING FAIRINGS
You'll need the following parts: 3/4" x 2-7/8" x 4" balsa
block, 1/2" x 3" x4-l/8" balsablock. 1/4" x 3" x4-3/16" balsa
block, and the 1" x 2-7/8" x 4-1/4" tapered balsa wedge.
1. Mount the wing to the fuselage with the nylon bolts.
end of the chin block 5/16" below the bottom edge of F-2A.
Now study the fuse plan side view and note the final shape and
curvature of the chin block. Use your razor plane and a
sanding block with coarse sandpaper to sand the fuse bottom
to the approximate shape as shown on the plan.
30
1. Turn the fuse upside down and draw a line on the aft
CENTERLINE
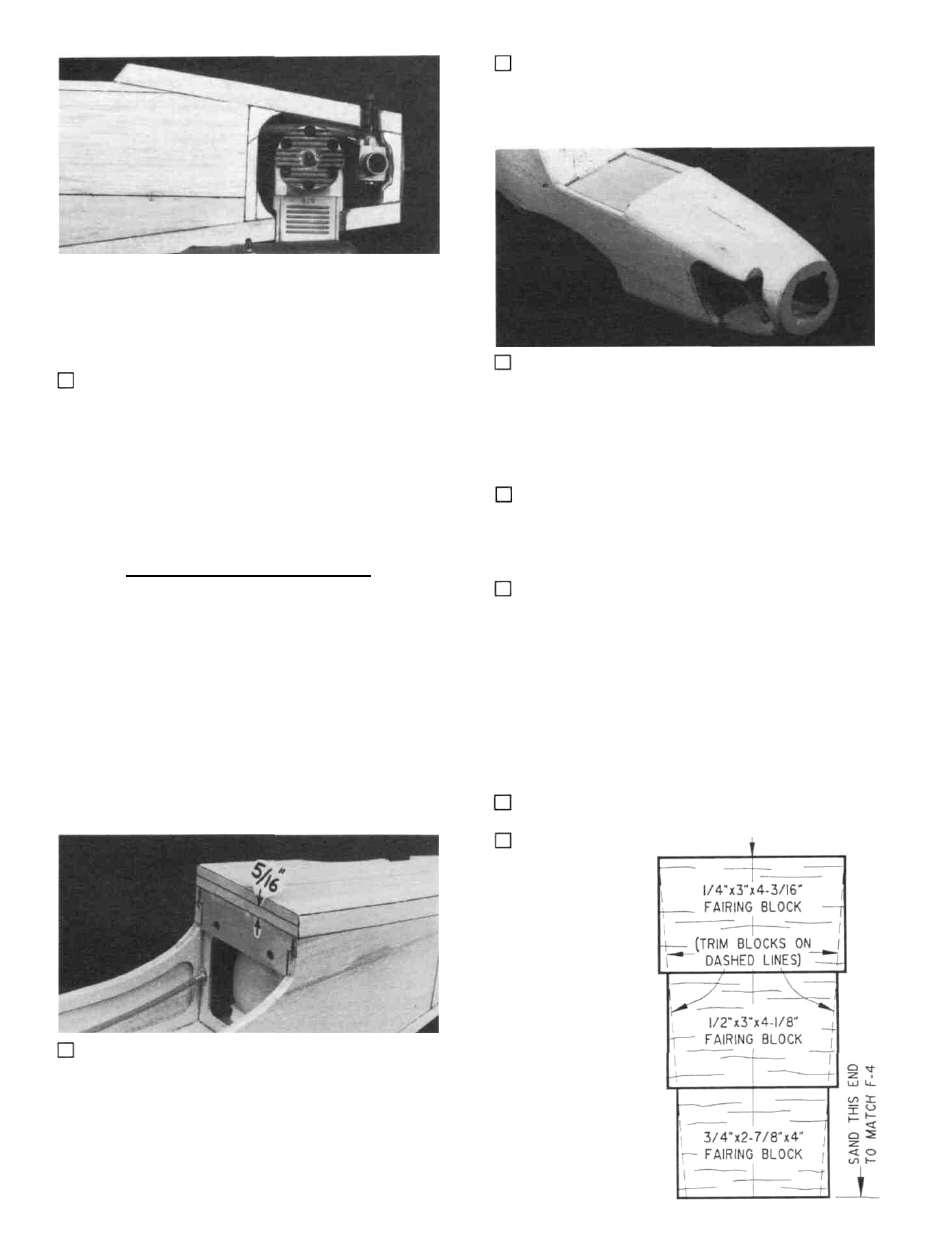
2. Draw center-
lines on all the blocks,
then arrange them as
shown in the sketch.
Draw straight lines
along the edges of the
blocks as shown, and
trim the blocks.