Great Planes Ultra Sport 60 Kit - GPMA0420 Pages 28-48 User Manual
Page 11
3. Put epoxy into the slots in the elevators and on the
corresponding hinges, then push the elevators onto the hinges
and wipe away all excess epoxy with a tissue (for best results
dampen the tissue with rubbing alcohol).
strips of masking tape on the inside of the canopy, 1/8" in
from the edges.
2. Poke pinholes (1/8" apart) through the covering
4. Using coarse sandpaper, roughen the part of the
material in the area where the canopy will be glued to the
fuselage.
aileron torque rods that will be glued into the ailerons, then
clean off the sanded portion of the rods with alcohol or a
degreasing solvent. Roughen and clean the tailgear wire in
the same manner. Using a toothpick, apply a small amount of
Vaseline where the torque rods and tailgear wire enter the
nylon bearing tubes (to prevent glue from getting inside and
locking them up).
5. Put epoxy into the rudder hinge slots (and the tailgear
3. Hold the canopy in place on the fuselage and very
carefully apply medium viscosity CA glue around the edges.
To control the amount of CA, it is very helpful to use the small
diameter teflon applicator tubing which is supplied with most
CA glues, or use a "Z-End" applicator tip.
4. To hide the canopy glue joint, you can use 1/4" wide
Striping tape as a border around the canopy.
hole), push the rudder into place and wipe off all excess
epoxy.
6. Put epoxy into the aileron hinge slots and the torque
WING SEATING
rod holes, push the ailerons into place and wipe off all excess
epoxy.
1. Apply 1/4" or 3/8" wide foam wing seating tape to
the wing saddle area to seal the wing/fuse joints.*
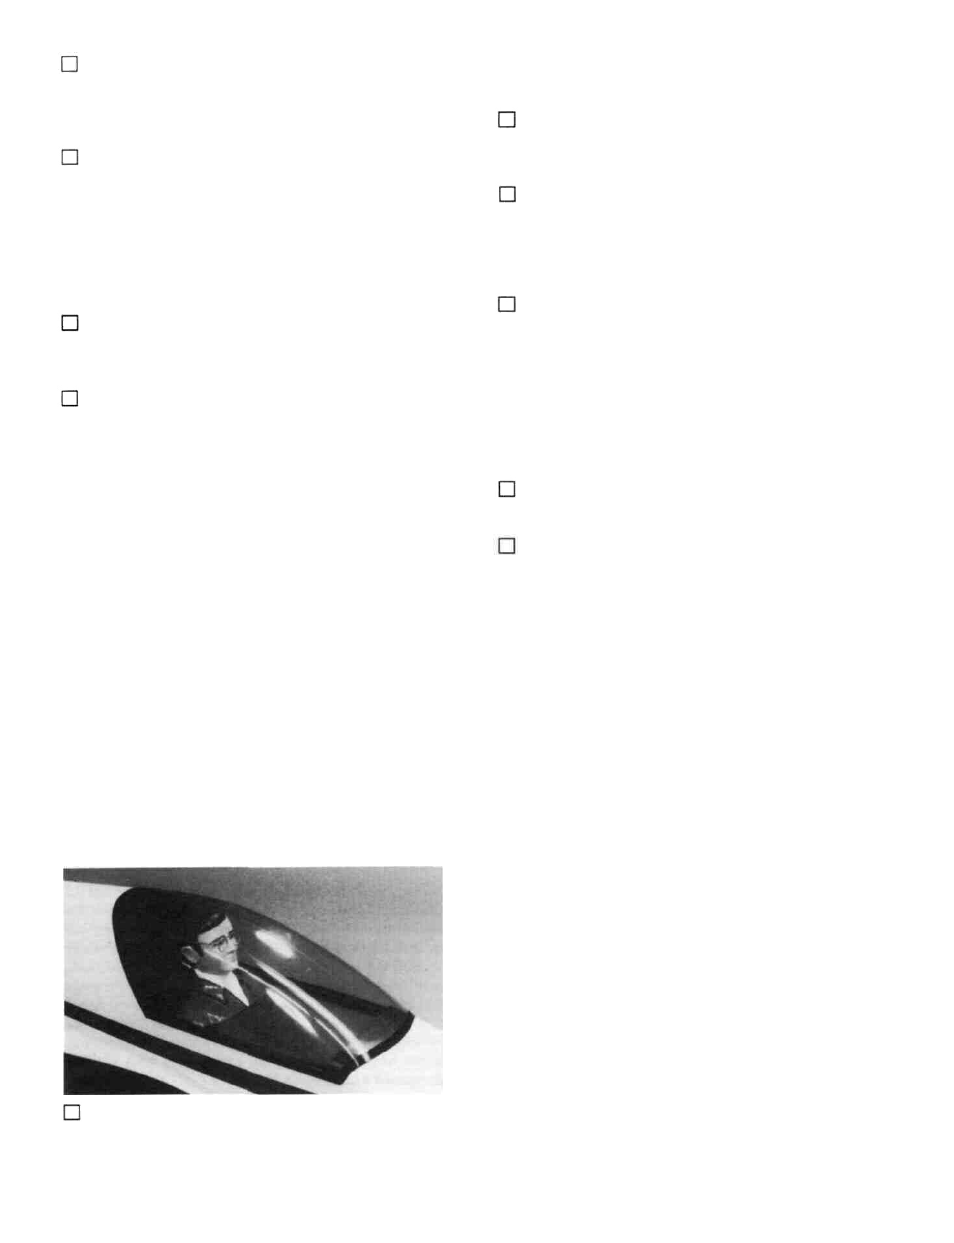
INSTALL PILOT 2. Also apply a couple pieces of the foam tape to the
Assemble and paint your pilot figure, and glue it to the
cockpit floor. NOTE: To avoid the possibility of the pilot
coming loose inside the canopy, we recommend that you drill
up through the cockpit floor and pilot base, and use two #6 or
#8 sheet metal screws (not included) to lock the pilot in place.
GLUE CANOPY IN PLACE
1. Lightly sand the inside of the canopy around the
edge (sand a strip approximately 1/8" wide). NOTE: To
avoid sanding more than you want, it is helpful to first apply
1/4" ply wing hold-down plate, which helps to distribute the
load when the nylon bolts are tightened.
*NOTE: An alternate method of sealing the wing/fuse joint
is to use "silicone bathtub sealer". This is an excellent
method, used by many experts because it results in a permanent
and nearly perfect wing saddle joint. Briefly, the technique
is as follows: 1. Cover the top of the wing center section with
waxed paper or plastic kitchen wrap. Pull out all wrinkles and
tape it to the wing. 2. Squeeze out a bead of silicone sealer
onto the wing saddle area of the fuselage. 3. Lay the wing in
the saddle and push down gently. The excess silicone sealer
will squeeze out. 4. Allow to dry without disturbing for at
least 24 hours. 5. Remove the tape, then remove the wing
from the saddle (leaving the waxed paper or plastic wrap in
place). 6. Gently pull the waxed paper or plastic wrap away
from the sealer. 7. Using a new single-edge razor blade, trim
the sealer flush with the wing fillets, and along the inside of
the fuselage.
RE-INSTALL ENGINE & RADIO
Re-install the engine, propeller, battery, receiver, servos,
control horns, pushrods, main LG, nose gear and wheels.
Attach the wing to the fuselage.
38