Mount the servos assemble the wings, Preparations – Great Planes Giant Big Stik ARF - GPMA1224 User Manual
Page 8
Use a covering iron with a covering sock to remove any
wrinkles in the covering. Over sheeted areas, first glide the
iron over the wrinkle until it disappears, then come back
pressing hard on the iron to thoroughly bond the covering to
the wood. Hint: Use a small T-pin to poke several holes in
the covering over the lightening holes on the bottom of the
control surfaces. This will allow expanding air to escape
during the heating and tightening process.
❏
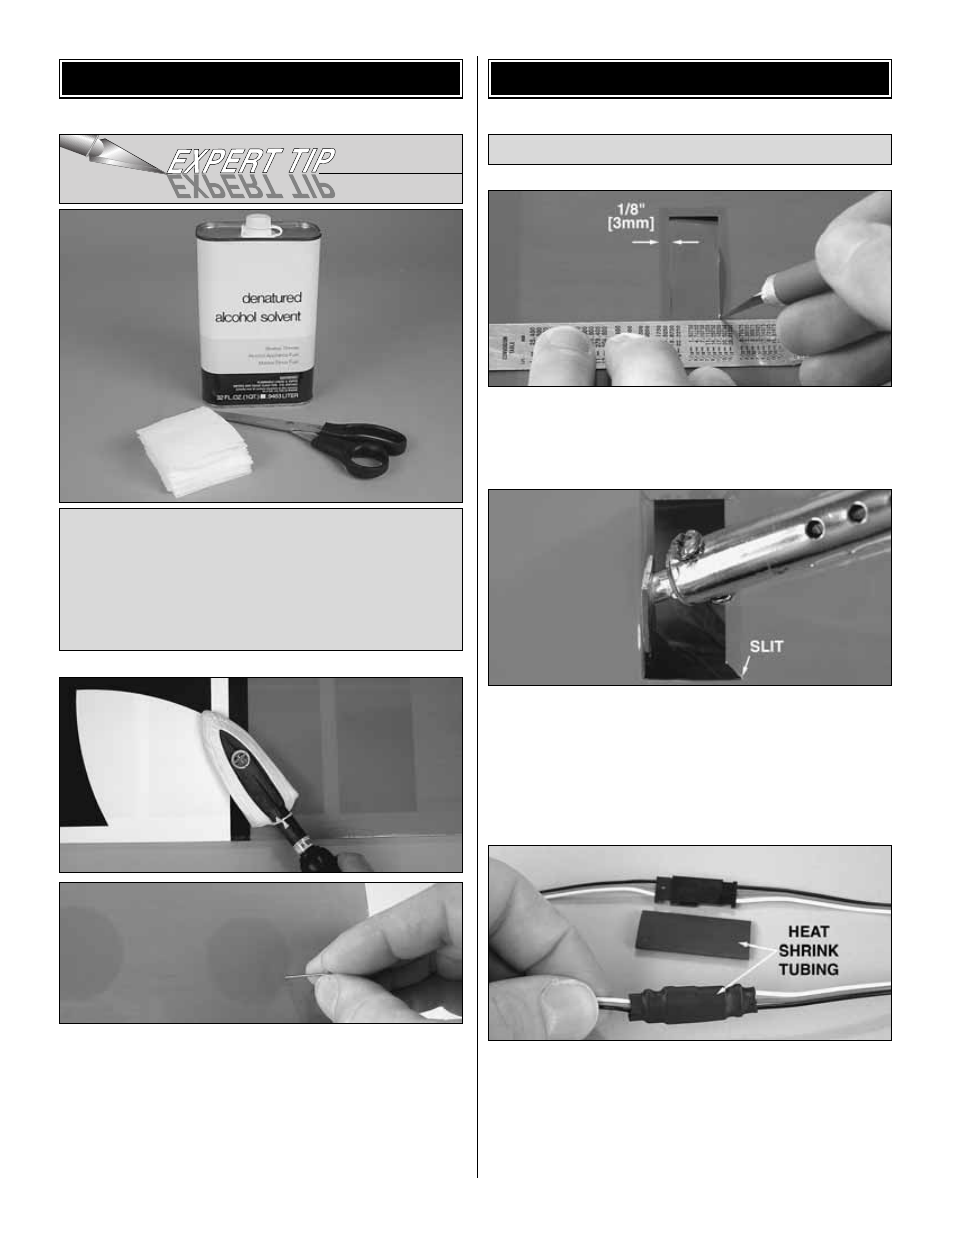
1. Use a straightedge and a hobby knife to cut the
covering 1/8" [3mm] inside the openings in the bottom of
both wings for the flap and aileron servos.
❏
2. Slit the covering up to the corners of the openings,
then use a trim iron to iron the covering down inside.
❏
3. Cut the covering from the bottom of the wing over the
holes for the servo wires next to the root end of both wings.
❏
4. Connect one 12" [300mm] servo extension wire to
each aileron servo and connect one 6" [150mm] extension
wire to each flap servo. Cut two pieces of the included black
heat shrink tubing in half, making four 1-1/2" [40mm] pieces.
Center the pieces of tubing over the connections between
the servo wires and the extensions. Use a heat gun to
shrink the tubing, making the connections secure.
Mount the Servos
ASSEMBLE THE WINGS
During construction there will be several occasions where
epoxy cleanup will be necessary. Instead of wasting
whole paper towels, stack three or four paper towels on
top of each other and cut them into small squares. This
will conserve paper towels and the little squares are
easier to use. For epoxy clean up dampen the squares
with denatured alcohol.
PREPARATIONS
8