Balance the model laterally, Preflight identify your model, Charge the batteries – Great Planes Extra 300SP EP ARF - GPMA1188 User Manual
Page 19: Balance propellors
19
❏
2. With the wing attached to the fuselage, all parts of the
model installed (ready to fl y) and LiPo battery, lift it at the
balance point you marked.
❏
3. If the tail drops, the model is “tail heavy” and the battery
pack and/or receiver must be shifted forward or weight must
be added to the nose to balance. If the nose drops, the model
is “nose heavy” and the battery pack must be shifted aft or
weight must be added to the tail to balance. If additional
weight is required, use Great Planes (GPMQ4485) “stick-on”
weights. A good place to add stick-on nose weight is to the
motor box (don’t attach weight to the cowl—it is not intended
to support weight). Begin by placing incrementally increasing
amounts of weight on the fuse over the motor box until the
model balances. Once you have determined the amount of
weight required, it can be permanently attached.
Note: Do not rely upon the adhesive on the back of the weight
to permanently hold it in place. Over time the adhesive may
soften and cause the weight to fall off. Use #2 sheet metal
screws, RTV silicone or epoxy to permanently hold the weight
in place.
❏
4. IMPORTANT: If you found it necessary to add any weight,
recheck the C.G. after the weight has been installed.
Balance the Model Laterally
❏
1. With the wing level, have an assistant help you lift the
model by the engine propeller shaft and the bottom of the
fuse under the TE of the fi n. Do this several times.
❏
2. If one wing always drops when you lift the model, it means
that side is heavy. Balance the airplane by adding weight to the
other wing tip. An airplane that has been laterally balanced
will track better in loops and other maneuvers.
PREFLIGHT
Identify Your Model
No matter if you fl y at an AMA sanctioned R/C club site or if
you fl y somewhere on your own, you should always have your
name, address, telephone number and AMA number on or
inside your model. It is required at all AMA R/C club fl ying sites
and AMA sanctioned fl ying events. Fill out the identifi cation
tag on page 23 and place it on or inside your model.
Charge the Batteries
Follow the battery charging instructions that came with your
radio control system to charge the batteries. You should always
charge your transmitter batteries the night before you go fl ying,
and at other times as recommended by the radio manufacturer.
CAUTION: Unless the instructions that came with your
radio system state differently, the initial charge on new
transmitter batteries should be done for 15 hours using the
slow-charger that came with the radio system. This will
“condition” the batteries so that the next charge may be done
using the fast-charger of your choice. If the initial charge is
done with a fast-charger the batteries may not reach their
full capacity and you may be fl ying with batteries that are
only partially charged.
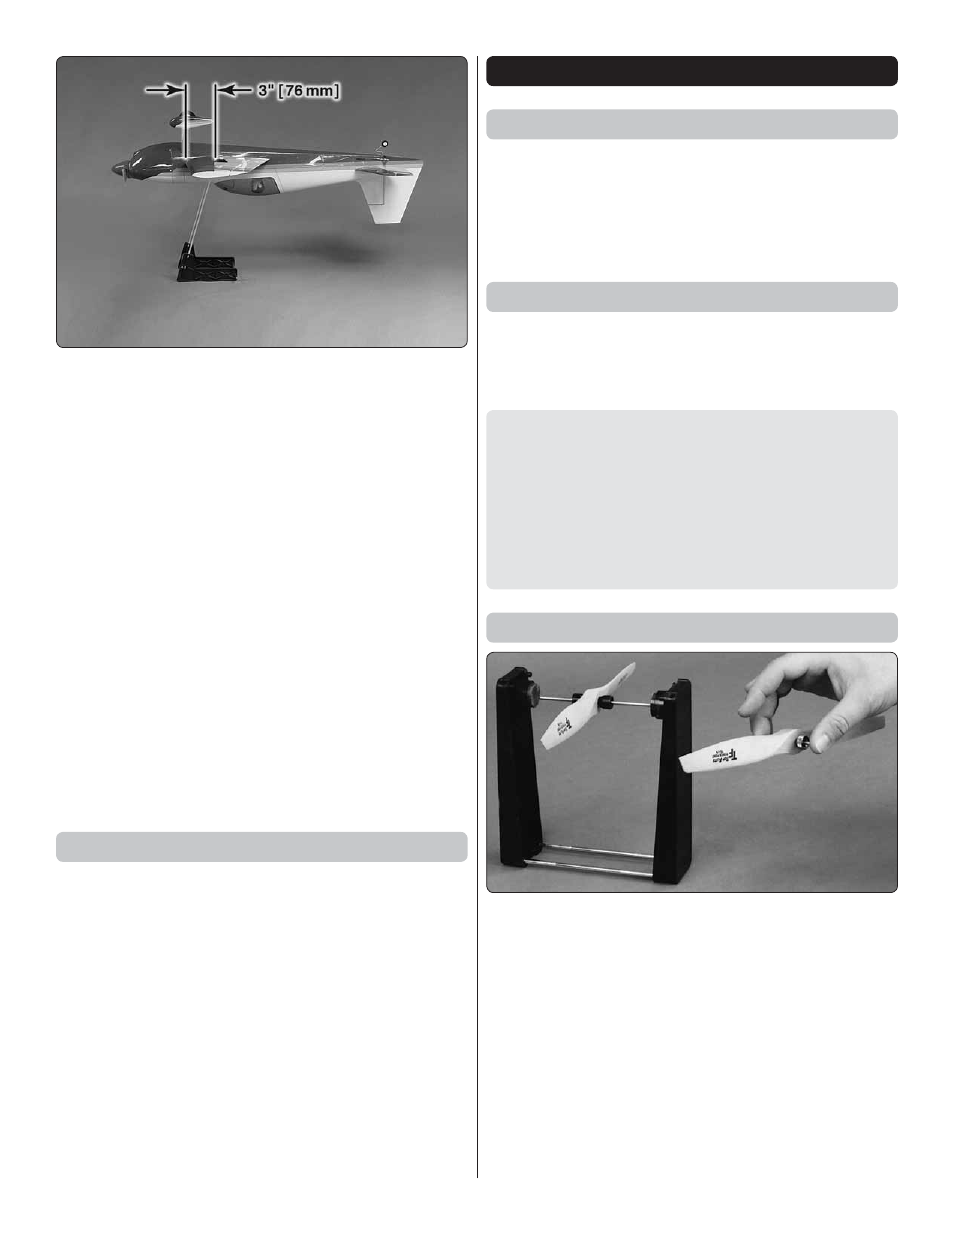
Balance Propellors
Carefully balance your propeller and spare propellers before
you fl y. An unbalanced prop can be the single most signifi cant
cause of vibration that can damage your model. Not only
will motor mounting screws and bolts loosen, possibly with
disastrous effect, but vibration may also damage your radio
receiver and battery.
We use a Top Flite Precision Magnetic Prop Balancer
(TOPQ5700) in the workshop and keep a Great Planes
Fingertip Prop Balancer (GPMQ5000) in our fl ight box.