Install the receiver – Great Planes Extra 300SP EP ARF - GPMA1188 User Manual
Page 14
14
screw into each of the holes you have drilled. Apply a drop of
thin CA into the holes to harden the threads. Once the glue has
cured secure the control horn to the elevator with the screws.
❏
5. Thread a nylon clevis 20 turns onto a 2-56 6" [152 mm]
wire pushrod. Connect the clevis to the outer hole from the base
of a nylon control horn. Slide a silicone clevis retainer over the
clevis. With the elevator servo and the elevator centered, mark
the elevator pushrod where it crosses the elevator servo arm.
Make a 90° bend at the mark. Cut the pushrod 3/8" [9.5 mm]
past the bend. Attach the pushrod to the elevator servo arm
with a nylon Faslink.
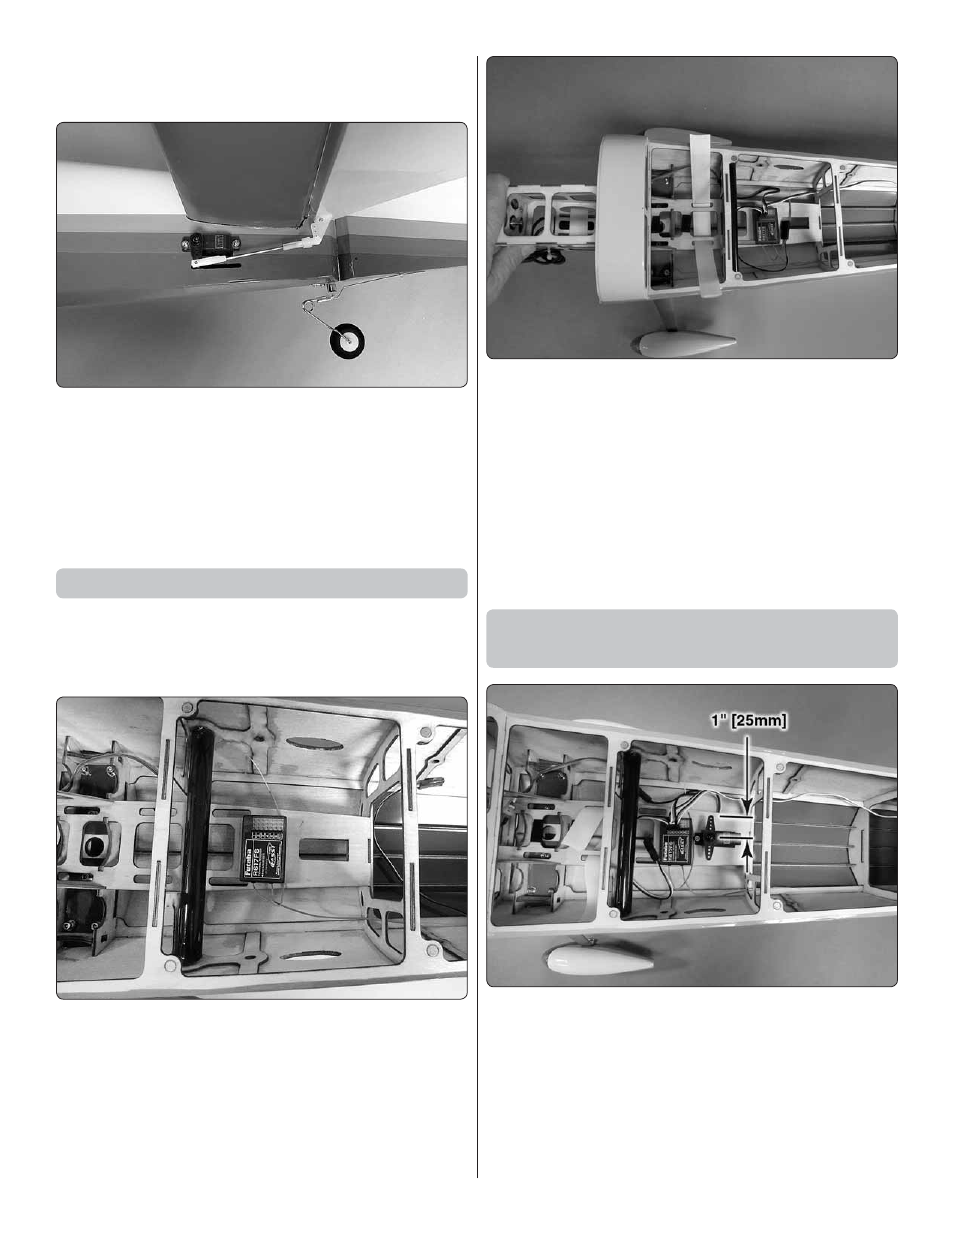
Install the Receiver
Before installing the rudder servo you need to complete the
installation of the receiver and battery. To properly set up the
rudder pull-pull system you will need to be able to operate
the servos.
❏
1. Use adhesive backed hook and loop material to mount
the receiver to the servo tray.
❏
2. Connect the ESC, elevator servo and Y- harness for the
ailerons to the receiver. (Depending on where you mounted the
ESC, you may need to install a 9" [ 230 mm] servo extension
to the ESC.) If using the 4S battery set up with a regulator,
follow the instructions with the regulator.
❏
3. Overlap by 1" [25 mm] two strips of non-adhesive backed
hook and loop material. Route the hook and loop material
through the slot in the battery tray, under the tray and back
through the slot on the other side of the tray. Apply a strip of
adhesive backed hook material to the center of the battery
tray. The loop material can be applied to the battery.
❏
4. Connect the fl ight battery to the ESC and check that
the servos are operating correctly. Arm the motor (with the
prop removed) and slowly start the motor to make sure it is
rotating in the correct direction. If not follow the instructions
with your ESC to reverse the direction of rotation.
Install the Rudder Servo and Rudder
Pull-Pull Installation
❏
1. Drill a 1/16" [1.6 mm] hole in the servo tray, drilling
through the servo mounting holes. Install and then remove
a servo mounting screw into each of the holes in the rudder
servo tray. Apply a drop of thin CA into the holes to harden
the threads. Once the glue has hardened, install the servo
into the servo opening using the hardware included with your
servo. Center the servo. Then, install a 1" [25 mm] two arm
servo arm as shown.