GME GR9240W User Manual
Page 11
G r 9 2 0 0 s E r i E s
i n s t r u c t i o n m A n uA l
PA G E 1 1
G r 9 2 0 0 s E r i E s
i n s t r u c t i o n m A n uA l
PA G E 1 1
NOTE: If all power is disconnected from the GR9200,
the unit defaults to European frequency bands
when reconnected .
NOTE: The differences between bands is listed in the
specifications at the rear of the manual .
10
Band selector
To select the required radio band (AM1, AM2 FM1 FM2 or
FM3), sequentially press the Bnd button until the required
band is selected.
11
tuning/selecting tracks
manual tuning
To tune the radio manually, momentarily press the
or
button to select the desired frequency. Press
to tune
up or
to tune down .
automatic tuning (seek)
Press and hold either the
or
buttons for 1 second.
The GR9200 will stop seeking when a strong, clear station
is detected .
storing of stations in memory
Once the desired station has been selected, press and hold
one of the six preset station memory buttons on the front
panel for 1 second. The corresponding button number will
appear on the lcD indicating that the selected station is
now programmed into the GR9200 memory.
13
auto programming of radio stations (ams)
select the required band
Press and hold the ams button for 1 second. The GR9200
will commence searching the band for radio stations. As
each station is located it is automatically stored in the next
available preset memory location. The new stations will
replace any stations previously stored in that band.
14
scan
In the TUNER mode, press and hold the scan button for
1 second. The GR9200 will scan the selected radio band
for all available stations, pausing briefly at each to let you
decide whether you wish to listen to this particular station.
To exit the Scan mode, press the scan button again.
manually selecting the preset station memories
Briefly press the desired station memory 1- 6 . the Gr9200
will jump immediately to that station and the memory
number will appear on the LCD.
Cd/Mp3 OpERATION
Warning:
Do not insert CDs containing anything other
than standard audio or mP3 files into the disc slot . the
cD mechanism contains precision laser components which
could easily be damaged by inserting foreign objects.
important:
Because of the wide dynamic range offered
by CD systems, the difference in volume level between very
soft sounds and very loud sounds can be quite high. For this
reason we recommend that you avoid turning the volume
level up too loud when listening to very soft music or tracks
with no audio level otherwise a sudden change to very loud
music could damage your speakers.
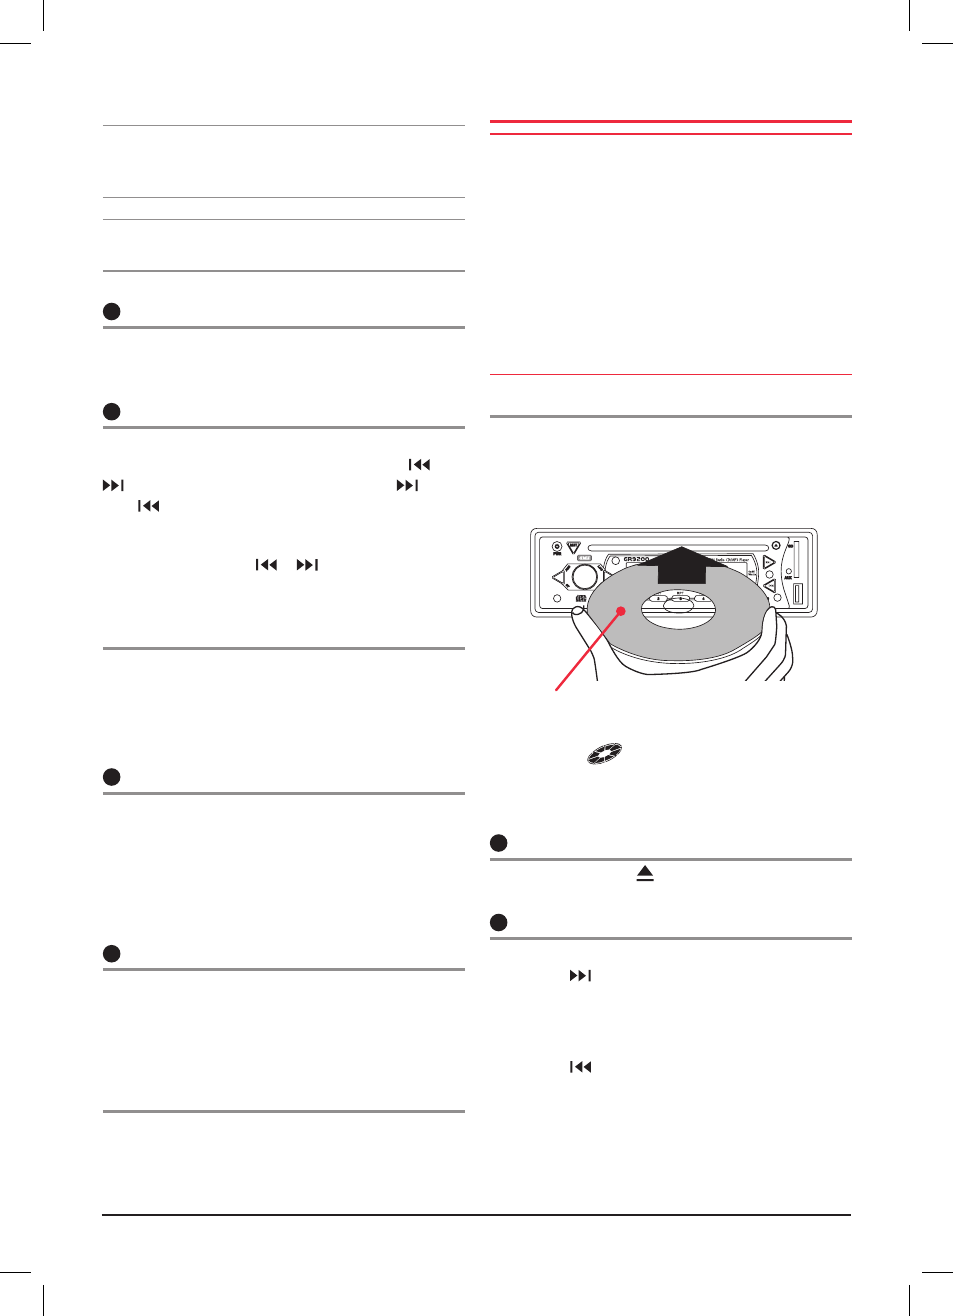
inserting the cd
Remove the CD from it’s case and insert the disc label-up
into the front panel aperture . the cD mechanism will
automatically draw the disc into the player and start
playing track 1.
12
ejecting a cd
Press the eJect button to stop the CD playing and
automatically eject the disc.
11
fast forward/reverse
To advance through the present track at high speed, press
and hold the
button. The elapsed playing time will be
displayed and will advance rapidly. Release the button to
continue playing at the normal speed.
To reverse through the present track at high speed, press
and hold the
button. The elapsed time on the display
will decrease rapidly. Release the button to continue playing
the present track at the normal speed .
label side up
A disc symbol
is displayed on the LCD whenever
there is a CD in the player. The symbol will simulate
rotation whenever the disc is playing.