GME TX6200 User Manual
Page 11
TX6200
I N S T R U C T I O N M A N UA L
PAGE 11
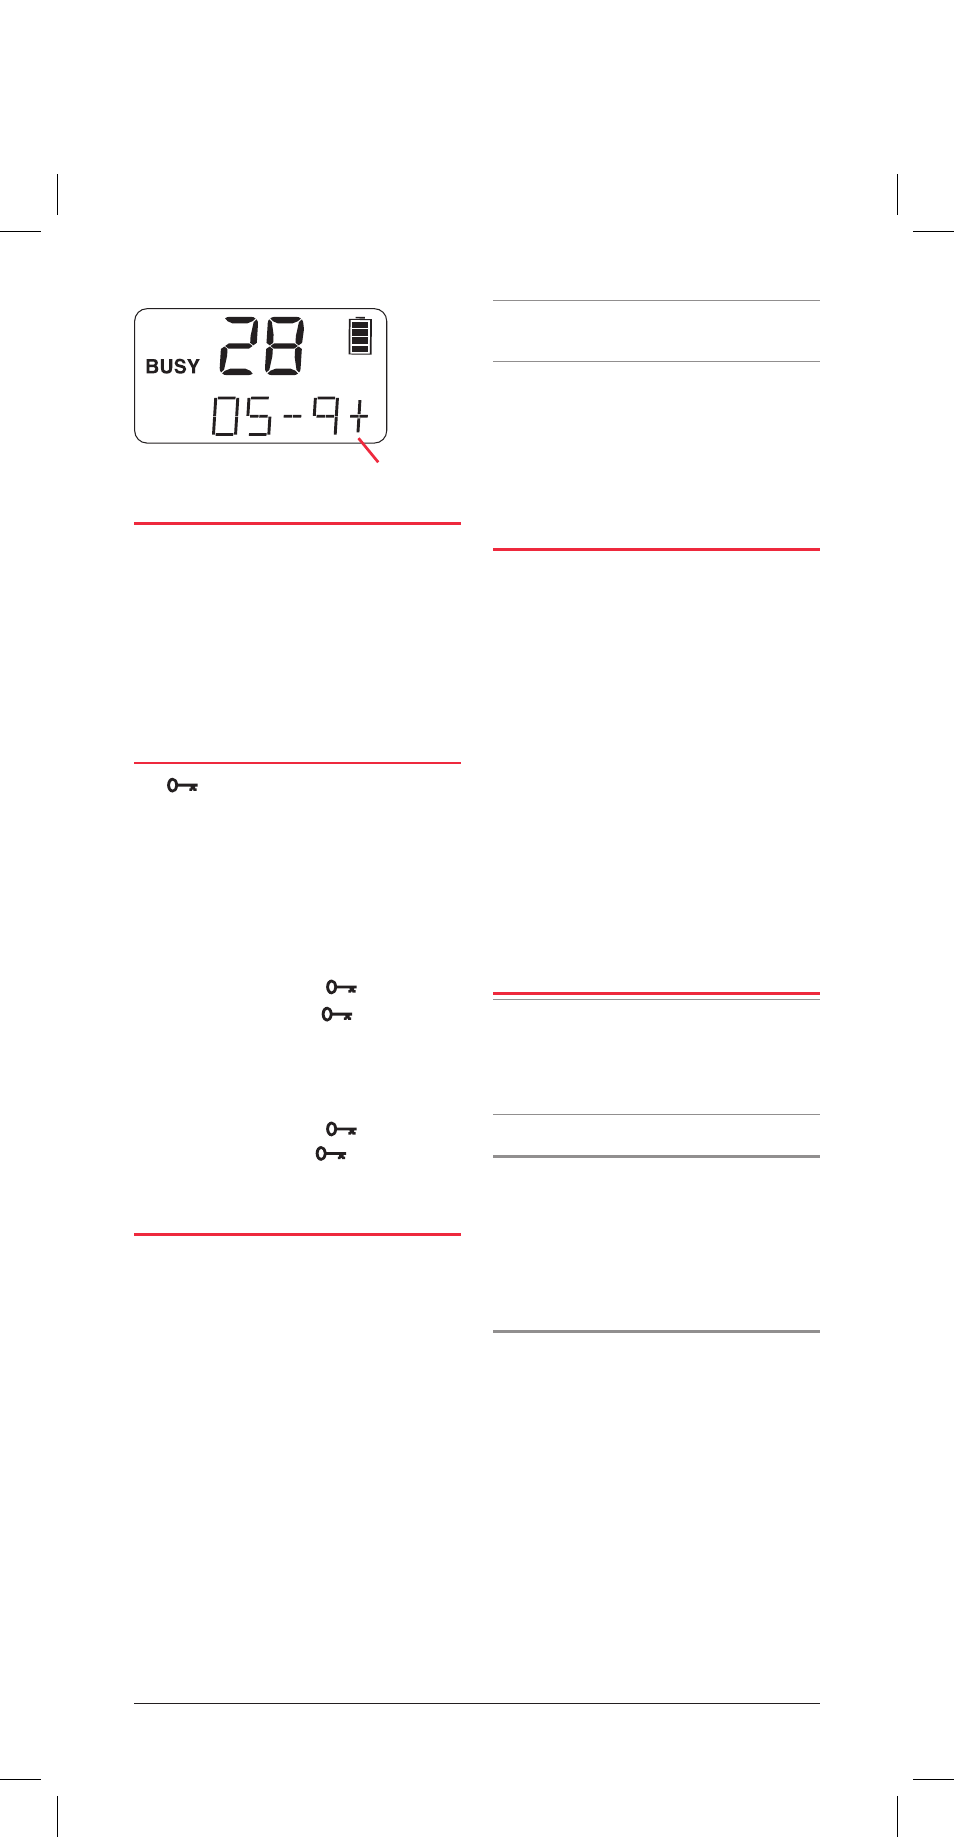
SIGNAL STRENGTH METER
The TX6200 has a digital signal strength
meter that is displayed on the LCD. When
in the normal receive mode (scan not
selected) the received signal strength is
displayed as numbers from 0 to 9+
(with 9+ being the strongest) on the
lower right of the display.
KEYLOCK FEATURE
The
key locks the keys to prevent
unintentional key presses from altering
your TX6200‘s settings. While the keys
are locked, only the Push-To-Talk switch,
on/off Volume control, Keylock key and
Monitor key will continue to function.
To lock the keys, briefly press the F key
then press and hold the
key until a
high beep is heard. The
symbol will
appear on the display.
To unlock the keys and restore them to
normal operation, briefly press the F key
then press and hold the
key until a
low beep is heard. The
symbol will
disappear from the display.
THE HI/LO POWER KEY
The HI/LO power key is used to change
the output power of the transmitter from
its maximum level of 5 Watts down to 1
Watt. There are a number of reasons why
you might want to use low transmitter
power, but the main reason would
probably be to conserve battery power.
If you need to get the maximum use
between charges and you spend a fair
proportion of the time transmitting on
the radio, then selecting low power can
increase battery life quite dramatically.
Obviously, you must also be in close
proximity to the other radios or the
nearby repeater otherwise your lower
powered signal may not get through.
To change the transmitter output power
setting:
Briefly press the F key followed by the
HI/LO key. A high beep will indicate High
power mode is selected. A Low beep
accompanied by ‘LO’ on the display
indicates Low power is set.
TRANSMITTING
Before transmitting, check to see if the
channel is already in use (‘BUSY’ will
be displayed and the LED on the top of
the radio will be green). If the channel
is busy, you should wait until it is clear
before transmitting.
To transmit, press the Push-To-Talk
(PTT) switch on the left-hand side of the
radio. Hold the radio about 5 – 8 cms
from your face with the antenna vertical
and speak into the built-in microphone
located just below the speaker. When
talking, speak at a normal voice level.
The microphone is quite sensitive so it is
not necessary to raise your voice or shout.
RECEIVING
NOTE: Your radio may be programmed
with options that could affect the way your
radio behaves when it receives a call from
another radio.
Normal reception
Your radio will normally be muted
(squelched) so that it is quiet when there
are no signals. When a transmission is
received, the radio will automatically
unmute itself to allow you to hear the call.
The BUSY Indicator
Whenever the channel is active, the
BUSY indicator will appear on the display
and the green LED on the top of the
radio will light. However, depending on
the muting options selected on your
radio, you may not always hear any
sound from the speaker. This can happen
when others are sharing the channel but
their calls are not meant for you. For this
reason it is important that you visually
check that the channel is not busy before
making a call to ensure you do not
accidentally talk over someone else.
Signal Meter
Channel Selected
1
2
3
4
5*
6
7
8
41
42 43
44
45
46
47
48
Receive Channel
1
2
3
4
5*
6
7
8
41
42 43
44
45
46
47
48
Transmit Channel
31
32
33
34
35*
36
37
38
71
72 73
74
75
76
77
78