Risers – factory & field (bolted & welded) risers – FloAire Non-Welded Grease Duct Systems User Manual
Page 8
8
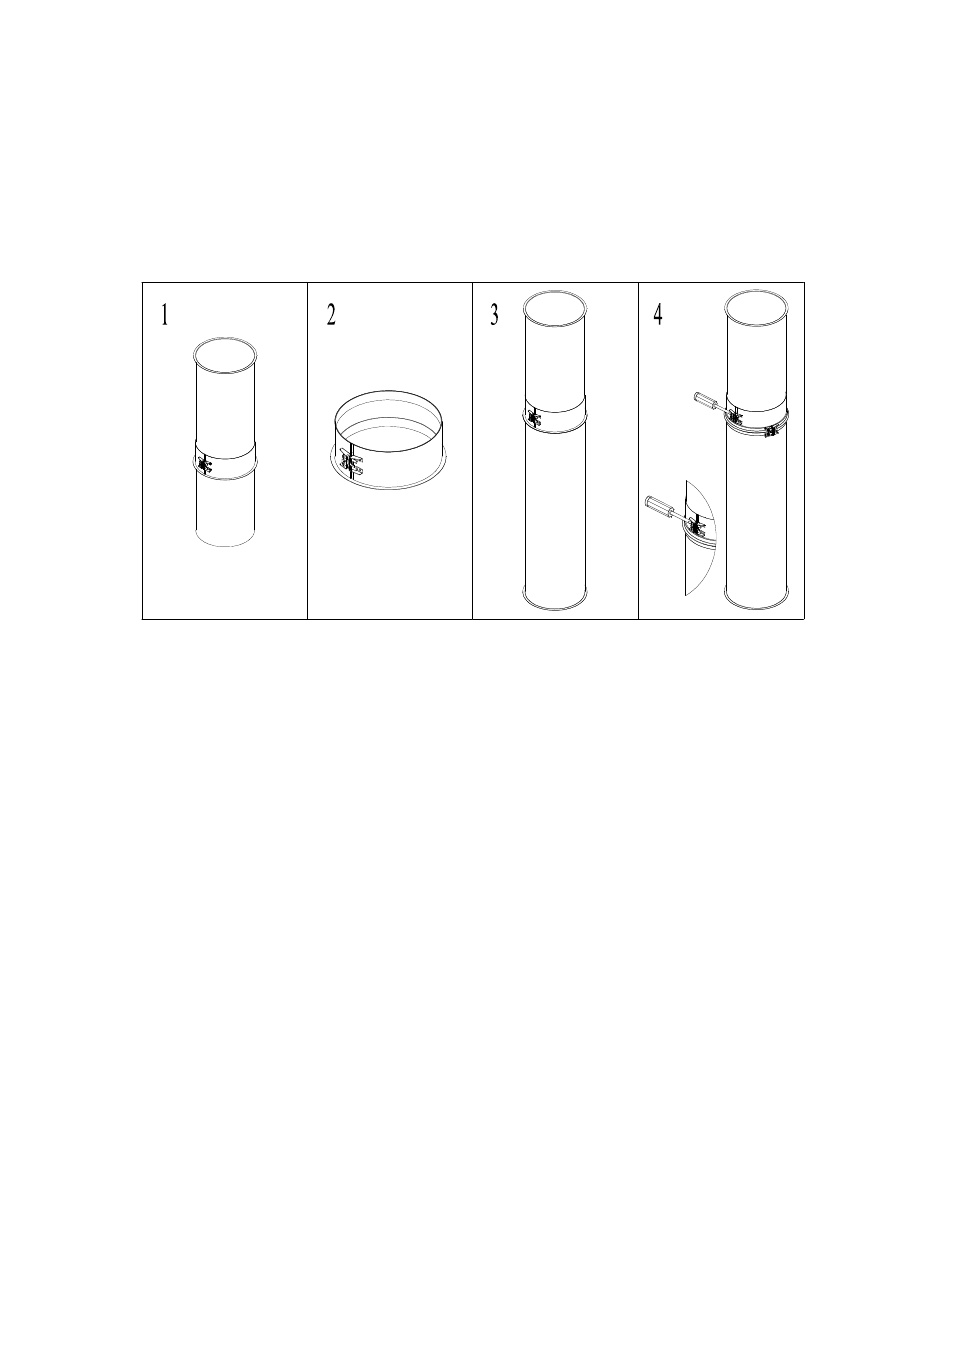
Fig. 2b – Collar & Adjustable Duct Installation
Risers – Factory & Field (Bolted & Welded) Risers
There are two options for the riser (connection to hood plenum); Factory welded and field welded or bolted.
Dimensional data identifying the size and location of the riser must be provided for factory installation. The
riser is fully welded to the hood plenum.
When field installed, the riser is shipped loose allowing the installer at the jobsite to decide on the final
location of the riser. Field installed risers help when the final location is not known or adjustments may have
to be made due to duct misalignments. Field installed risers may be welded or bolted in place.
1. Bolted risers come with two rings that are used for the connection to the hood plenum, one is
connected to the riser and one will be loose.
2. Locate the desired position of the riser on the top of the hood. Use the riser as a guide when
marking the top of the hood. Make sure that the hole location is inside the plenum area before
cutting.
3. Since the riser is going to be bolted on, a bolt hole circle is required. Use the loose ring as a guide.
4. Use the high temperature silicone provided to seal above and below the cut hole, there should be no
gaps in the silicone either around the cut hole or the bolt hole circle.
5. Center the riser over the cut hole and push down into the silicone. The silicone should be visibly
coming through the bolt hole circle on the riser ring.
6. Align the loose riser ring over the hole on the inside of the plenum and push into the silicone. Align
with the riser ring above the hood and bolt the two rings together using ¼-20 hardware.
7. Excess silicone should be removed, and the connection should be inspected for gaps and loose
hardware.
8. When joining standard duct to the riser use the method shown in Fig. 1 – JOINT ASSEMBLY.