Dynaflite DYFA3030 User Manual
Page 18
18
❏
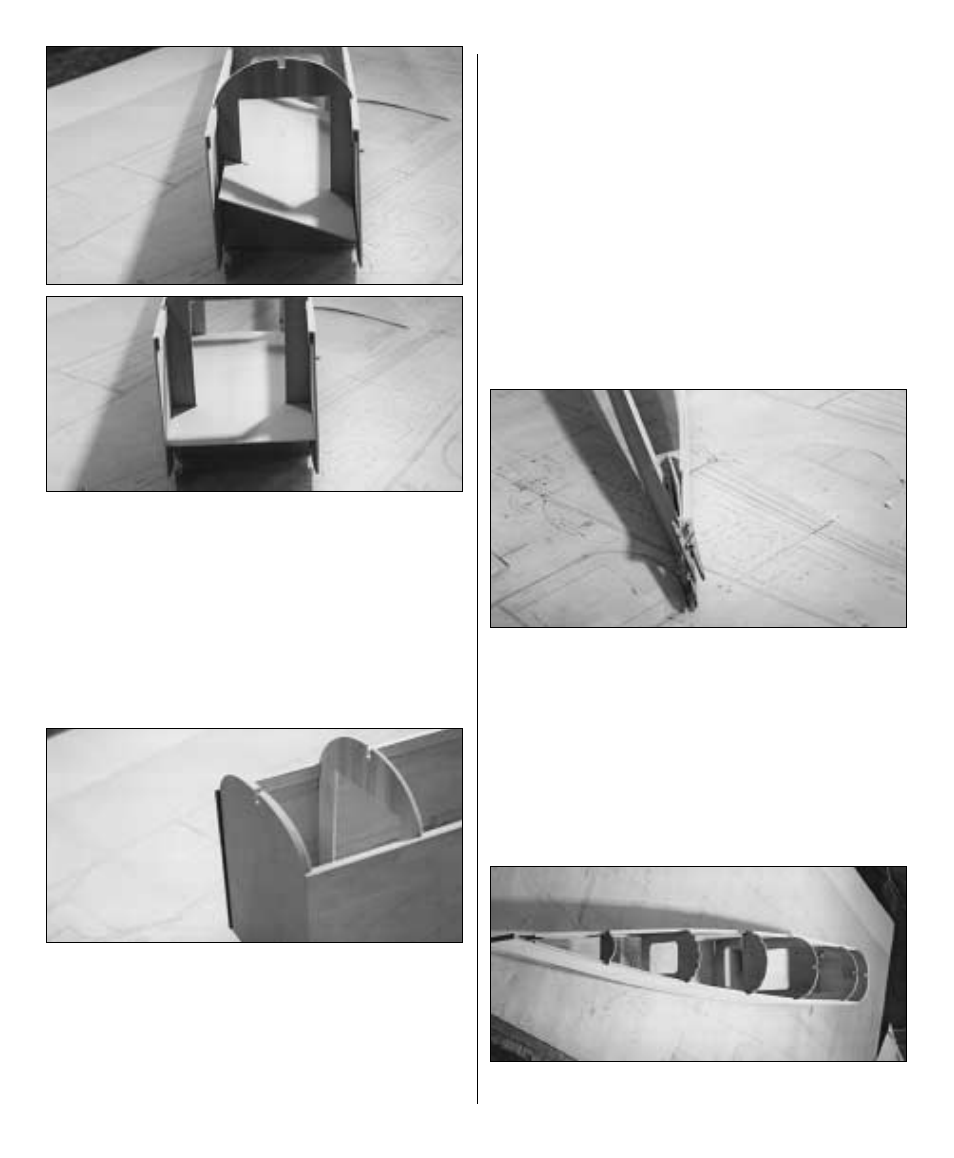
10. Slip the 1/8" die-cut ply fuselage bottom deck
through F2 and F3 at a diagonal and rotate into
place, but do not glue.
NOTE
: The bottom deck is used to set the right thrust
for the engine. The shorter side of the bottom deck
must
be along the right fuselage side. When
satisfied with the fit, glue the bottom deck to F2, F3
and the fuse sides.
❏
11. Fit the laminated ply firewall F1 into place. The
firewall should fit tightly against the bottom deck and
the two upper longerons. The front of the left fuselage
side should be even with the front face of the firewall.
The right fuselage side should extend about 1/4" past
the firewall. When satisfied with the fit glue the
firewall into position with 30-minute epoxy.
❏
12. From the 1/4" x 3/8" x 36" basswood stick,
cut and glue doublers in place behind the firewall
using 30-minute epoxy. After the epoxy has cured you
may want to pin the firewall to the fuselage with small
dowels or toothpicks for additional security. Drill
several small holes through the sides and into the
firewall. Glue toothpicks into these holes with epoxy.
❏
13. Trim the right fuselage side flush with
the firewall.
IMPORTANT
: During the following three steps place
the fuselage over the top view of the plan to aid in
keeping the fuselage straight and square.
❏
14. Place the triangular tail wheel bracket
between the rear of the fuse sides and pull the fuse
together. You may have to trim and sand the
longerons for a good fit. The notch in the bracket
extends from the bottom of the fuselage. After
checking to make sure the fuse is straight and
square, glue the tail wheel bracket into place. Cut
shims from the 1/4" x 3/8" x 36" balsa stick and
glue them into place as shown on the plan.
❏
15. Glue formers F5 and F5A together. Using the
notches in the fuse sides and the marks you made