Dynaflite DYFA3030 User Manual
Page 10
❏
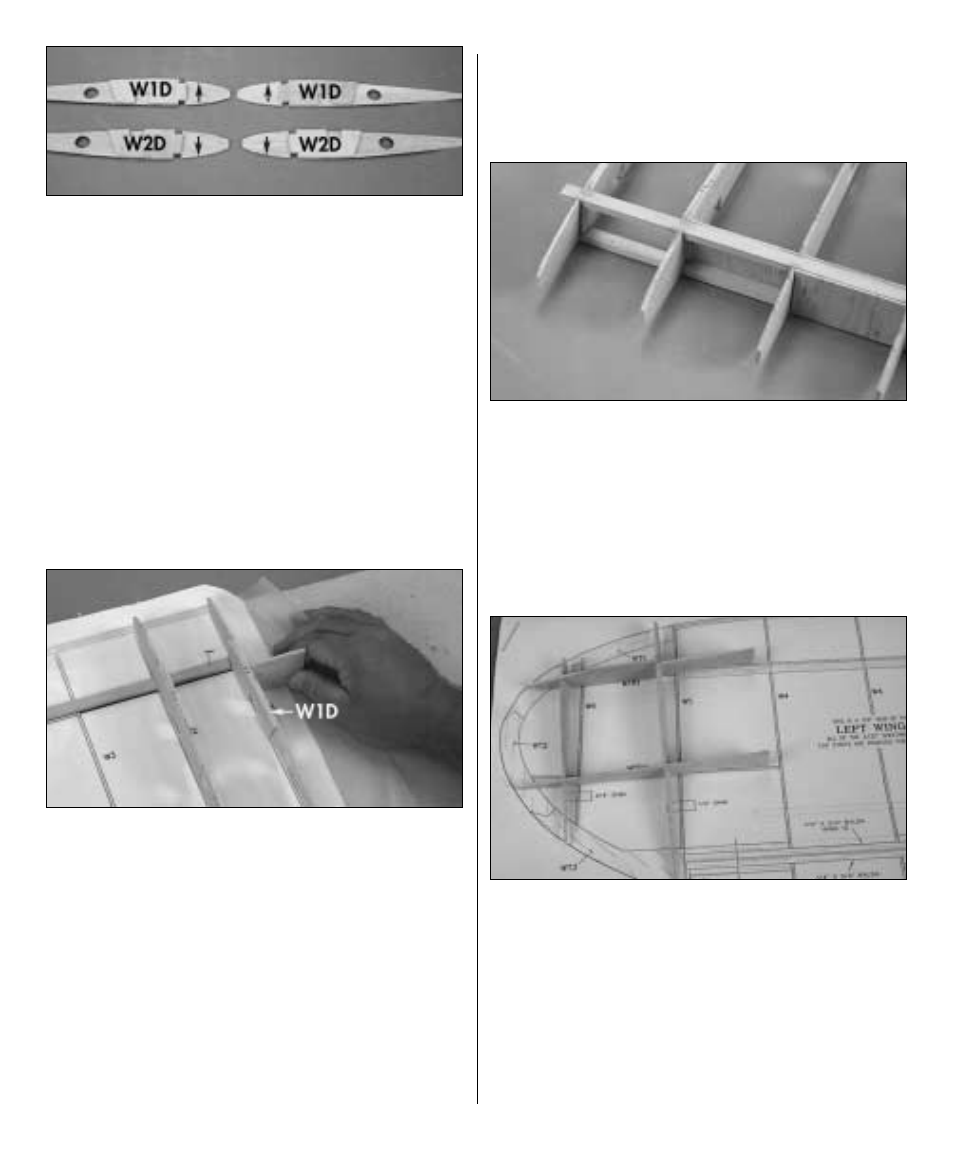
2. Glue the die-cut 1/8" ply W1D and W2D
doublers to four W3 ribs with 6-minute epoxy as
shown in the photo.
NOTE
: The W1D landing gear notch is deeper than
the notch in W2D.
❏ ❏
3. Cover the left wing plan with wax paper.
Pin the 1/4" x 3/8" x 36" basswood bottom spar
into place. Pin the 1/4" x 3/8" x 36" balsa building
jig into place with the 1/4" side against the plan.
NOTE
: In the following steps pin the rear of each rib
to the 1/4" x 3/8" building jig as they are glued to
the spar.
❏ ❏
4. Glue the center rib into place using the
dihedral gauge to set the angle. Make sure the W1D
doubler is toward the tip of the wing.
❏ ❏
5. Glue the rib with the W2D rib doubler onto
the bottom spar. Make sure the W2D doubler is
toward the root of the wing.
❏ ❏
6. Glue the remaining W3 and W4 ribs to the
spar keeping them 90 degrees to the work surface
and aligned over the ribs on the plans.
NOTE
: Do not glue ribs W5 and W6 at this time.
❏ ❏
7. Glue the 1/4" x 3/8" x 36" basswood top
spar into place.
❏ ❏
8. From a sheet of 3/32" x 4" x 36" balsa cut
and glue the shear webs into place.
IMPORTANT
: Do not put shear webs between ribs
W1 and W2 or between W2 and the first W3 on
the front of the spars.
❏ ❏
9. Fit together but do not glue W5, W6,
WTR1, and WTR2
❏ ❏
10. Cut and pin two 1/2" shims and one
3/4" shim in place.
❏ ❏
11. Trim the top and bottom spars even with
the tip side of W5.
10