Fuse structure assembly – Dynaflite DYFA2018 User Manual
Page 11
trued edge. Apply medium CA to the fuse side
where the sheet will contact it. Place the sheet
onto the fuse side.
FUSE STRUCTURE
ASSEMBLY
Q Q 6. From another 1/16" x 3" x 24" balsa
sheet, trim an angle on an end close to 45°, but
not quite. Test fit the piece against the first, and
make sure the sheet fully covers the forward
fuse side. Glue the sheet to the fuse side using
medium CA.
Q 1.Test fit the die-cut 1/8" ply former F2 in
place on the right fuse side. Position the tab
on the former so it faces the bottom of the
fuselage. Press it down into its slot and use a
90° triangle to keep it perpendicular to the fuse
side. Glue it in place with medium CA.
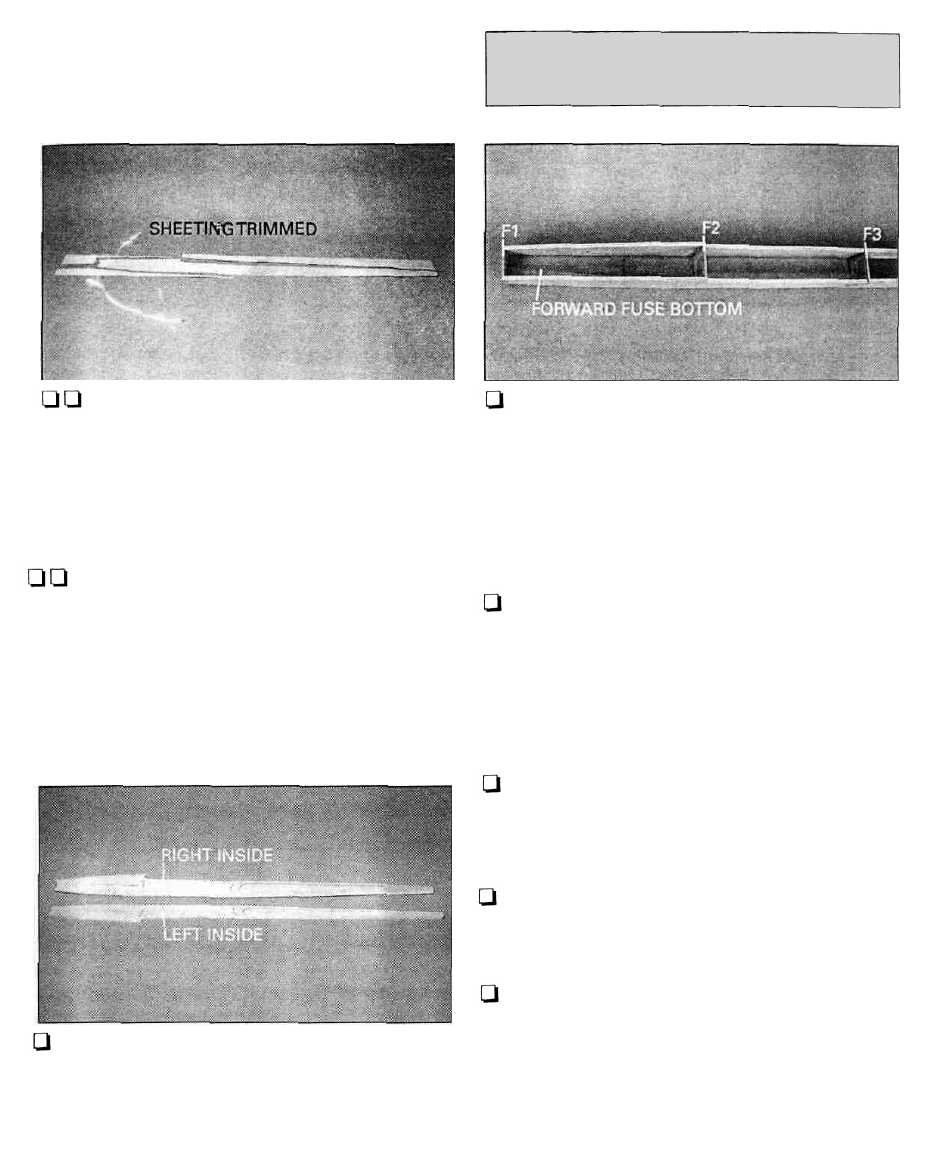
QQ7.Trim the excess sheeting from around the
fuse side. Drill the 1/4" holes made in the
fuselage sides through the 1/16" sheeting. Use
150-grit sandpaper to sand the sheeting flush
with the edges of the fuse side. Use your
sanding block or bar sander with medium (150-
grit) sandpaper to sand the sheeting smooth.
Q 2. Test fit the die-cut 1/8" ply former F3 in
place on the right fuse side. Press it down into
its slot and use a 90° triangle to keep it
perpendicular to the fuse side. Glue it in place
with medium CA.
Q 8. Repeat steps 5 through 7 for the remaining
fuse side. Make sure to make both a left
and right side.
Q 3. Position the left fuselage side onto the
formers. Use medium CA and glue the fuse side
to the formers.
Q 4.Tape a piece of wax paper or Plan Protector
over the fuselage top view on the plan.
Q 5. Test fit the die-cut 1/8" ply former F1 in
place at the front of the fuse sides. After
checking the alignment of the fuselage to the
plan, glue former F1 to the fuse sides using
medium CA.
11