Installing the mounting brackets, Repeat steps 1 and 2 for the other bracket, Connecting to the network – Comtrol RocketPort Serial Hub User Manual
Page 2: Running the power on diagnostics, Turn the power switch to the on position, Connect, Verify
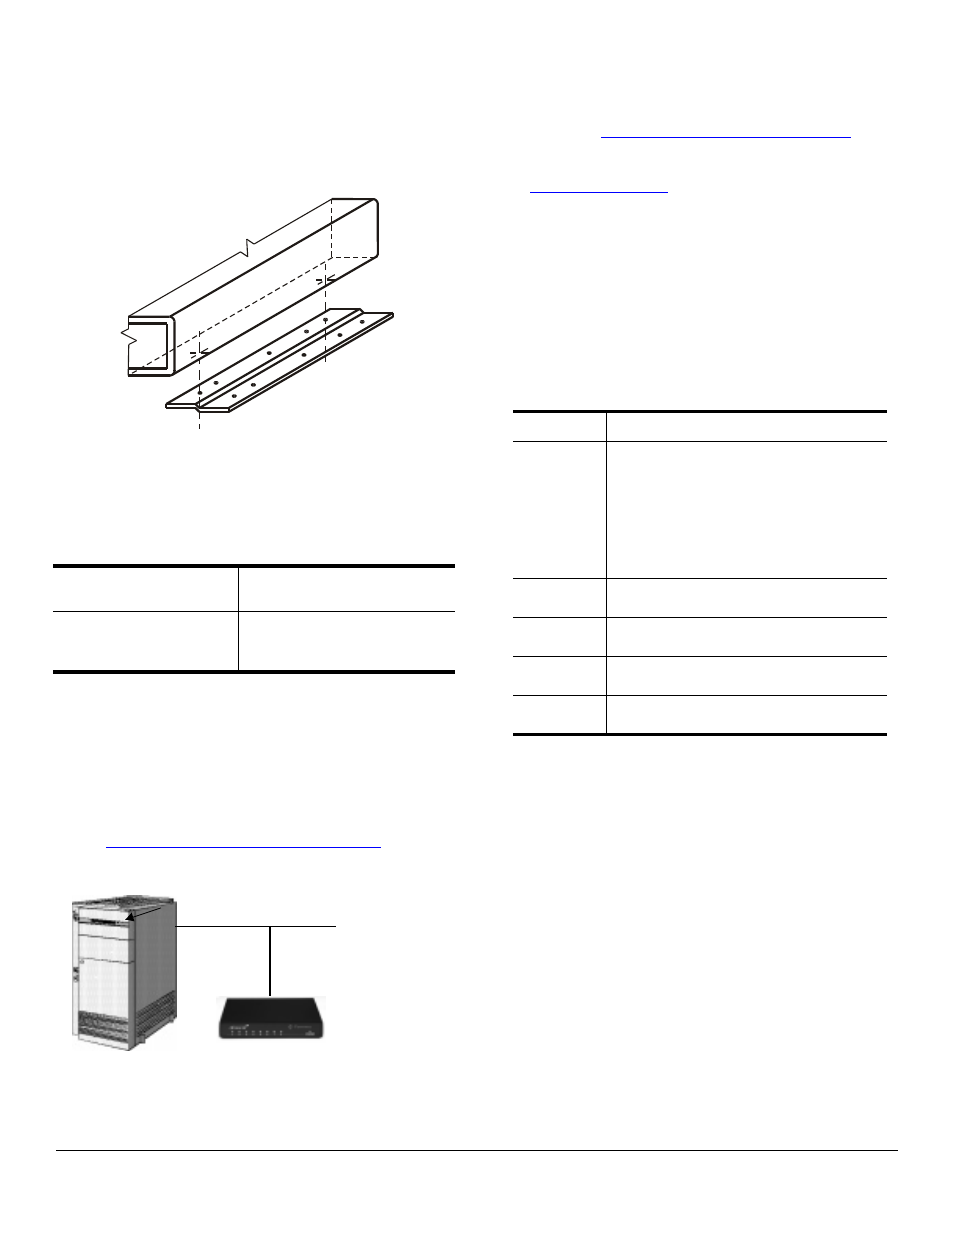
Installing the Mounting Brackets
2 of 6
Installing the Mounting Brackets
1.
On the bottom panel, remove two of the four screws
that hold the box together.
2.
Center the bracket over the holes and reinstall the
screws.
3.
Repeat steps 1 and 2 for the other bracket.
Connecting to the Network
Use the following procedure to connect the RocketPort
Serial Hub to your server NIC card or Ethernet hub.
1.
Record the media access control (MAC) address,
model number, and serial number of the RocketPort
Serial Hub.
2.
Connect the cable from the Ethernet connection
(10Base-T) on the RocketPort Serial Hub to your
server NIC card or Ethernet hub.
Note: If connecting the RocketPort Serial Hub directly
to a NIC, an Ethernet crossover cable is
required. Comtrol does not supply this. See the
Building an Ethernet Crossover Cable
discussion.
3.
Connect the power adapter cable to the RocketPort
Serial Hub port labeled POWER. Connect the
power cord to the power adapter and plug the
power cord into a power source.
4.
Running the Power On Diagnostics
discussion.
After you install and configure the driver, you can use
the
discussion to connect your RS-
232 serial devices.
Running the Power On Diagnostics
After you have connected the RocketPort Serial Hub to
the NIC card or Ethernet hub, use the following
information to determine if your RocketPort Serial
Hub is working correctly.
1.
Turn the power switch to the ON position.
2.
Verify that the LEDs for Ports 1 through 4 or 8
(depending on the model) flash briefly after
applying power, to confirm that the hardware is
working properly.
Serial Number*
MAC*
00 C0 4E 05 xx xx
00 C0 4E 05 __ __
__ __
* ID tags are located on the bottom panel. You can write this
information on the sticker shipped with the RocketPort
Serial Hub.
Server
Ethernet Connection
to Server or
Ethernet Hub
Indicator
Port LED Descriptions
Flashes
Briefly
All LEDs flash during the power-on
test and then turn off. This indicates
a successful self-check.
Note: The Port 1 LED blinks while
the RocketPort Serial Hub is
waiting and goes out when the
server initiates normal
program activity.
1 LED Lit*
Solid
Hardware failure. A RAM self-test
failure or other mainboard error.
2 LEDs
Lit*
Hardware failure. An Ethernet
hardware initialization failure.
3 LEDs
Lit*
A hardware self-test failure.
4 LEDs
Lit*
A flash memory configuration error.
* The LEDs light up for a about a minute and then
the hardware resets and the same cycle repeats.