Olympus 700 User Manual
Page 47
Attention! The text in this document has been recognized automatically. To view the original document, you can use the "Original mode".
3
Select the date and time setting, and press
NO
The pictures are printed without the date and time.
DATE
Ail pictures are printed with the shooting date.
TIME
Ail pictures are printed with the shooting time.
4
Select [SET], and press @).
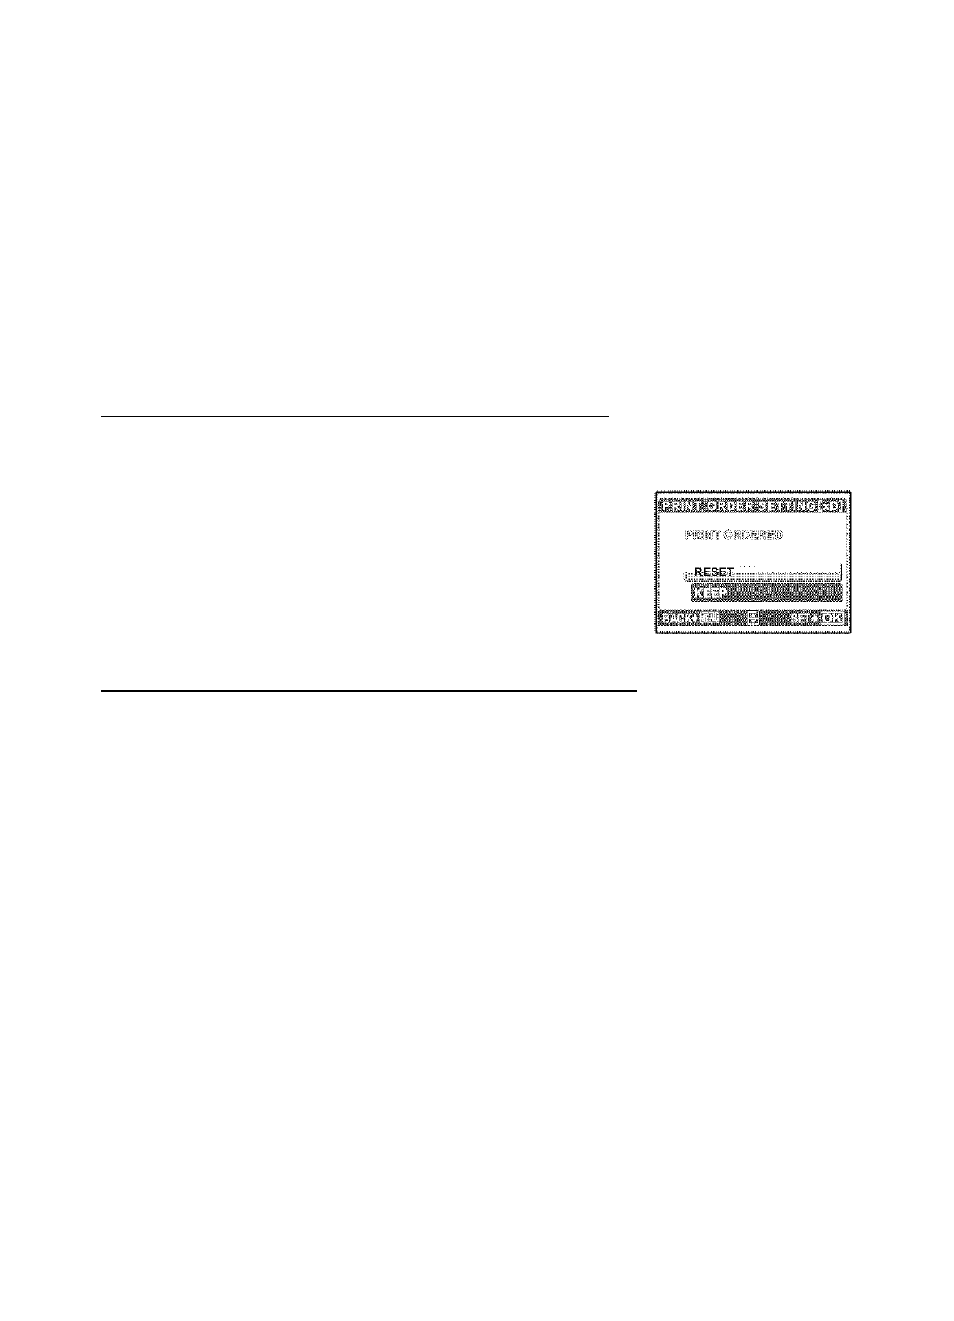
Resetting print reservation data
You can reset all the print reservation data or just for selected pictures.
1
Select top menu ► [PRINT ORDER], and press (£).
• Playing back the album:Top menu ► [PRINT ORDER]
To reset the print reservation data for all the pictures
2
Select [fl] or [¡t^^], and press
3
Select [RESET], and press @).
u
(Q
O
C
s
To reset the print reservation data for a selected picture
2
Select [[0]], and press
3
Select [KEEP], and press (®).
4
Press <3C> to select the picture with the print reservations you
want to cancel, and press ^ to decrease the number of prints
to 0.
• Repeat Step 3 to cancel print reservations for other pictures.
5
When you are finished canceling print reservations, press
6
Select the date and time setting, and press
• The setting is applied to the remaining pictures with print reservations.
7
Select [SET], and press (S).
47