Feature overview, To operate the bridge surface element, Surface cooking – Kenmore 790.99019 User Manual
Page 11: Surface cooking -12, Setting surface controls
Attention! The text in this document has been recognized automatically. To view the original document, you can use the "Original mode".
FEATURE OVERVIEW
• Operating the Bridge Radiant Element Surface
Control (cont’d)
Setting Surface Controls
To Operate the Bridge Surface Element:
1. Place correctly sized cookware on the Bridge surface
element.
Figure 1
.Mi’
Figure 2
Figure 3
»1
Figure 4
2.
Push in and turn the control knob counterclockwise {See
Figs. 1 and 2) to heat the portion of the Bridge element for
normai shaped cookware or clockwise (See Figs. 3 and 4)
for larger or rectangular shaped cookware.
3. Use the ESEC digitai display window for the desired
setting. Turn the knob to adjust the setting if needed. Start
most cooking operations on a higher setting and then turn
to a iower setting to finish cooking. Each surface eiement
provides a constant amount of heat at each setting. A
glowing red surface heating area extending beyond the
bottom edge of the cookware indicates the cookware is
too
small. Piease note that not all cookware will fit the Bridge
element correctly.
4. When cooking has completed, turn the surface control
knob to OFF before removing the cookware. The HE
message will appear in the display after turning the control
knob to
OFF if the cooktop is still hot and will remain on
until the radiant heating surface area has cooled
sufficiently.
The BRIDGE element may also be used in combination with
the left rear single element. Because these elements have 2
different controls, one element can be used to cook while the
other element may be used to keep food warm (See Fig. 5).
Note: See page 8, Figure 5 for recommended control settings.
iàCAUTION
Radiant surface elements may appear to have cooled after they have been
turned off.
The glass surface may still be hot and burns may occur if the glass surface is
touched before it has cooled sufficiently.
Figure 5
Surface Cooking
p
^
ature
overview
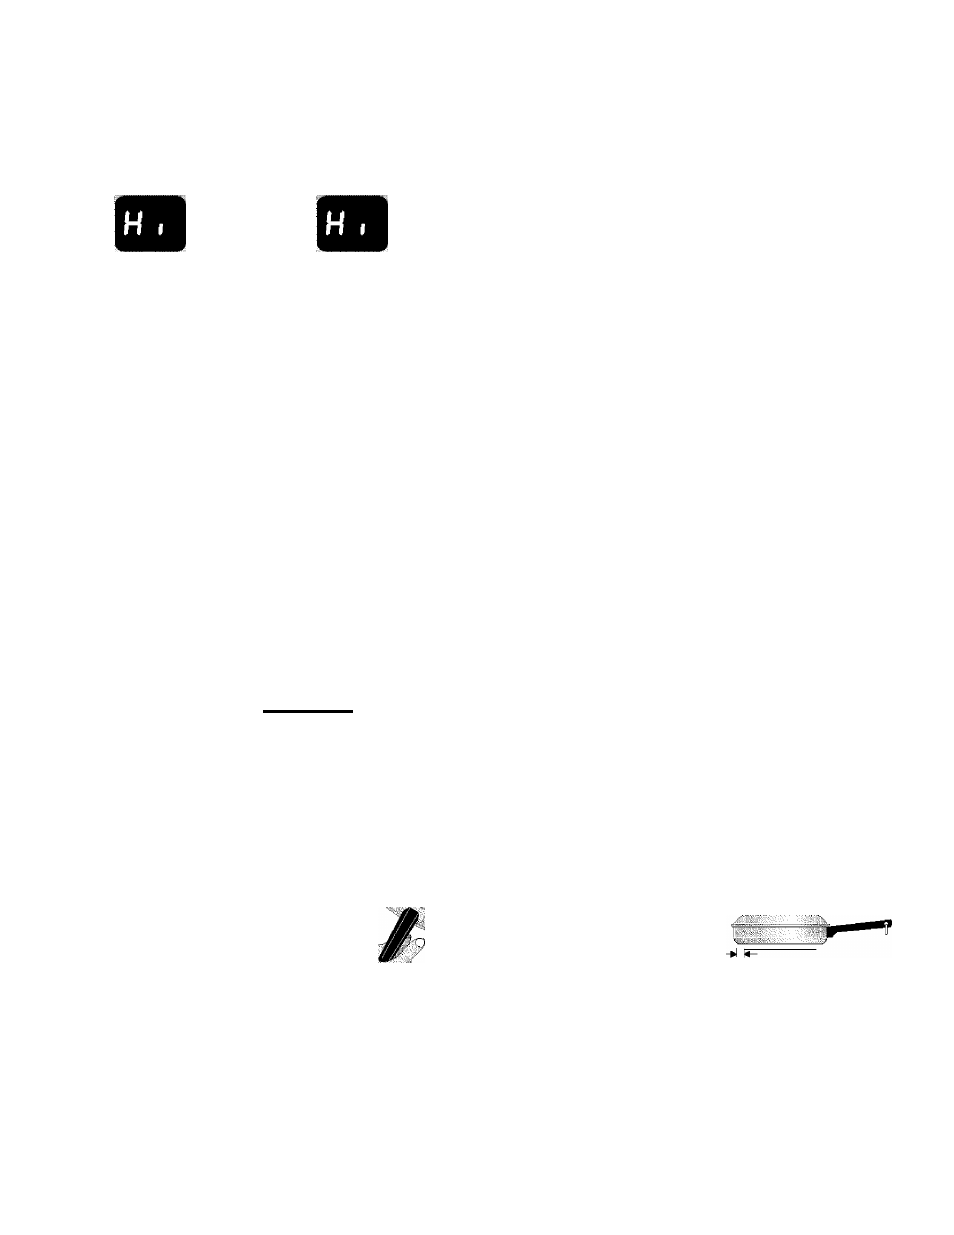
• Using the Proper Cookware
Cookware should have fiat bottoms
that make good contact with the entire
surface heating element. Check for
flatness by rotating a ruler across the
bottom of the cookware (See Fig. 6).Be
sure to follow the recommendations for
using cookware as shown in Fig. 7.
-'■ ii ■ ■
Figure 6
Note: The size and type of cookware used will influence the
setting needed for best cooking results.
Deep fat frying - Use a thermometer and adjust the surface
control knob accordingly. If the fat Is too cool, the food will absorb
the fat and be greasy. If the fat is too hot, the food will brown so
quickly that the center will be undercooked. Do not attempt to
deep fat fry too much food at once as the food will neither brown
nor cook properly.
11
«CORRECT
INCORRECT
' Curved and warped pan
bottoms.
>
Flat bottom and straight
sides.
>
Tight fitting lids.
' Weight of handle does not
tilt pan. Pan Is well
balanced.
>
Pan sizes match the
amount of food to be
prepared and the size of
the surface element.
>
Made of a material that
conducts heat well.
I Easy to clean.
I Always match pot diameter
to element surface
diameter.
Pan overhangs element by
more than one-half inch.
I Pan is smaller than
element.
Heavy handle tilts pan.
Figure 7