Cowl installation – Carl Goldberg GBGA1075 User Manual
Page 15
15
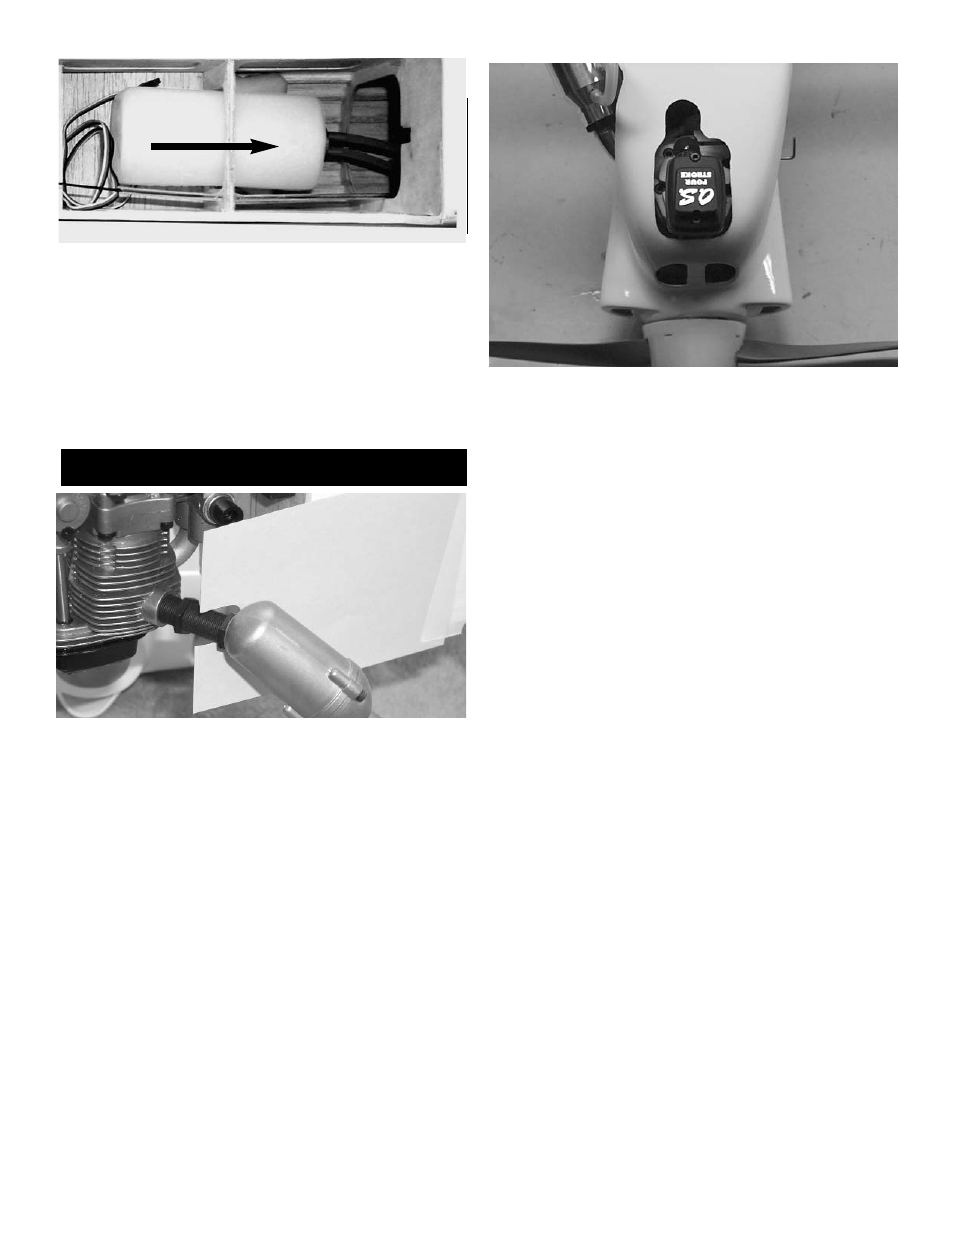
3. Install the tank in the fuselage in the notches
provided in the bulkhead, and hold in place with
foam(not provided). Attach the fuel lines(not
provided) to the three metal lines and route
through the hole in the firewall and to your
engine. If you are using an engine without a
pump or pressure system you will probably
have to mount the tank in the nose of the plane.
Cowl installation
1. The easiest way to cut the opening for the
muffler, needle valve, and head is to use a
piece of cardboard and cut it to fit around the
part you are fitting. Tape the cardboard to the
fuselage about 1” behind where the cowl will
end. You can now remove the muffler, slide the
cowl in place and transfer the hole to the cowl
from the paper template. You will need to start
with the head because the cowl will not go on
until the head clearance is cut. A Dremel tool
with a cutter and a sanding drum does the best
job.
2. After all the cutouts are made in the cowl, you
can use the same method to mount the cowl.
Tape the paper templates to the fuse side and
make a hole that will be in line with the firewall.
This needs to be about 1/8” back from the front
edge of the firewall so the screws will hit the
solid wood of the firewall and not just the soft
balsa of the sides. With the templates in place,
install the cowl and put your spinner back plate
in place. Place a 1/8” shim between the cowl
and spinner backplate and tape in place. When
satisfied with the alignment of the cowl, transfer
the holes from the paper templates to the cowl.
Remove the cowl and drill 5/64” holes at this
location. Reinstall the cowl and tape back into
position. Use a 1/16” drill to drill pilot holes for
the screws through the holes in the cowl. Install
with the 2mm screws provided. It is a good idea
to remove the cowl and harden the mounting
holes by dropping a couple of drops of thin CA
into each hole. Let cure before reinstalling.